

Making the Triple Threat Briefcase by Sew Sweetness (or my explorer bag)
/
Well…. I hardly know where to start or how to contain my excitement about this one! It’s a WOW project and superb pattern. Bag making is something I enjoy once or twice a year - sometimes for someone else as a gift and sometimes I am motivated by what might be just really useful for myself. This is definitely the latter - it isn’t going anywhere!
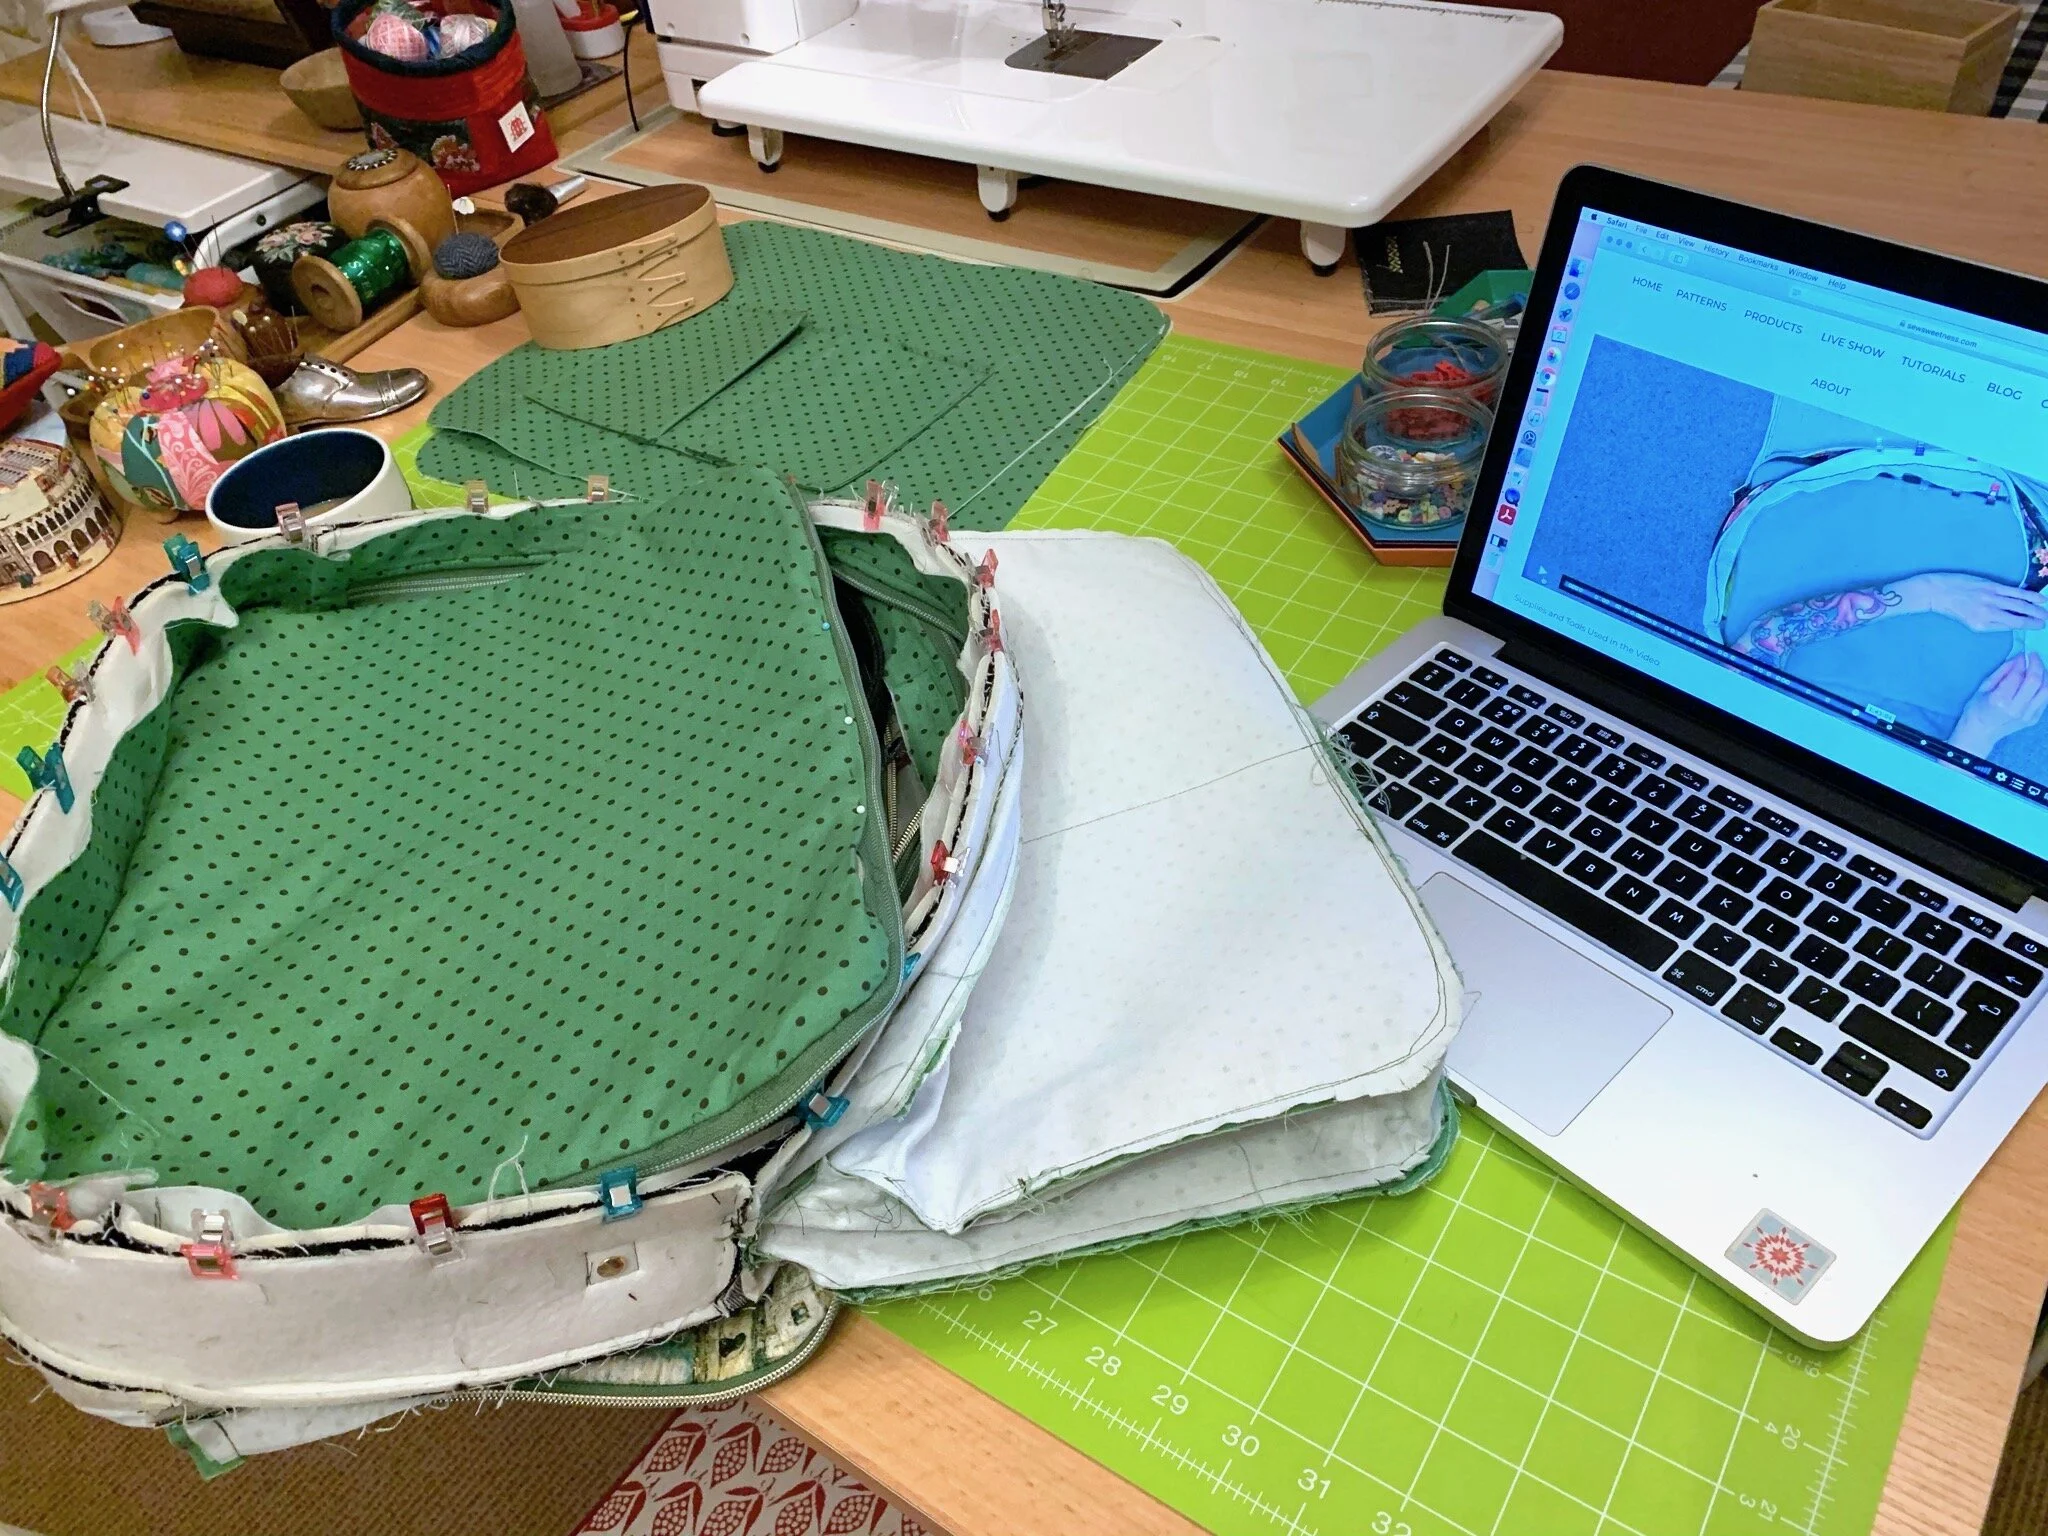
In all these months of lockdown and travel restrictions it has been hard to think about getting back to normal life, but it does seem to be finally looming and while I don’t think we will be going anywhere just yet - I hope we can make plans for next year. I am not always good with ‘travelling light’ and this is mainly because if we are going on holiday I always need to take books, notebooks and some embroidery, as well as my laptop. I thought it might be a good idea to have a travel bag that was just for these and when I started looking around I found myself drawn to the idea (and the challenge) of making something with compartments. I have been a huge fan of Sara Lawson at Sew Sweetness for a while now and have made several of her projects - her new Triple Threat briefcase seemed like the perfect solution and a step up for me in terms of bag making. While I am not sure that I need a ‘briefcase’ and the name ‘Triple Threat’ sounds like something out of a Le Carre novel, this bag offers sections to store different kinds of items and I am all for being organised (well.. it starts off that way anyhow). I got the pattern and the video because when I made the ‘Crimson and Clover Train Case’ the video was absolutely invaluable. By the time I got to the end of this project I realised that I had learned so much from that first project and it helped to have that knowledge in preparation for this new challenge. For example, one thing I did feel is that you need to assemble everything you need before you begin and you need to take your time to select the bits and pieces carefully.

I started with the main feature fabric of the bag. I had had this absolutely gorgeous piece of Robert Kaufman fabric for quite a while. It is taken from the ‘Gustav Klimt’ collection and this particular print is called ‘Lake Garda’. While I am not a huge fan of Klimt’s paintings, which I always find interesting and rather ethereal, I do love this piece of material and it is just absolutely perfect for this project. I chose the lining because it is a perfect match colour wise and also cooler after the hot summer print. The gold on the artwork dictated the hardware and it took me a while to decide on the black denim for the side panels and straps. I wanted something hardwearing and heavier in texture to give form to the case. It all seemed to come together well enough.
You also need a lot of Zipper tape. The case has three long zips and they need to be heavy duty. When I found this green and gold zipper pack by Sallie Tomato I could hardly believe my eyes. It is so perfect it almost unnerved me a little because I started to wonder if I could actually make this look as professional as it deserved to be. There is also a large amount of interfacing needed and three different types, so it takes a while to gather all the supplies and I really would recommend deciding on all of this before you begin.
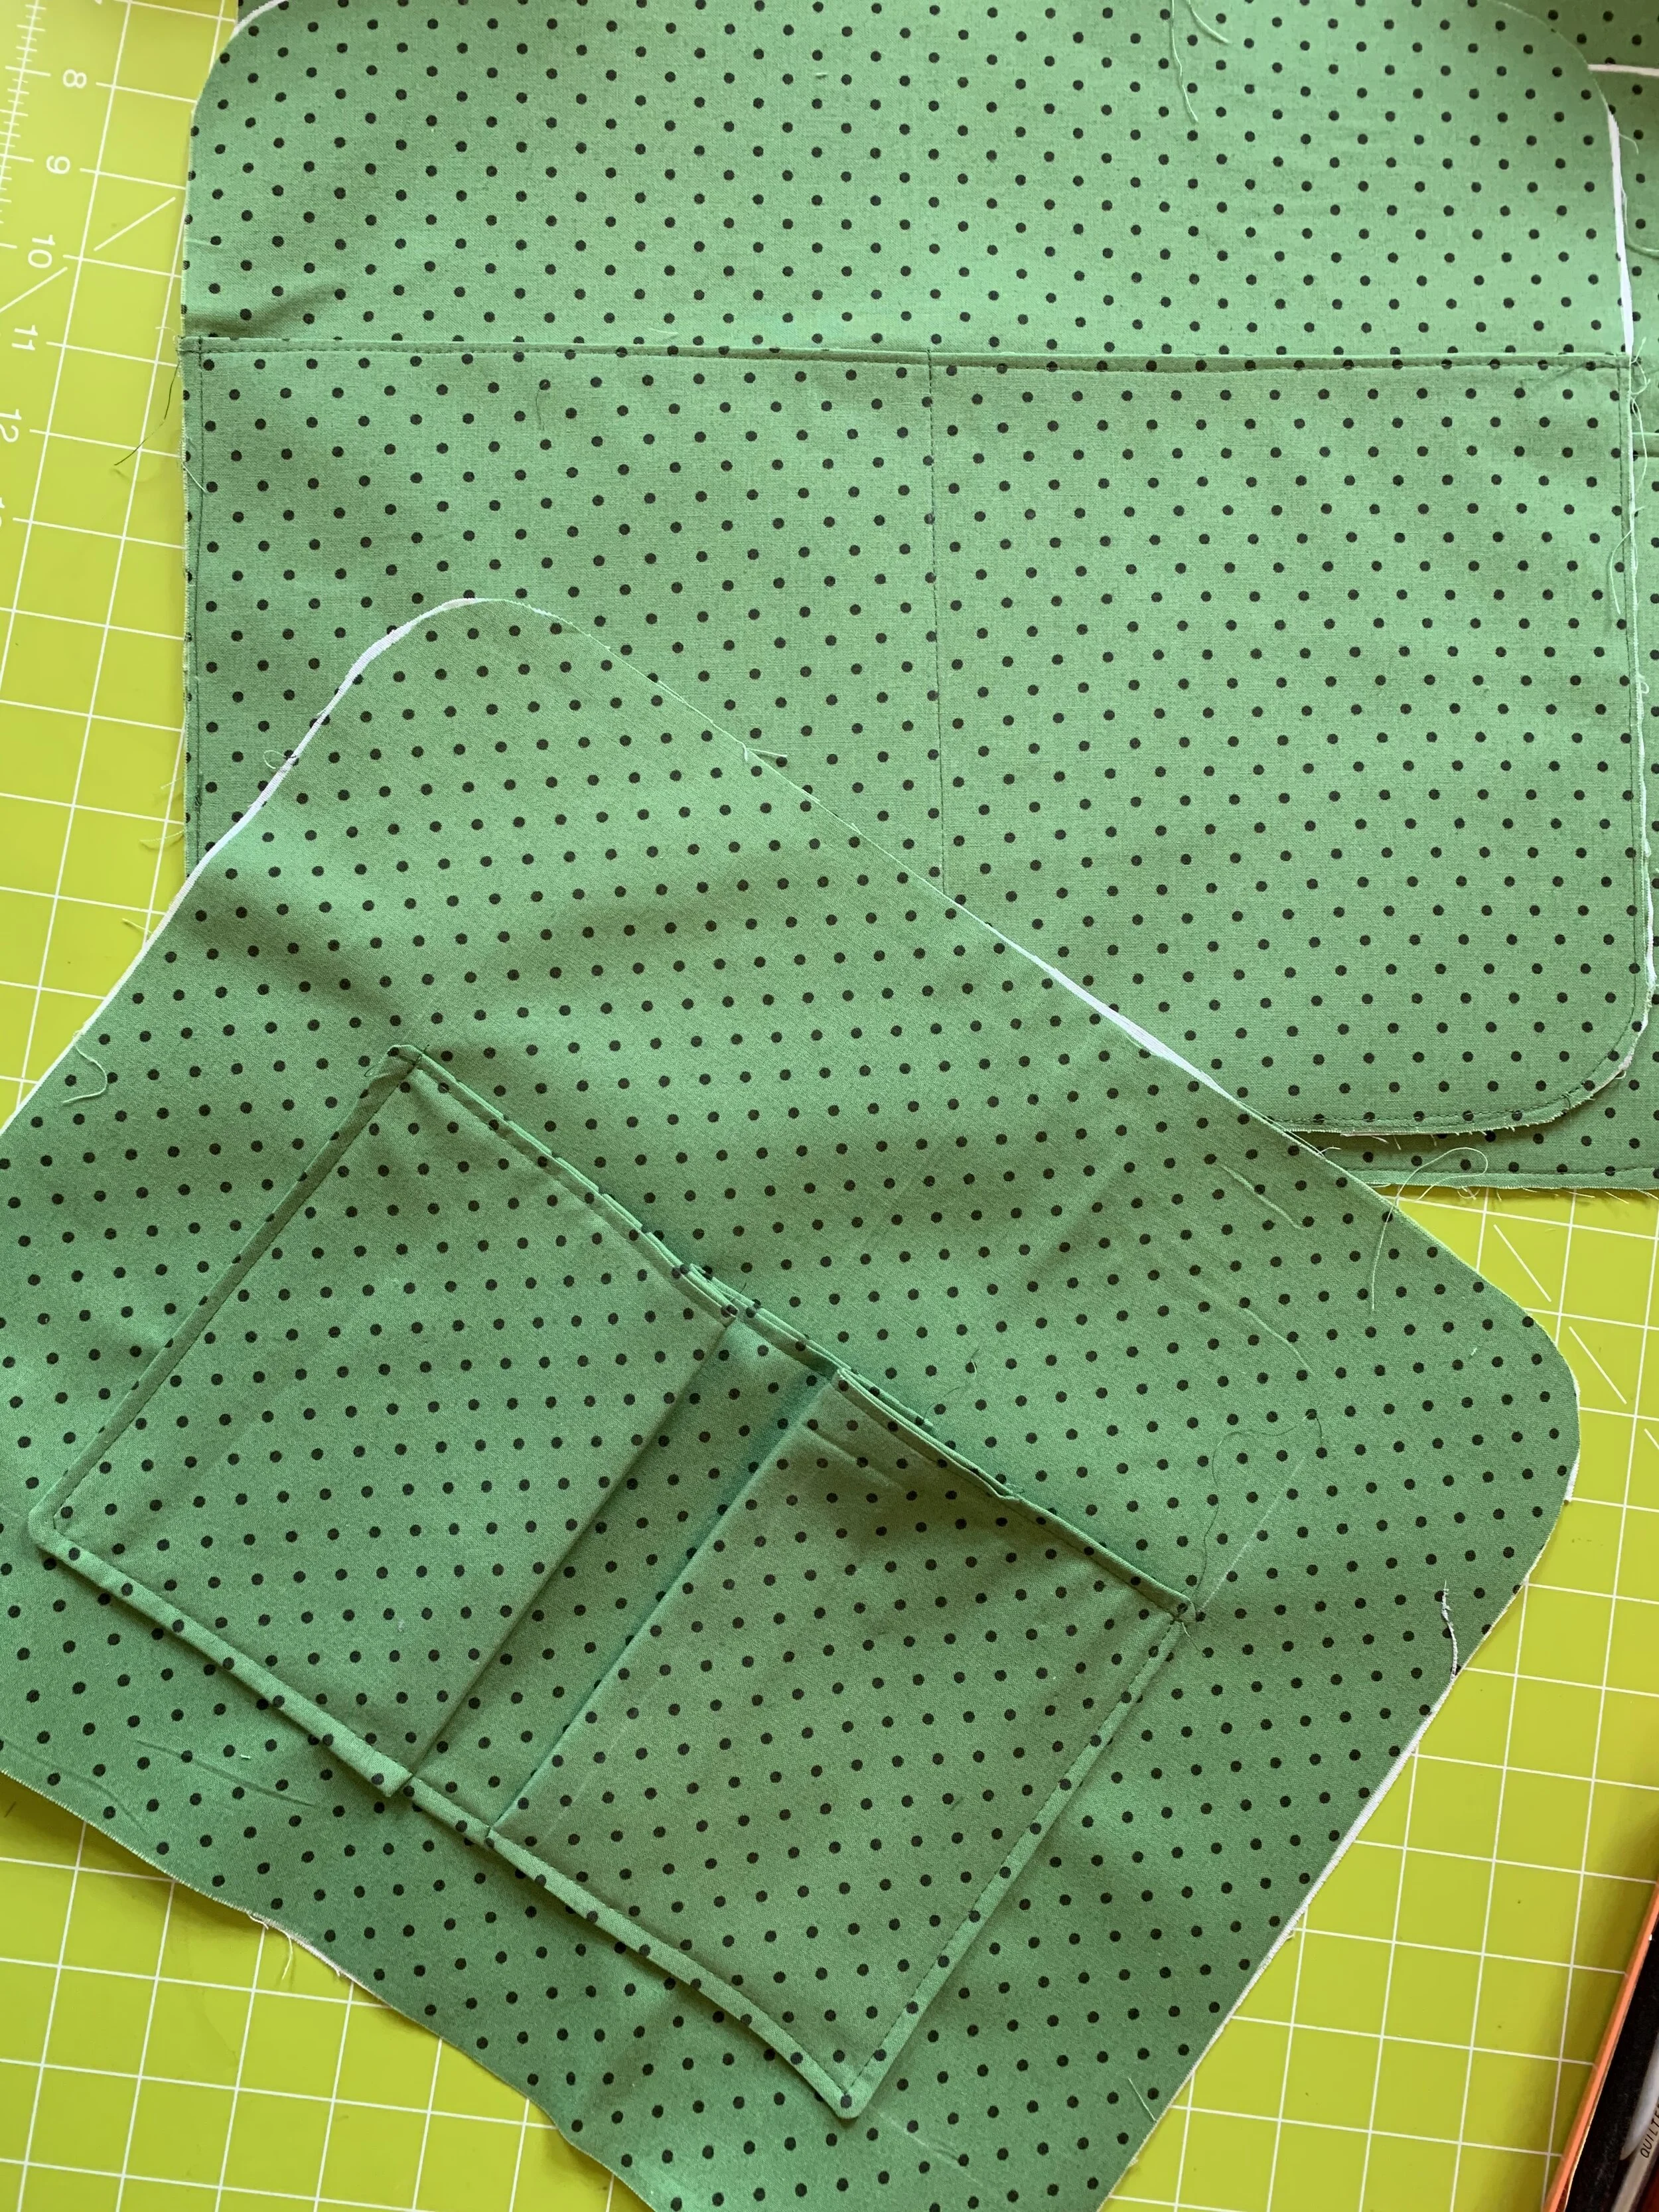
I was rather proud of myself too because I spent a day cutting the whole thing out and labelling everything before I even took a stitch. This can often be the most time consuming part of making things but once you are all done and ready to go, it is rather exciting. Once you start making the bag, it goes pretty fast at the beginning. The slip pockets are straight forward. I should point out here that I opted out of the accordion panels as I wasn’t sure I wanted to attempt to stitch all that bulk and actually it didn’t matter at all in terms of the finished bag.
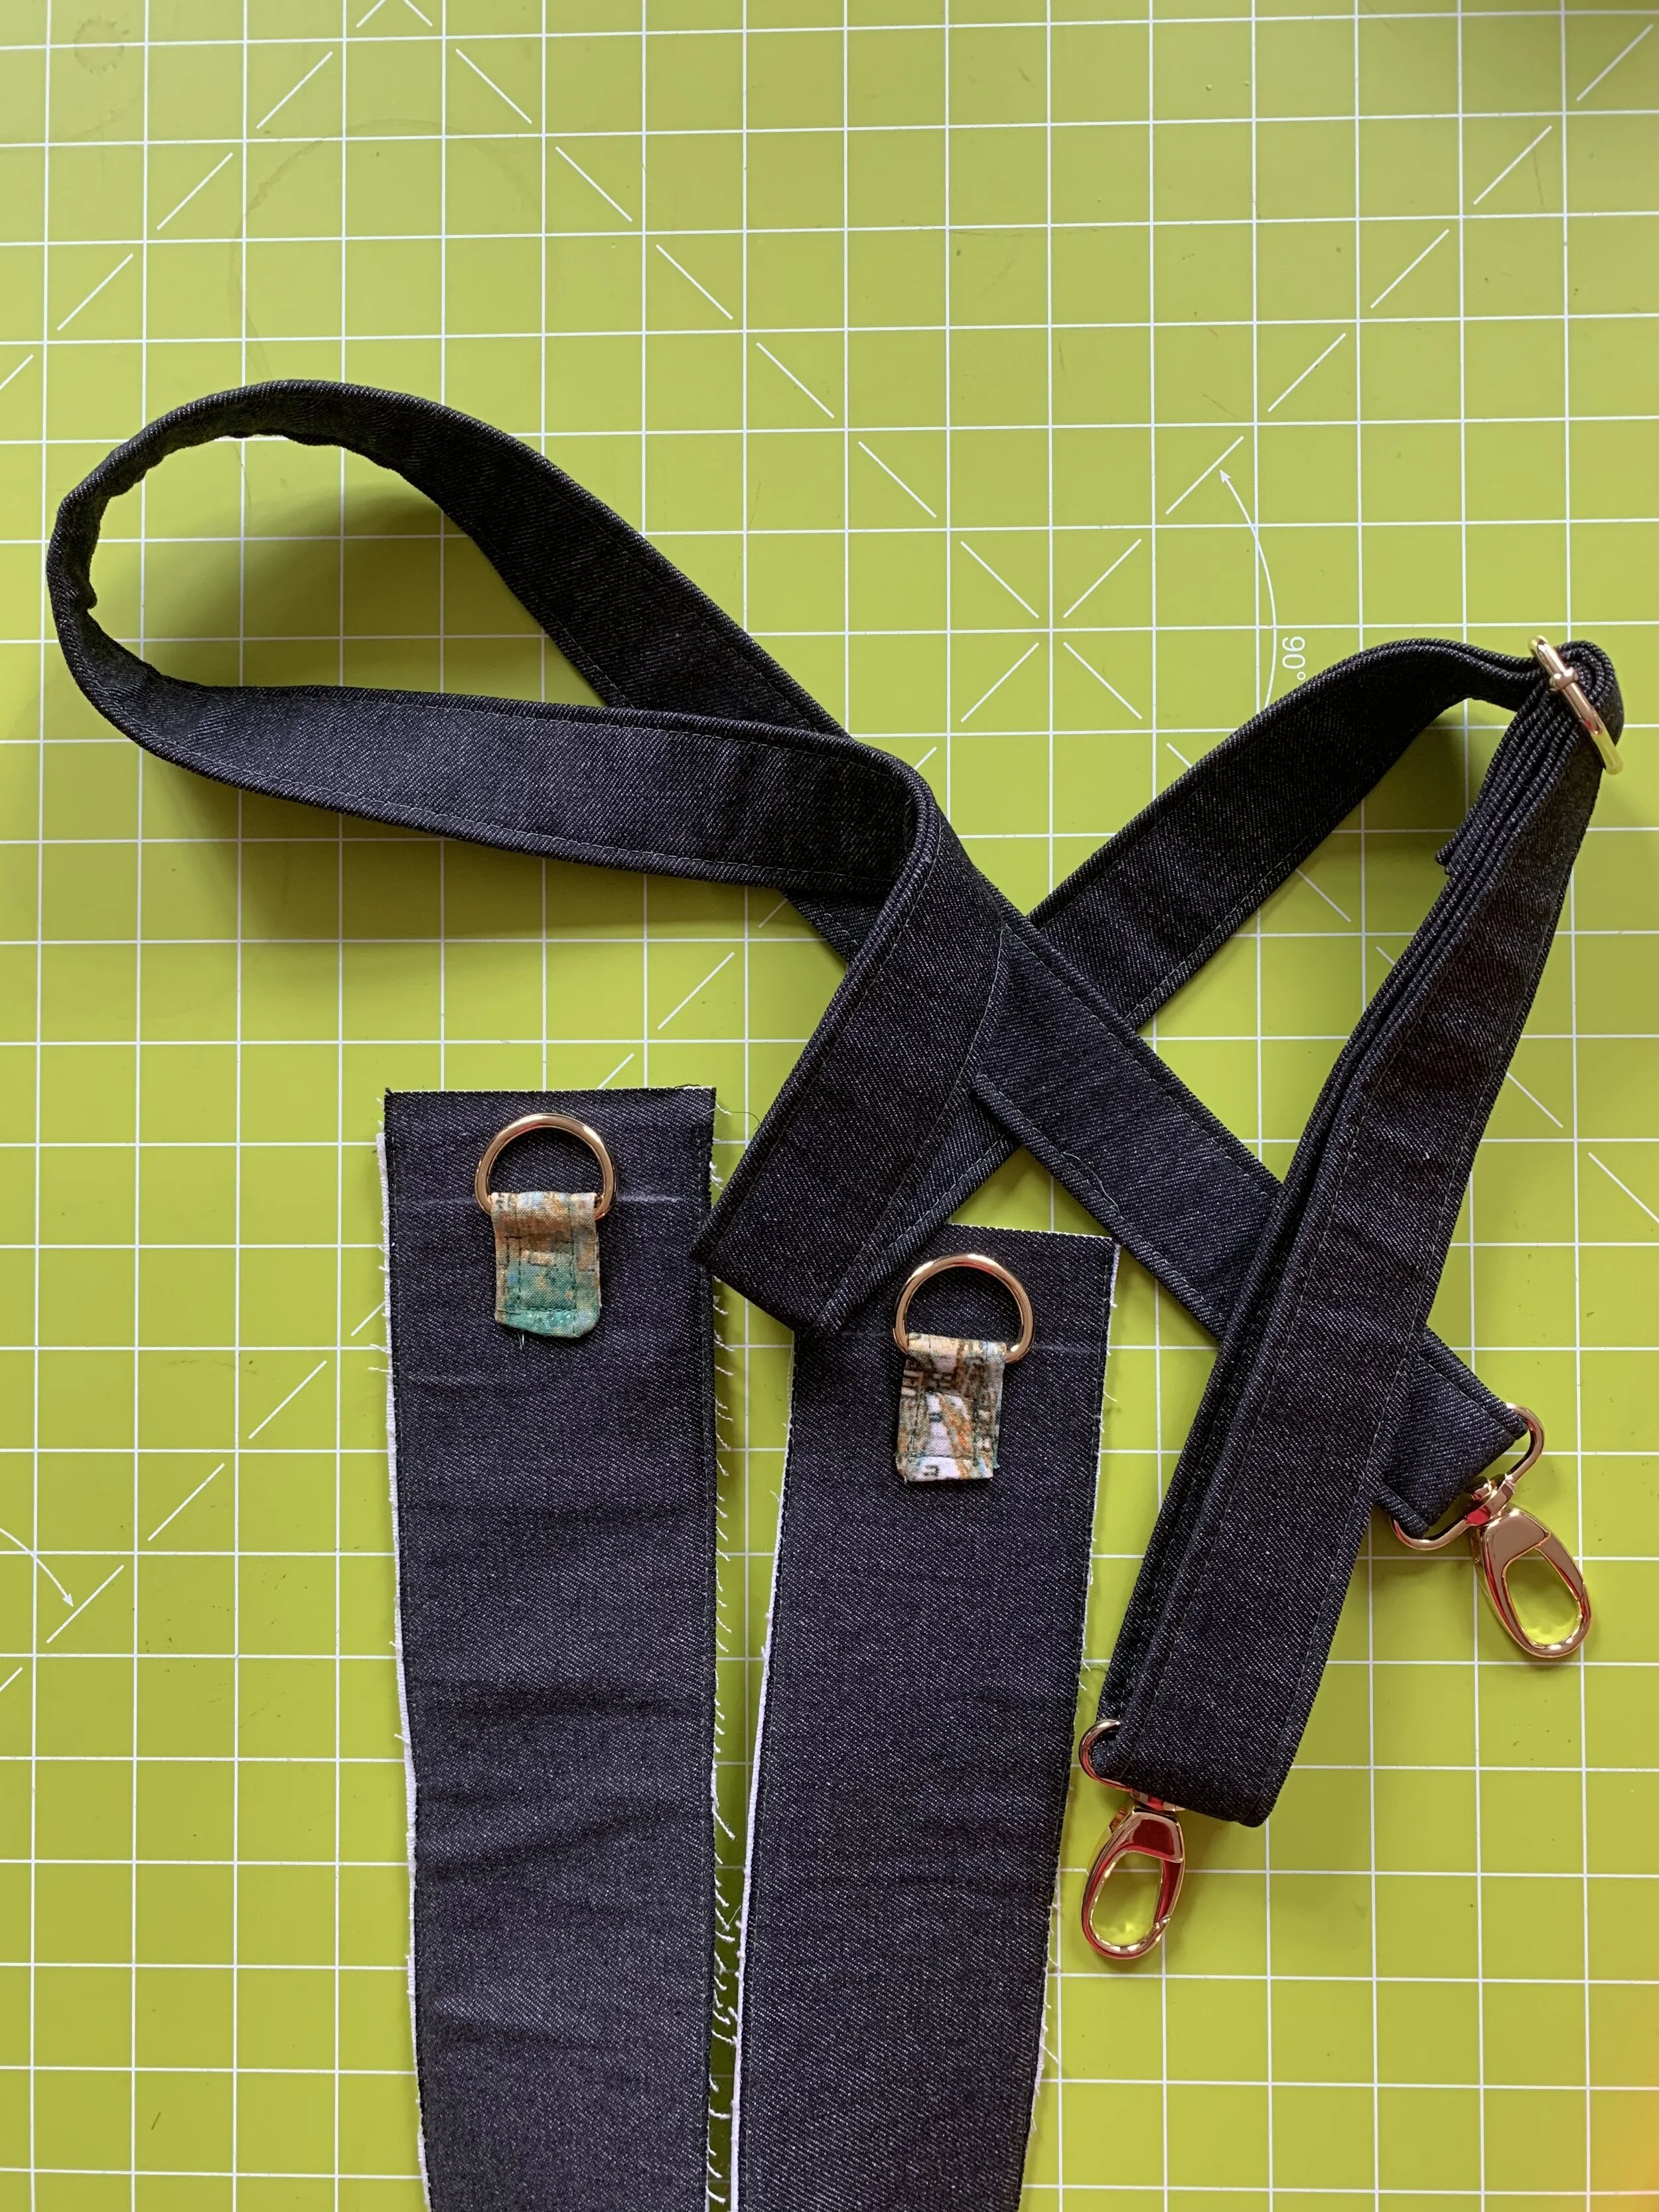
The strap, handles and bottom panel are the next job and are straight forward too. I had never made a long strap with a slider and it took me a few views of the video to be absolutely sure I had got things threaded in the right direction, but it went together like a dream. The denim, which is non-stretch and fairly heavyweight was so perfect because it will hold it’s form and not bunch up. With the gold hardware, it looked pretty cool and it’s kind of interesting to see how a bag like this is constructed. Expensive designer bags are almost certainly not much different and it’s rather like an engineering project.
Once you start placing the handles on to the bag it is just great fun. I chose to use real leather for the accents and thus didn’t need to back them and as suggested added rivets. What really struck me was how professional this looked. The instructions are clear and precise and it is just a matter of taking your time with each step and being sure you are happy with it before you sew.
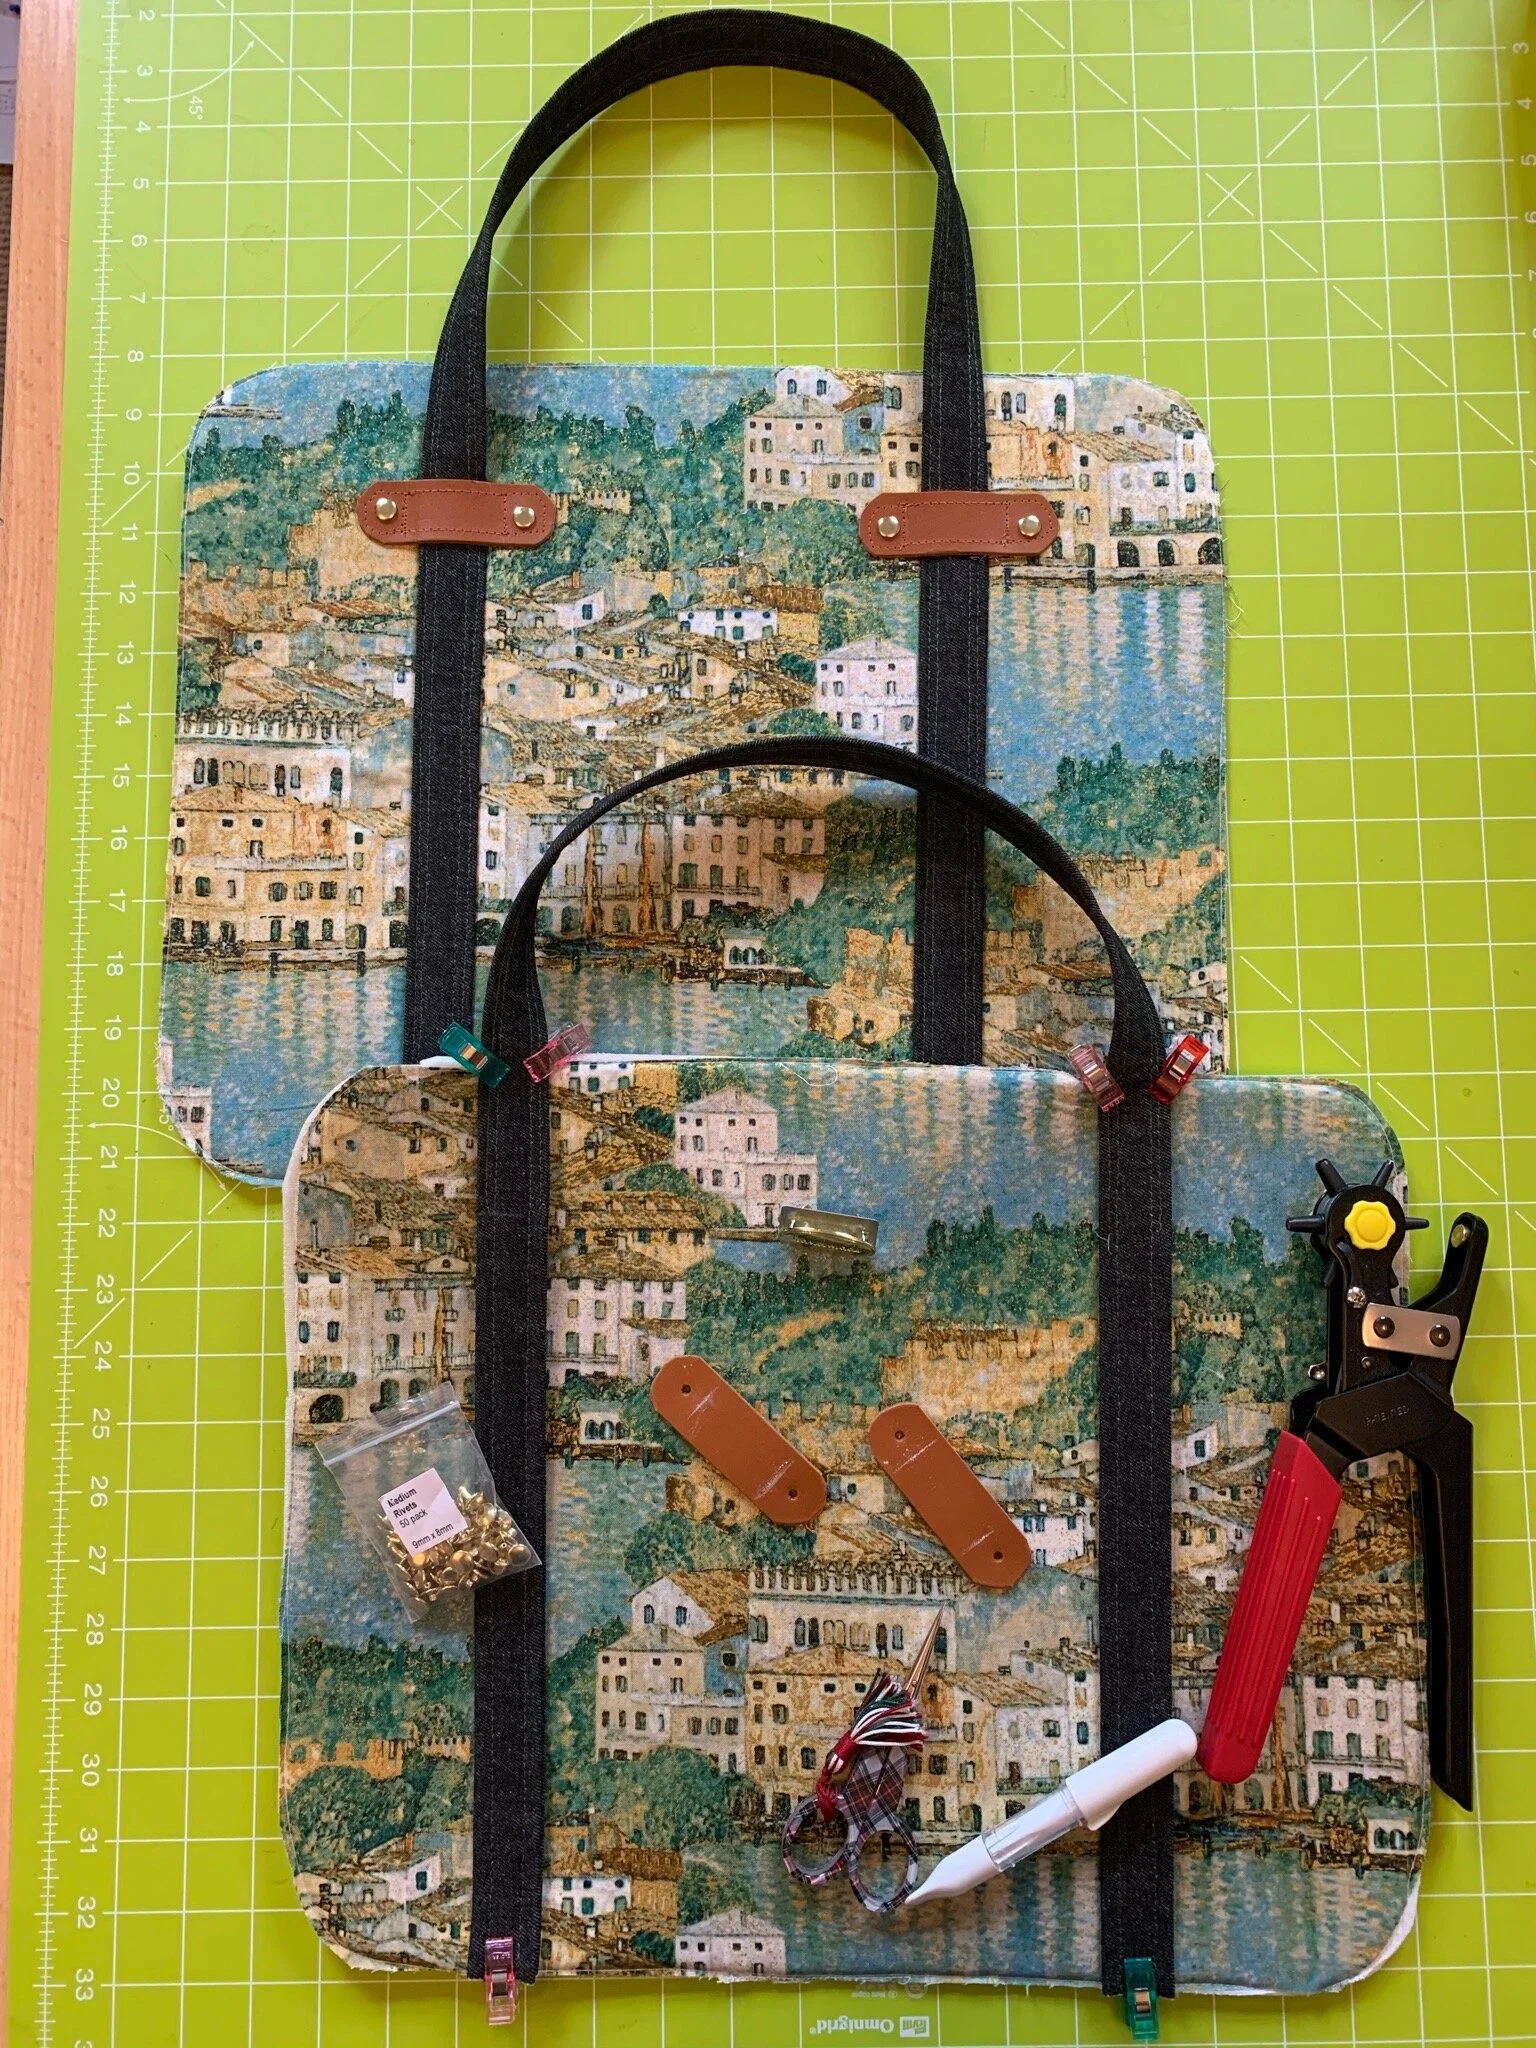
Some real essentials here are a chaco pen and a hole punch. Both of these are excellent things to have in your sewing room.
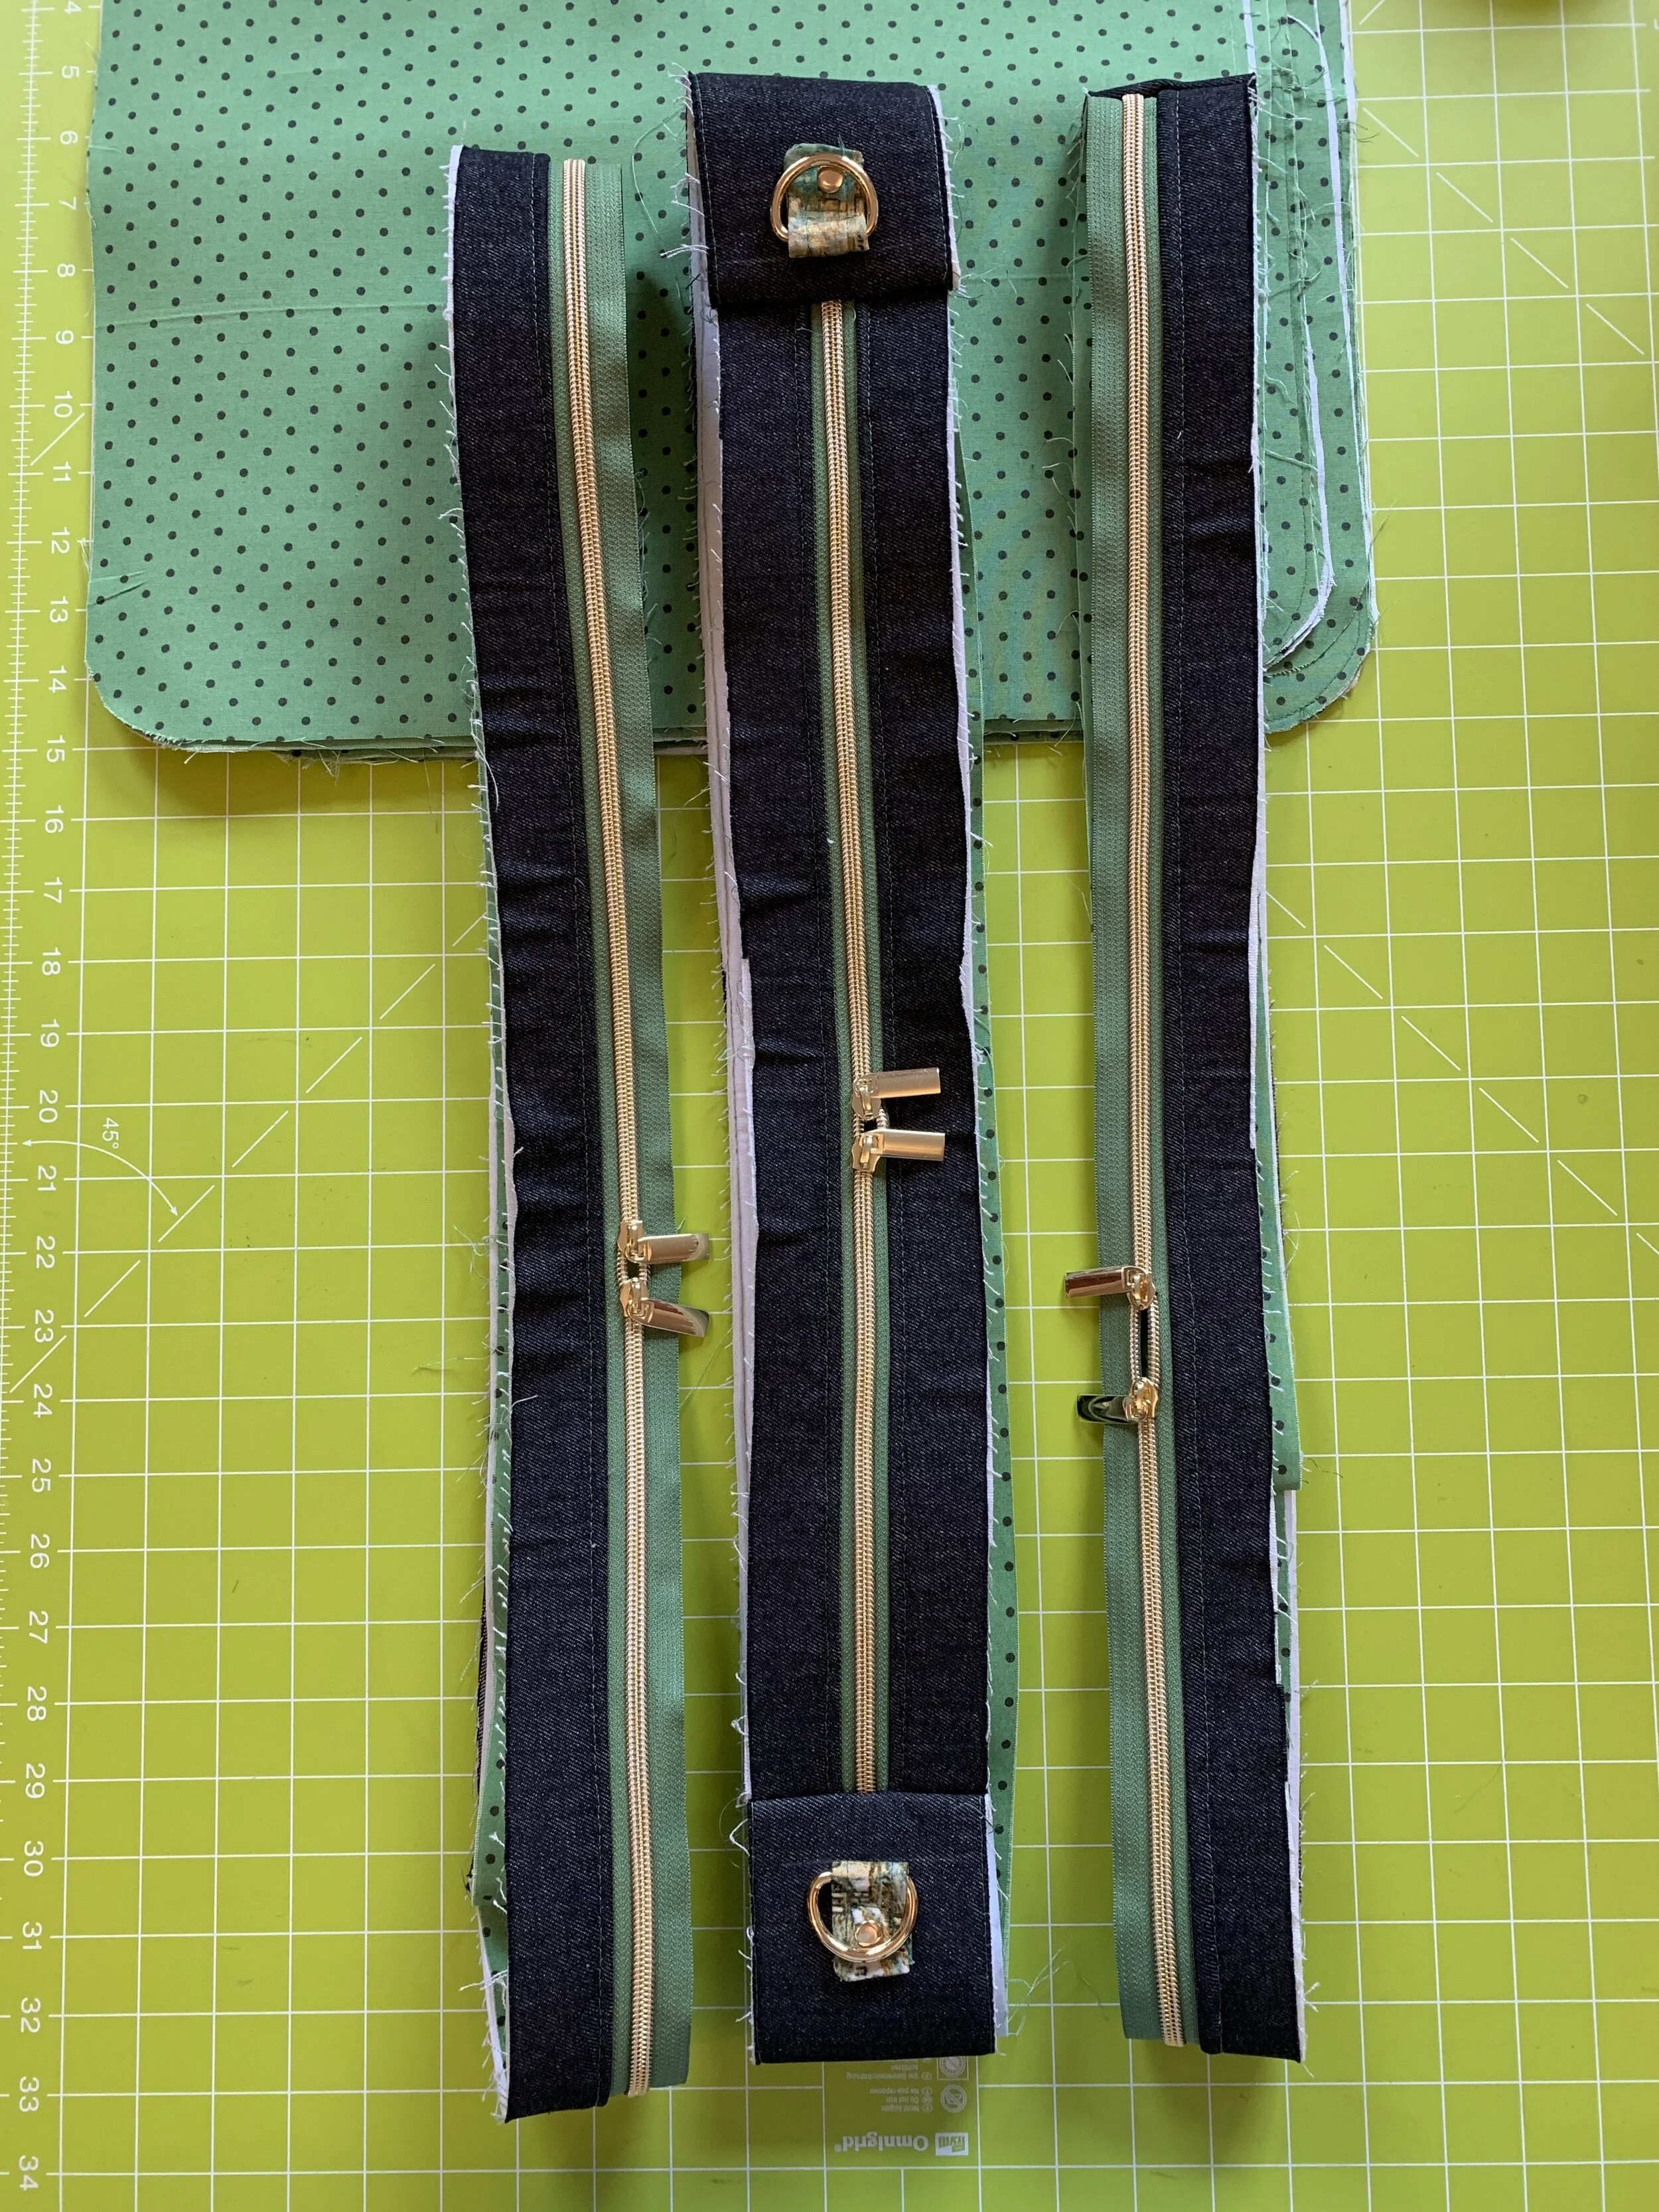
The combination of the green zips and the black denim really worked well - honestly I deliberated over it for nearly 2 weeks but in the end, it worked brilliantly.


It has taken me more than a week to construct this bag and although I am not working on it all the time I have enjoyed pacing myself a bit. It is true that a glass of wine is extremely helpful to calm the nerves, but on the whole not as helpful as wonder clips!!!
When it comes to the final assembly it is a step by step thing although you need to keep checking things are the right way up and as the layers come together it is a little tricky to manoevre through the machine sometimes but on the whole it was manageable and I was able to keep it neat. I did have to unpick a couple of times going around the curves with the zip edge, but it was worth faffing around a bit to get it to look just so.
I did put bag feet on too as well as the optional peltex base but honestly it looks super smart and I cannot begin to tell you how amazed I am that I actually made this. I would give this pattern a 5* review without hesitation and the thing about bag making is that they are smallish projects that are useful too. While I don’t need a ‘triple threat briefcase’ - I most certainly do need an Explorer bag, which is what I think I shall call this.
My top tips for making this project are:
Buy the video as well as the pattern (links are at the bottom of the post).
Be brave and buy lovely colour zips with a hint of bling.
Wonder Clips are essential
Make sure you consider everything to ensure that you’re coordinated, perhaps with a shoulder bag. It is not a cheap make so you might as well go all out.
Go slow and steady and have a bottle of vino in the fridge chilling.
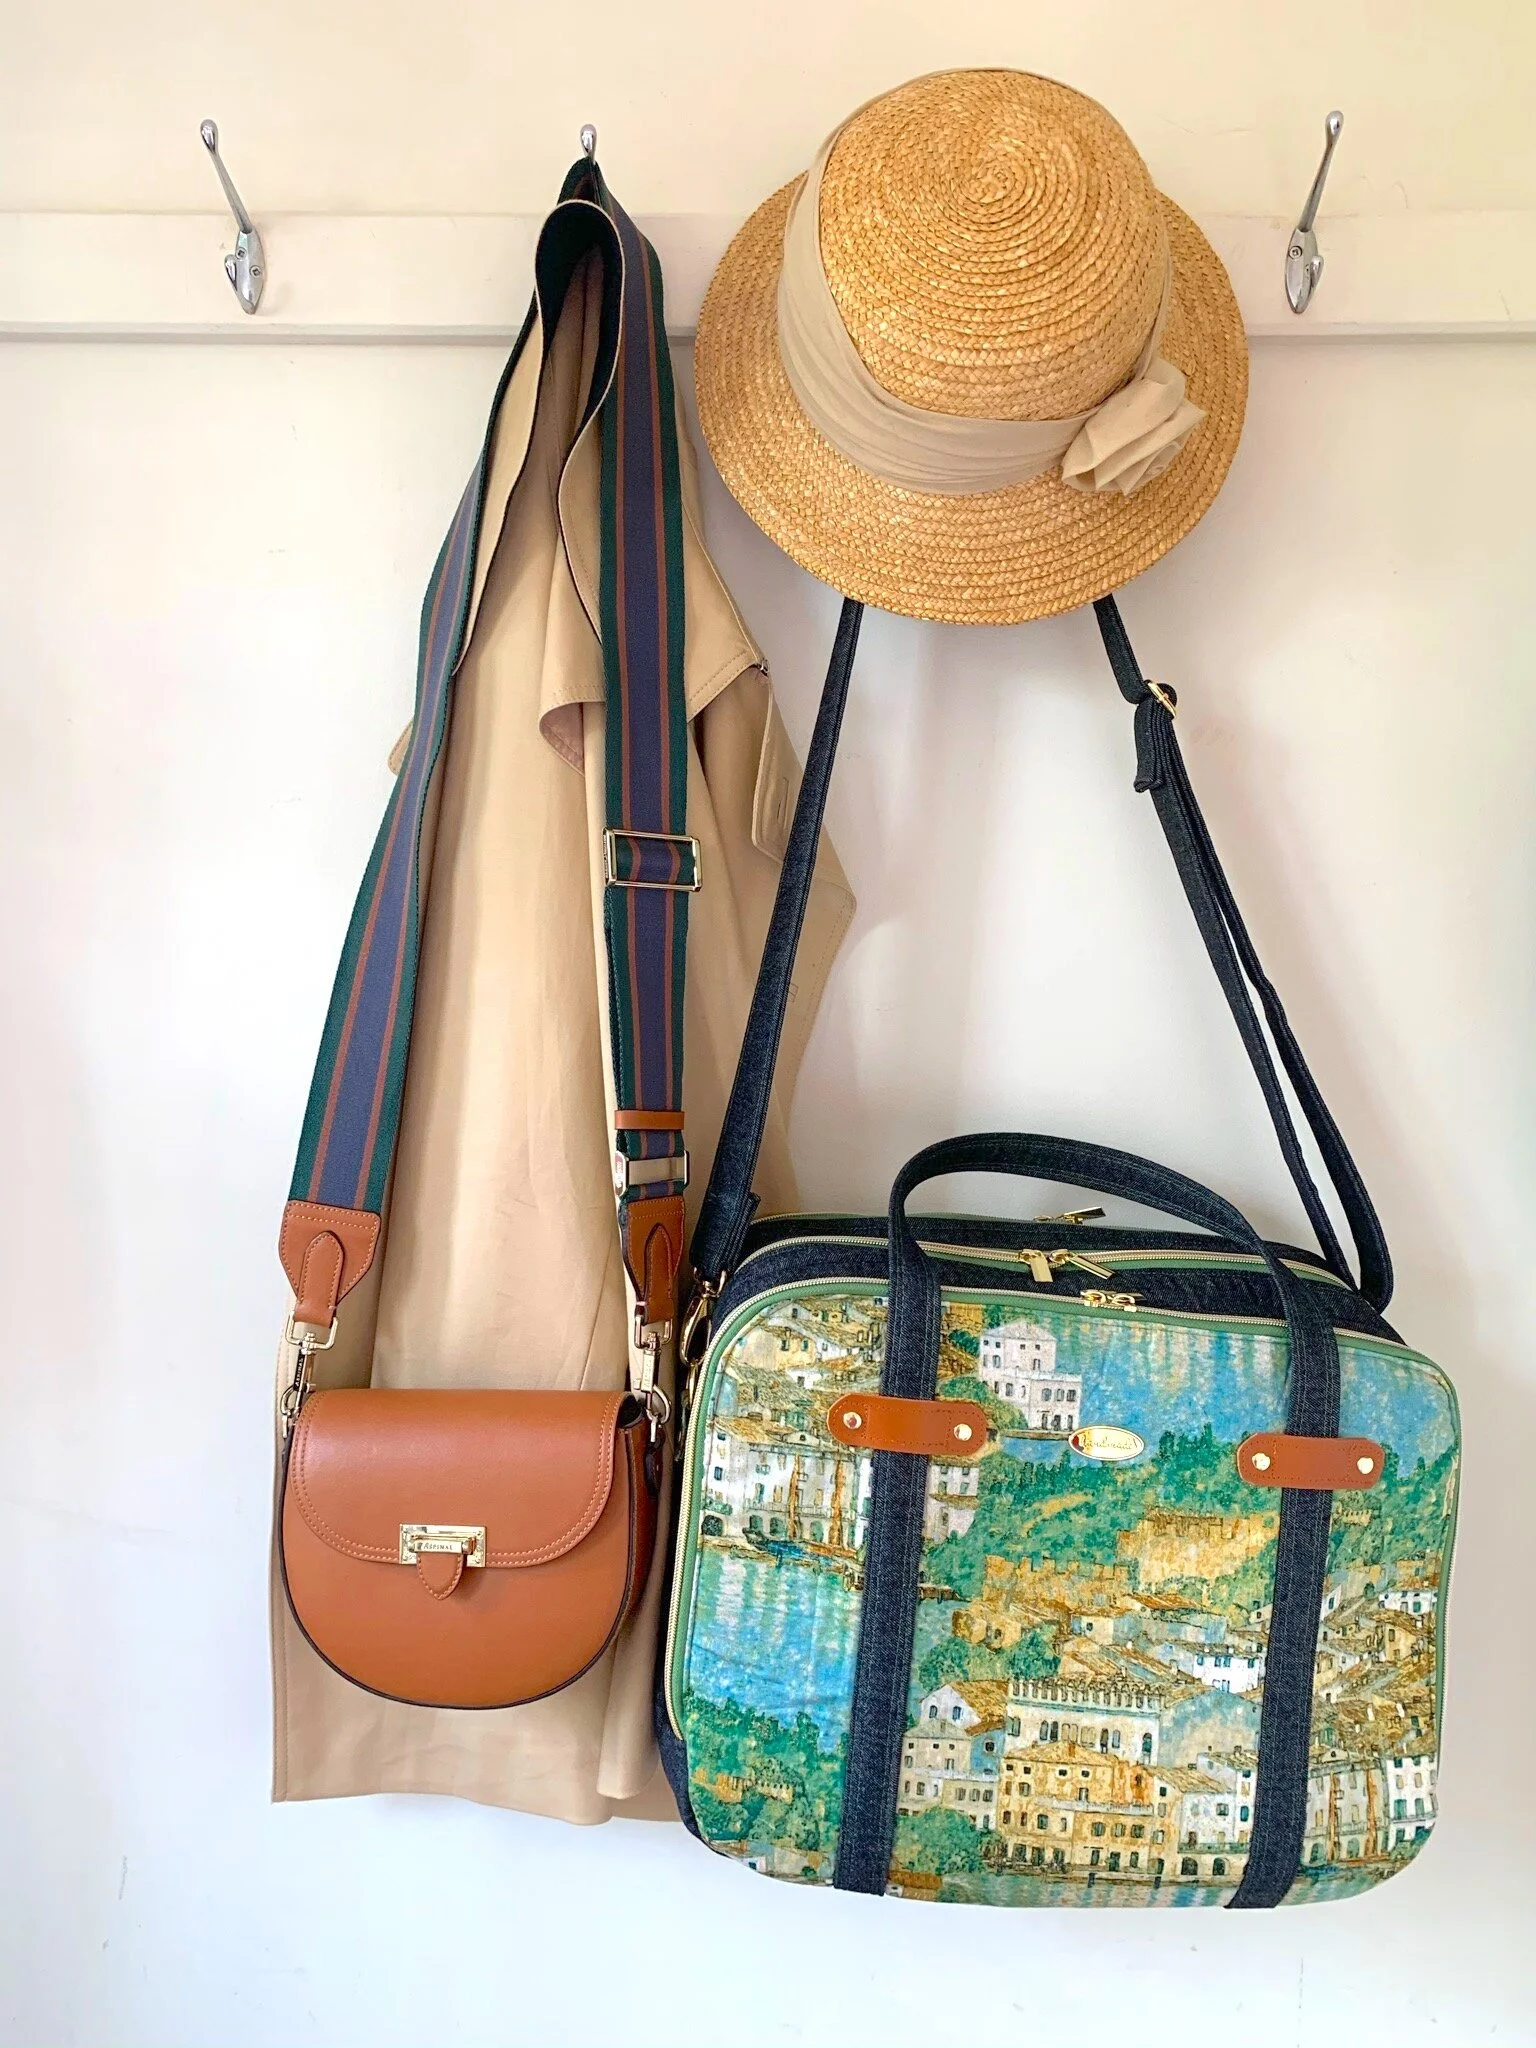
I’m feeling pretty coordinated here and ready for a trip. With this little ensemble I feel a jaunt to the Italian Lakes would be rather the thing. It seems just perfect for all my stuff and it’s really rather stylish to boot.

I am about to start preparations for the Festival of Quilts over the next few weeks and hope to have a new quilt pattern ready very soon, so do hope you will pop back soon and hope you are making plans to come to Birmingham - it is going to be fun.
See you soon, Ruby x
Here are some useful links:
Sara Lawson of Sew Sweetness can be found here
Emmaline bag hardware is excellent and I got mine from Sew Hot.
Good quality denim is available at Empress Mills.
The green zip is from Sallie Tomato
If you want to read about the Crimson and Clover Train case make, click here
