

Making the Style Arc 'Anita' Blouse
/Back to dressmaking here today and spring/summer wardrobe planning….did I really say that? I am not a wardrobe planning kind of person, but it was one of my resolutions this year, to declutter and reorganise my wardrobe and making some new things is part of it. However, the course of true sewing love doesn’t necessarily run smoothly and this one most certainly didn’t!!
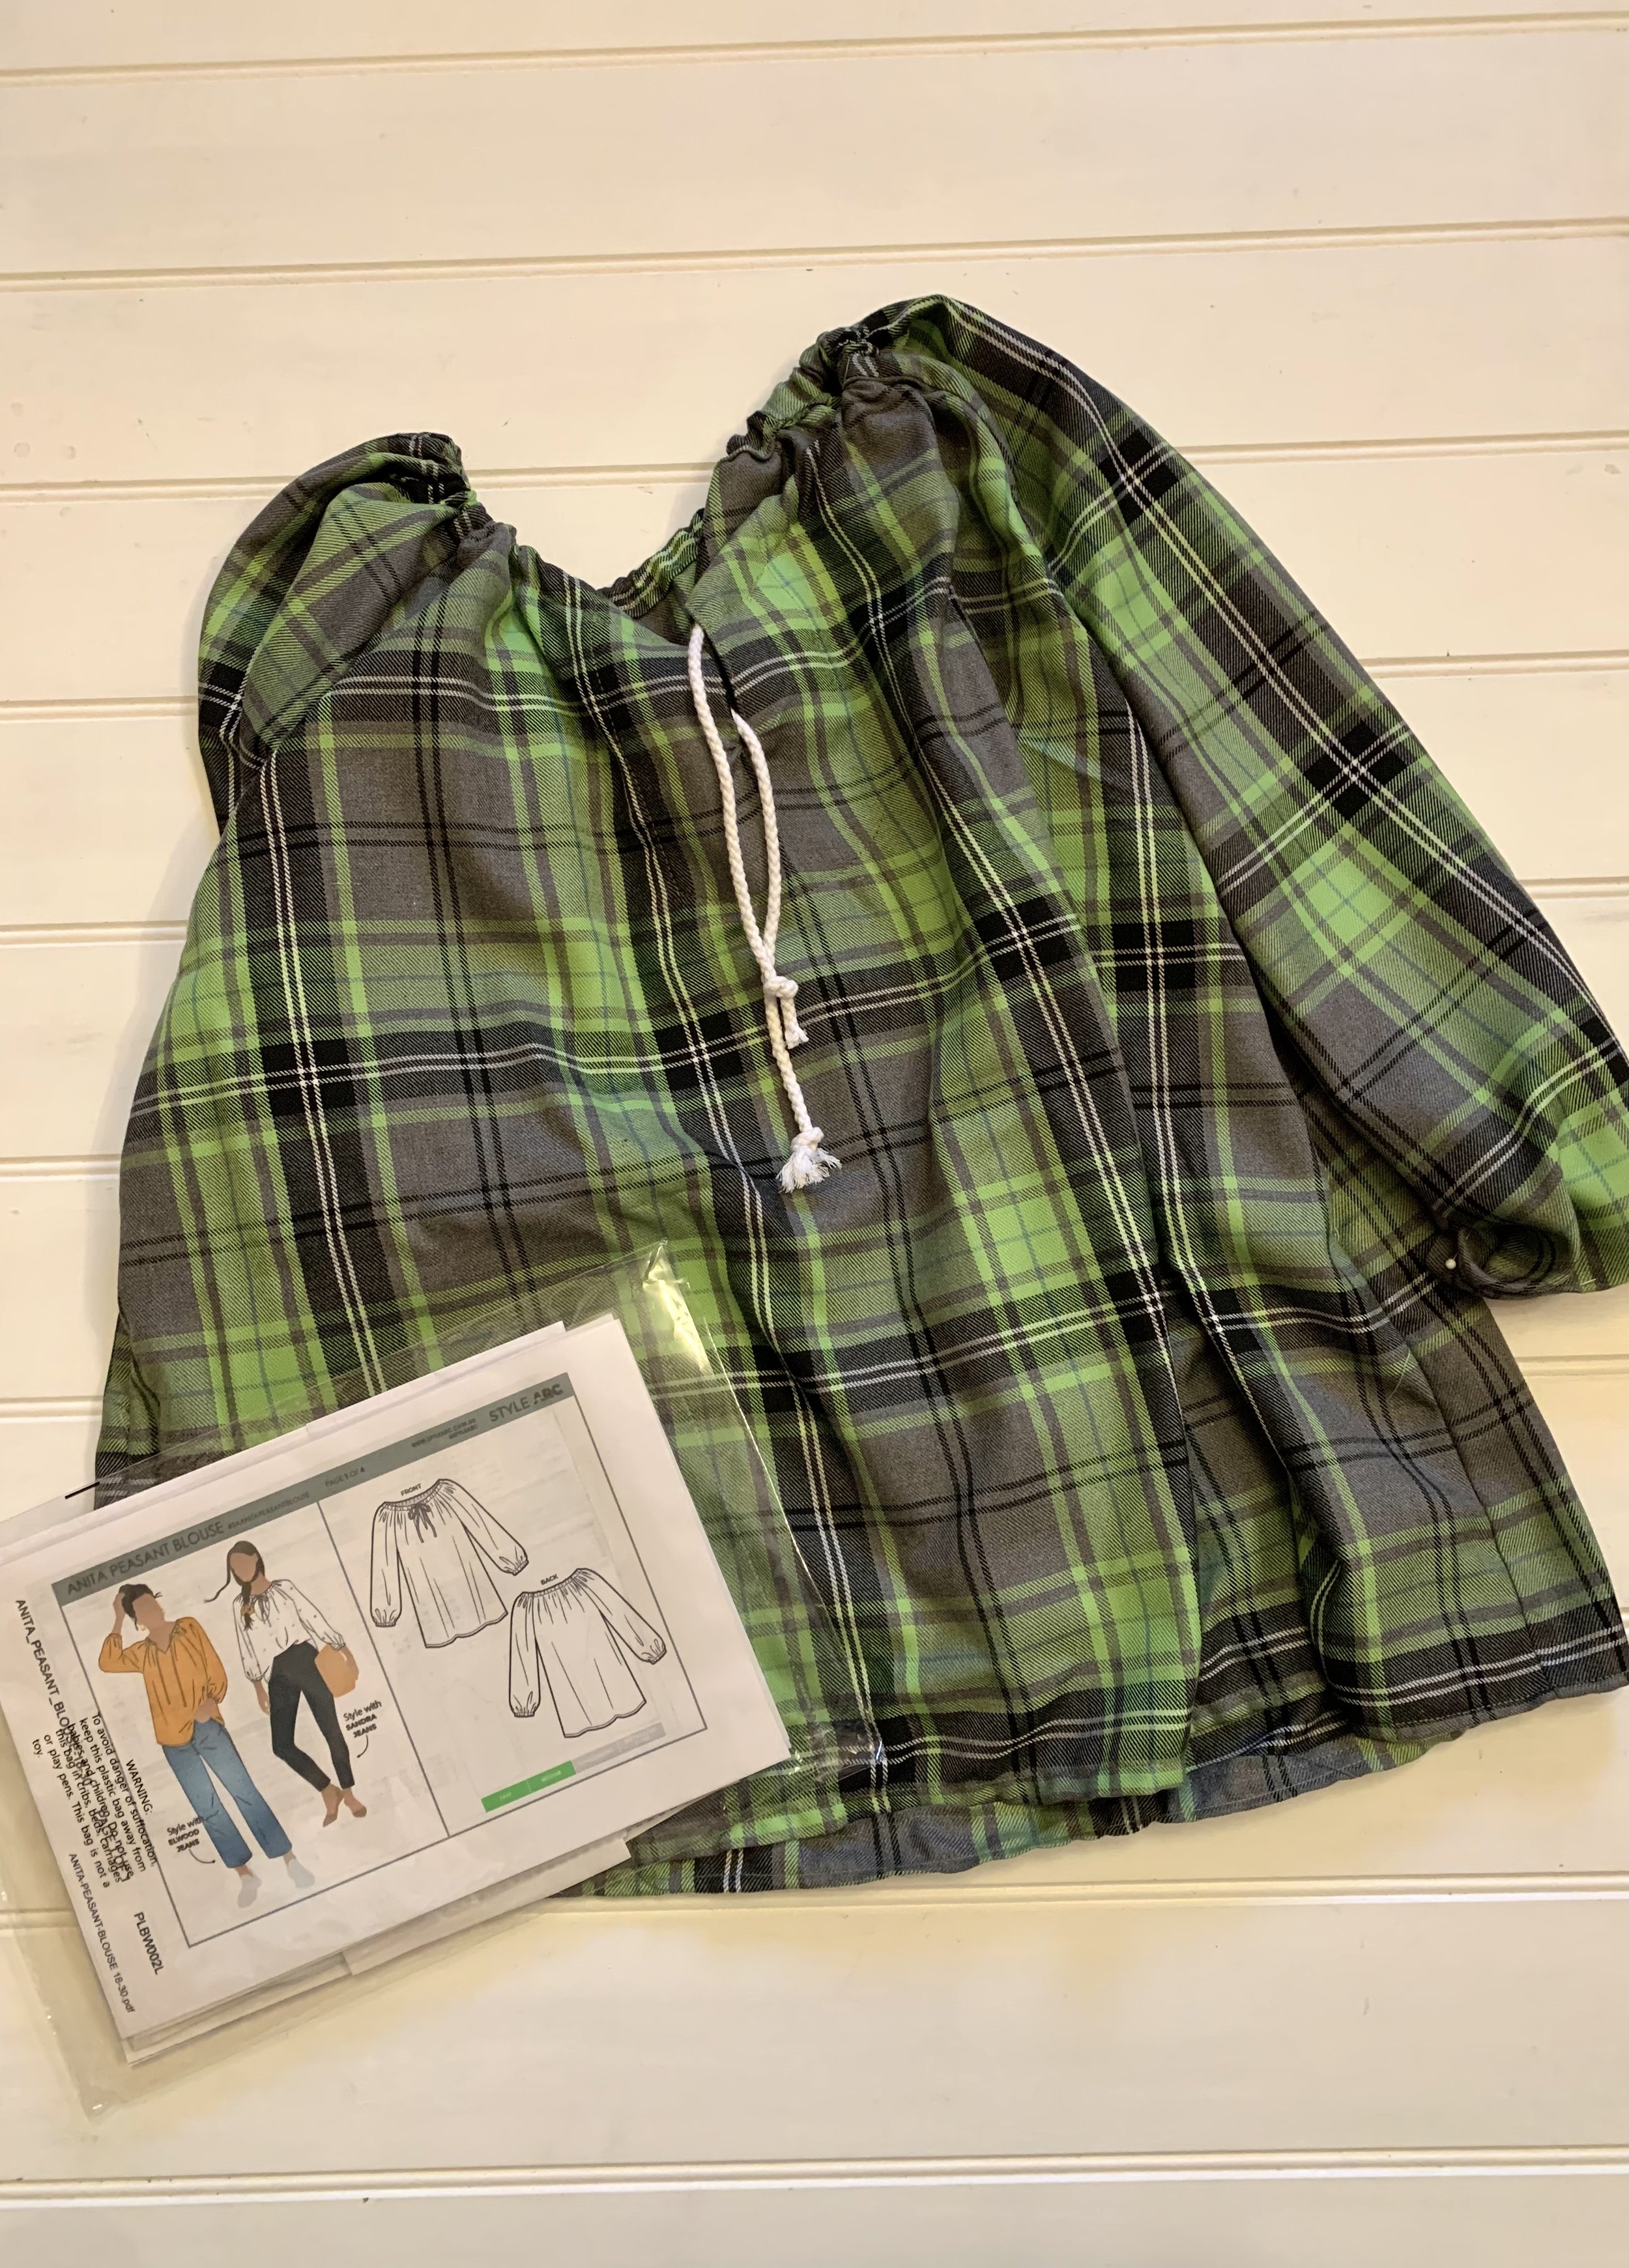
TAKE ONE: First mistake - I didn’t consult the measurements and made the wrong size. Second mistake - I didn’t make a toile. Third mistake - Wrong fabric.

Where to begin. I really like this informal gypsy style sort of blouse and felt it was well within my dressmaking capabilities. This pattern seemed like the right sort of thing and it absolutely is, it just took a while. Style Arc patterns are Australian and although the internet says the sizing is the same as the UK, I think this came up very large. I like to do french seams on my projects as I don’t have an Overlocker, so I always size up to allow extra fabric for this, but here I went way over my normal size without really understanding and that is just because I didn’t really read the given measurements. The pattern has very minimal instructions and this took me by surprise. Not over confident, I prefer more detailed instructions and for a beginner, I should think this would be extremely difficult to follow. It is simple enough though and I do have some knowledge, so I was able to get to work once it was cut out.
The fabric I had was cheap and cheerful viscose tartan and I was quite proud that I managed to match the pattern as checked fabric can be a bit of a nightmare with this. It went together in a straight forward way - raglan sleeves. Almost immediately I had a problem with the fabric - it frayed like hell and was such a loose weave it almost felt like it was collapsing in my fingers. It was slippery and annoying to sew with and I felt the french seams were bulky and ugly.
Once the four pieces of the garment were together, I looked at how to do the neck. The pattern said, just turn over the neck and stitch and channel for the cord to go through. This simply doesn’t work well. I thought it looked really sloppy and you couldn’t get a neat finish at the front, because of course it is circular and once turned in, it is short at the edges. I googled ‘gathered necklines’ and soon saw that actually it was much better to cut a facing for this. At this point I tried it on too and it was a nice length and the sleeves were not to long either, but it was too big for me and I realised that this was, in effect, going to be the ‘toile’ after all. The sizing mistake is totally my own fault and just simply careless.
I ditched the whole thing at this point and went back to the drawing board. I spent a lovely morning looking through my every growing collection of japanese dressmaking books. There is a fabulous dressmaking movement in Japan and Instagram has oodles of photos to inspire any dressmaker. The styles are precise and yet simple and there is not a stretchy fabric in sight. I am easily sucked into this world and once you see one of the books (easily available on Etsy - link below) you will understand how tempting it is to have a go. I saw some photos of a drawstring top in one of the books with a frill effect around the neck edge. Looking at the diagrams, I realised that I needed to cut a bias facing and make a channel for the cord to go through.

I mulled it over for a few days, did a bit more research on necklines and then took a deep breath and began again.
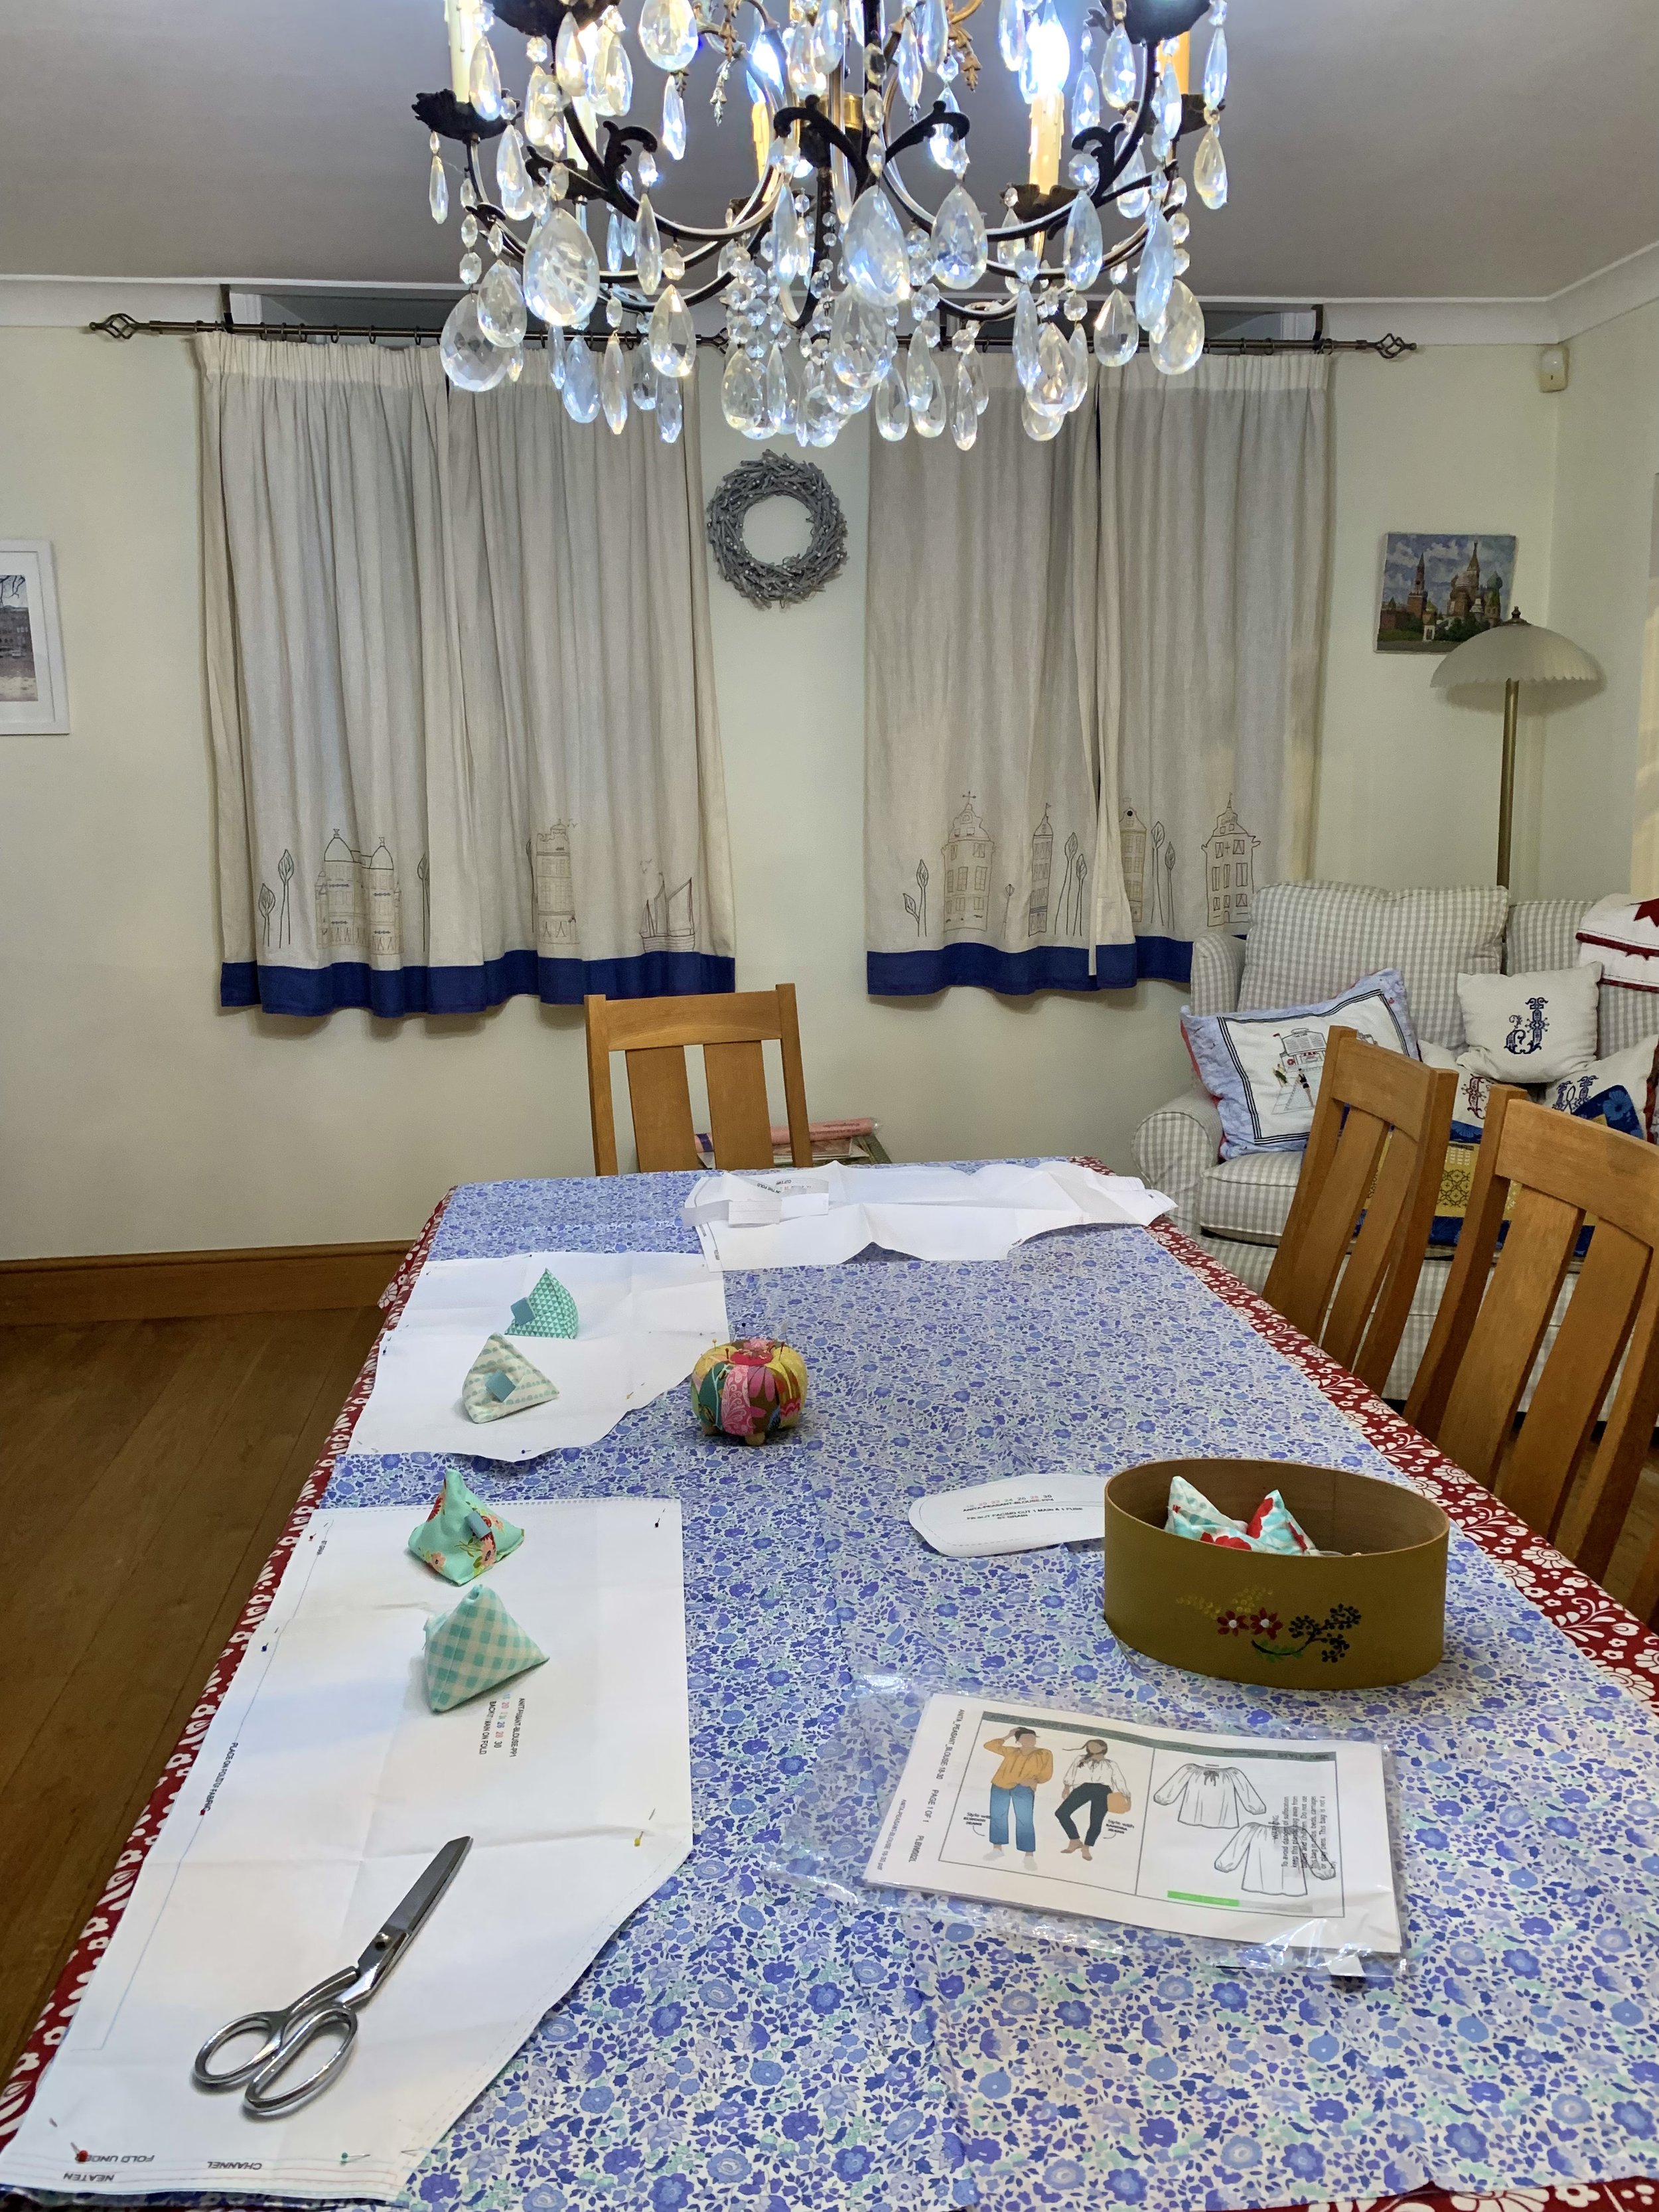
TAKE TWO: This time I sized the pattern down. I used some gorgeous Liberty Tana Lawn in a lovely cool blue ditsy print (‘brave soul’, I hear you cry.) I started cutting out…
I started sewing….front to sleeves and then….something was horribly wrong - the back piece didn’t fit with the sleeve. I couldn’t understand at first what had happened as I hadn’t had this problem before. After much scratching of my tatty curls, I realised that the pattern piece for the back had been folded under about 3” and I hadn’t even noticed. I was horrified. I could feel my Mum looking down at me and wagging her finger saying ‘You weren’t concentrating!’. To make matters worse, because I had cut the bias strip out for the neckline facing I now didn’t have enough fabric left for another back piece. I tried putting a strip on either side of my back piece, it looked terrible. I threw my hands up in the air and went to bed. The next morning, I ordered another metre of fabric. ‘This had better work out’ was all I could think.
A few days later, I was back on the case with a new piece of fabric. It all went together easily enough.
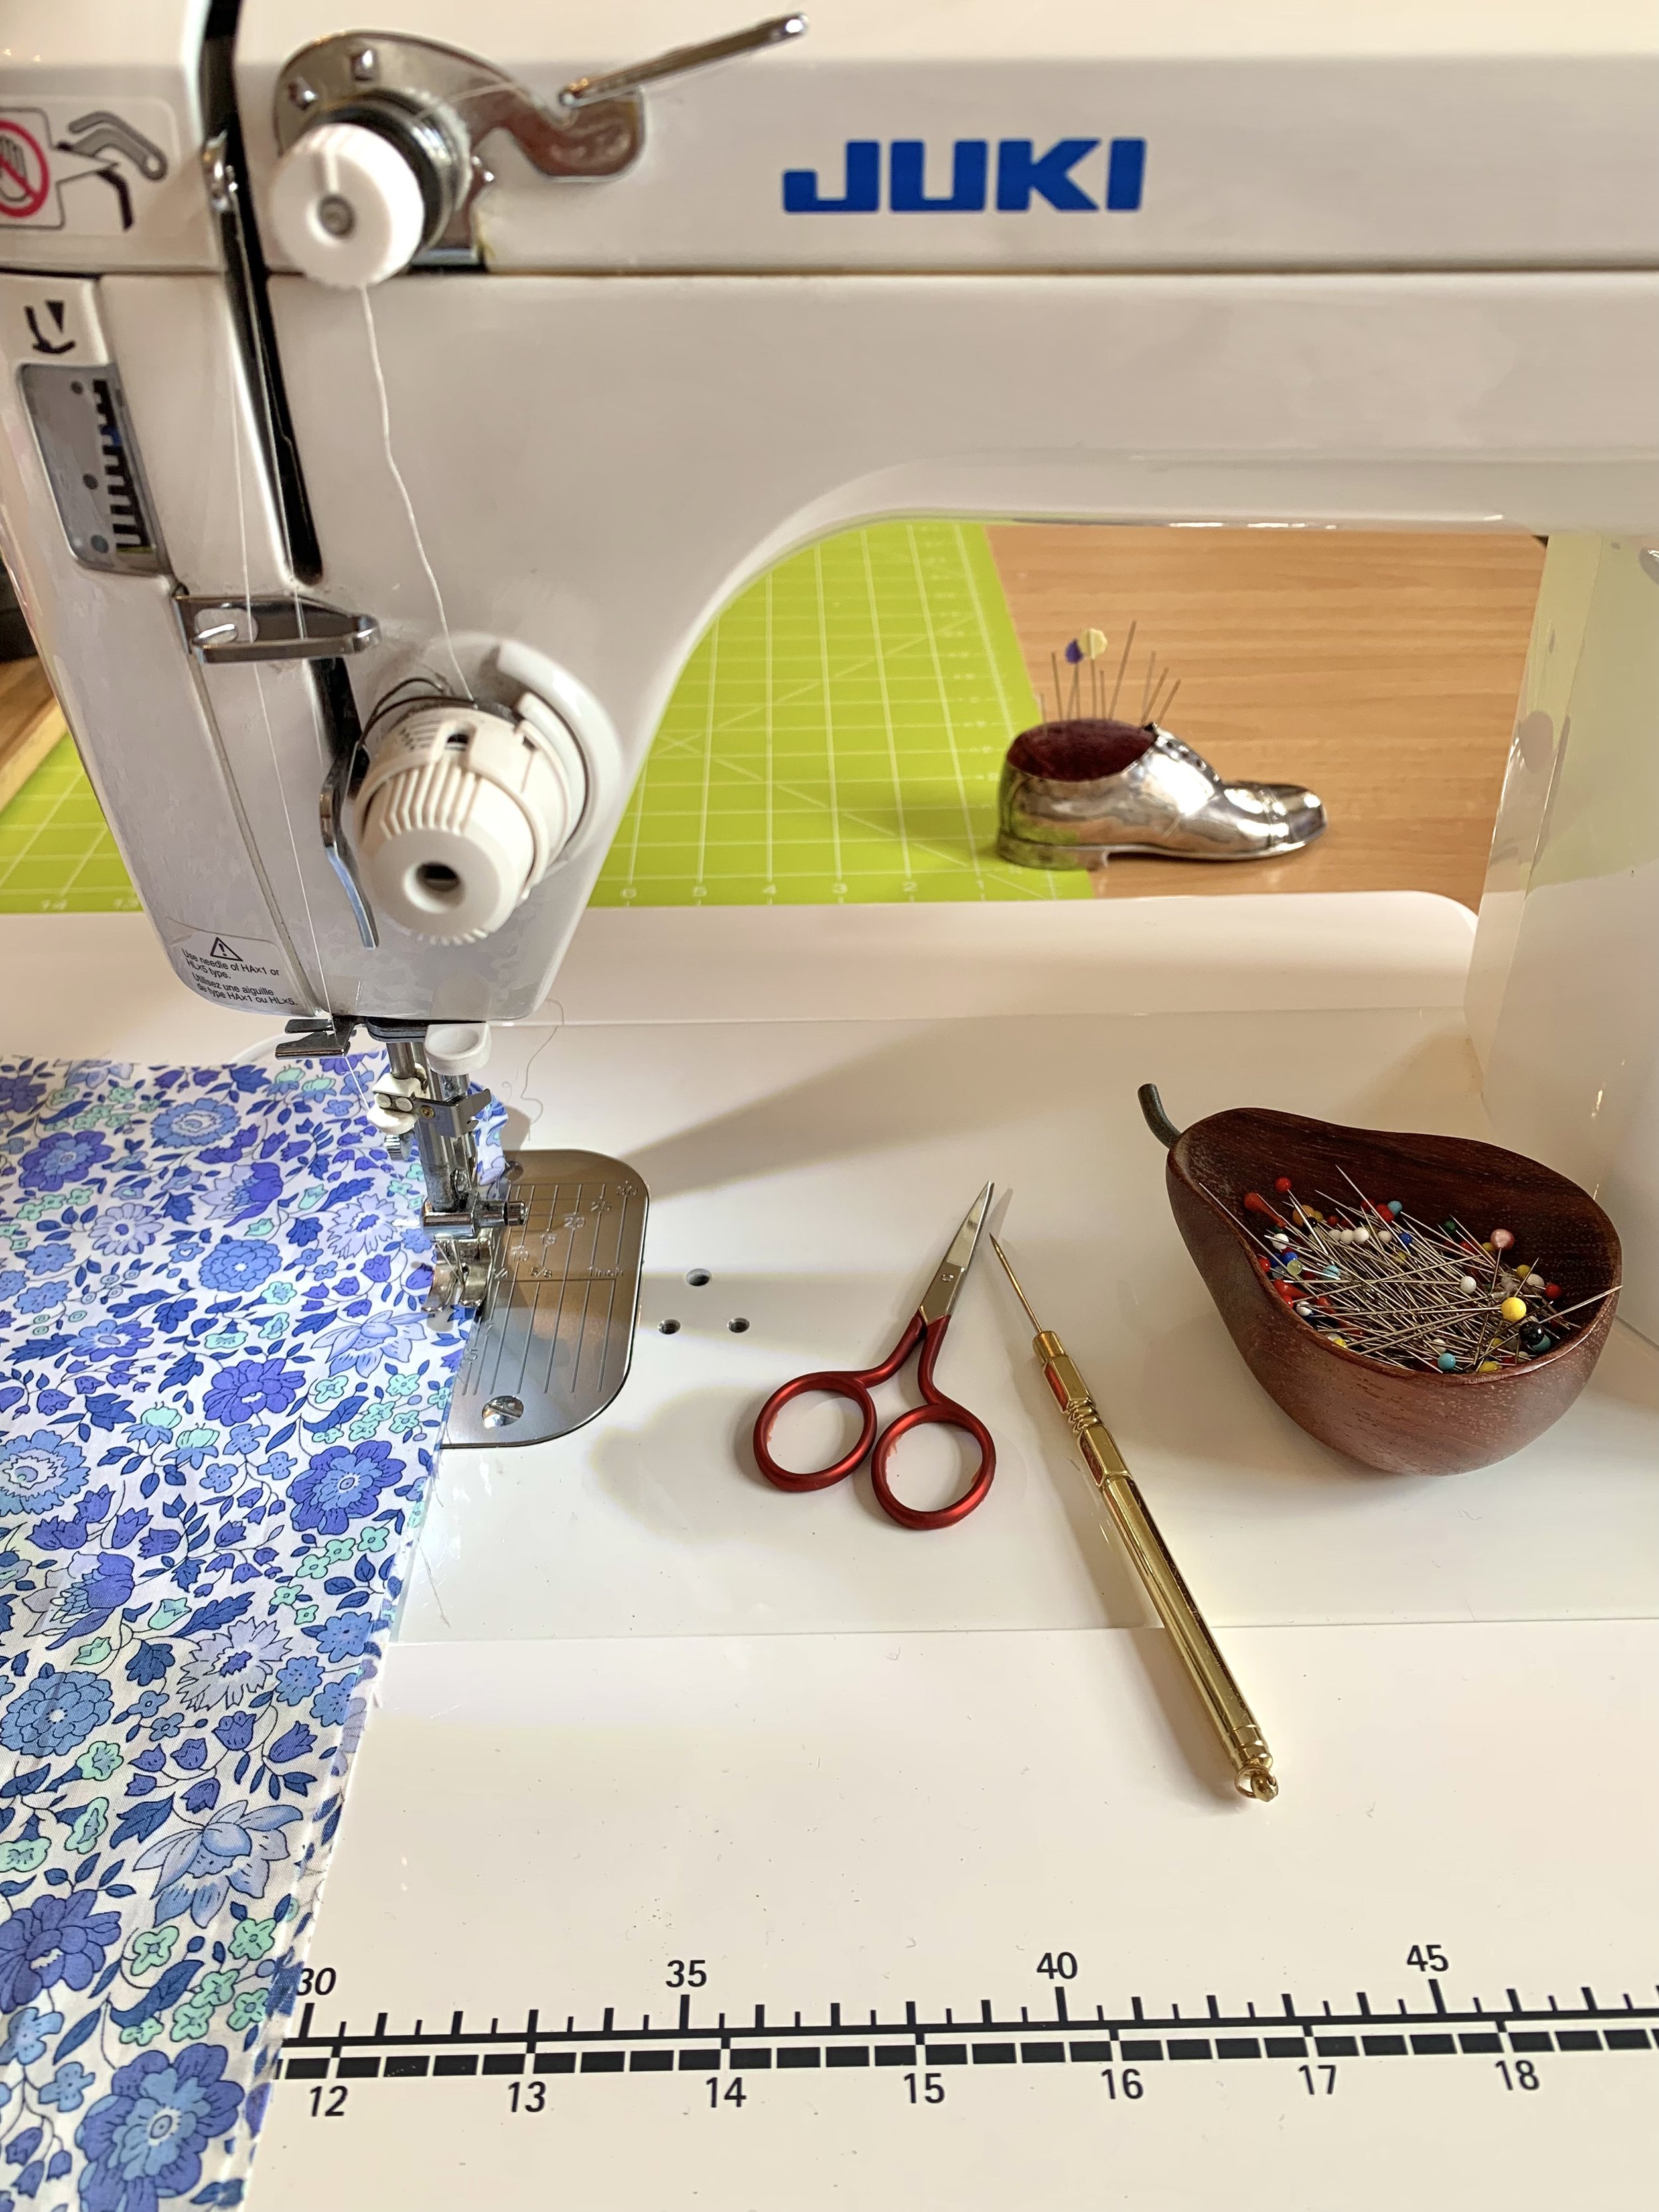
Sewing with this Liberty tana lawn is just dreamy. I am not sure there is anything else quite like it. It’s firm weave and fine feel just whiz neatly through the machine and french seams are effortless and not bulky.
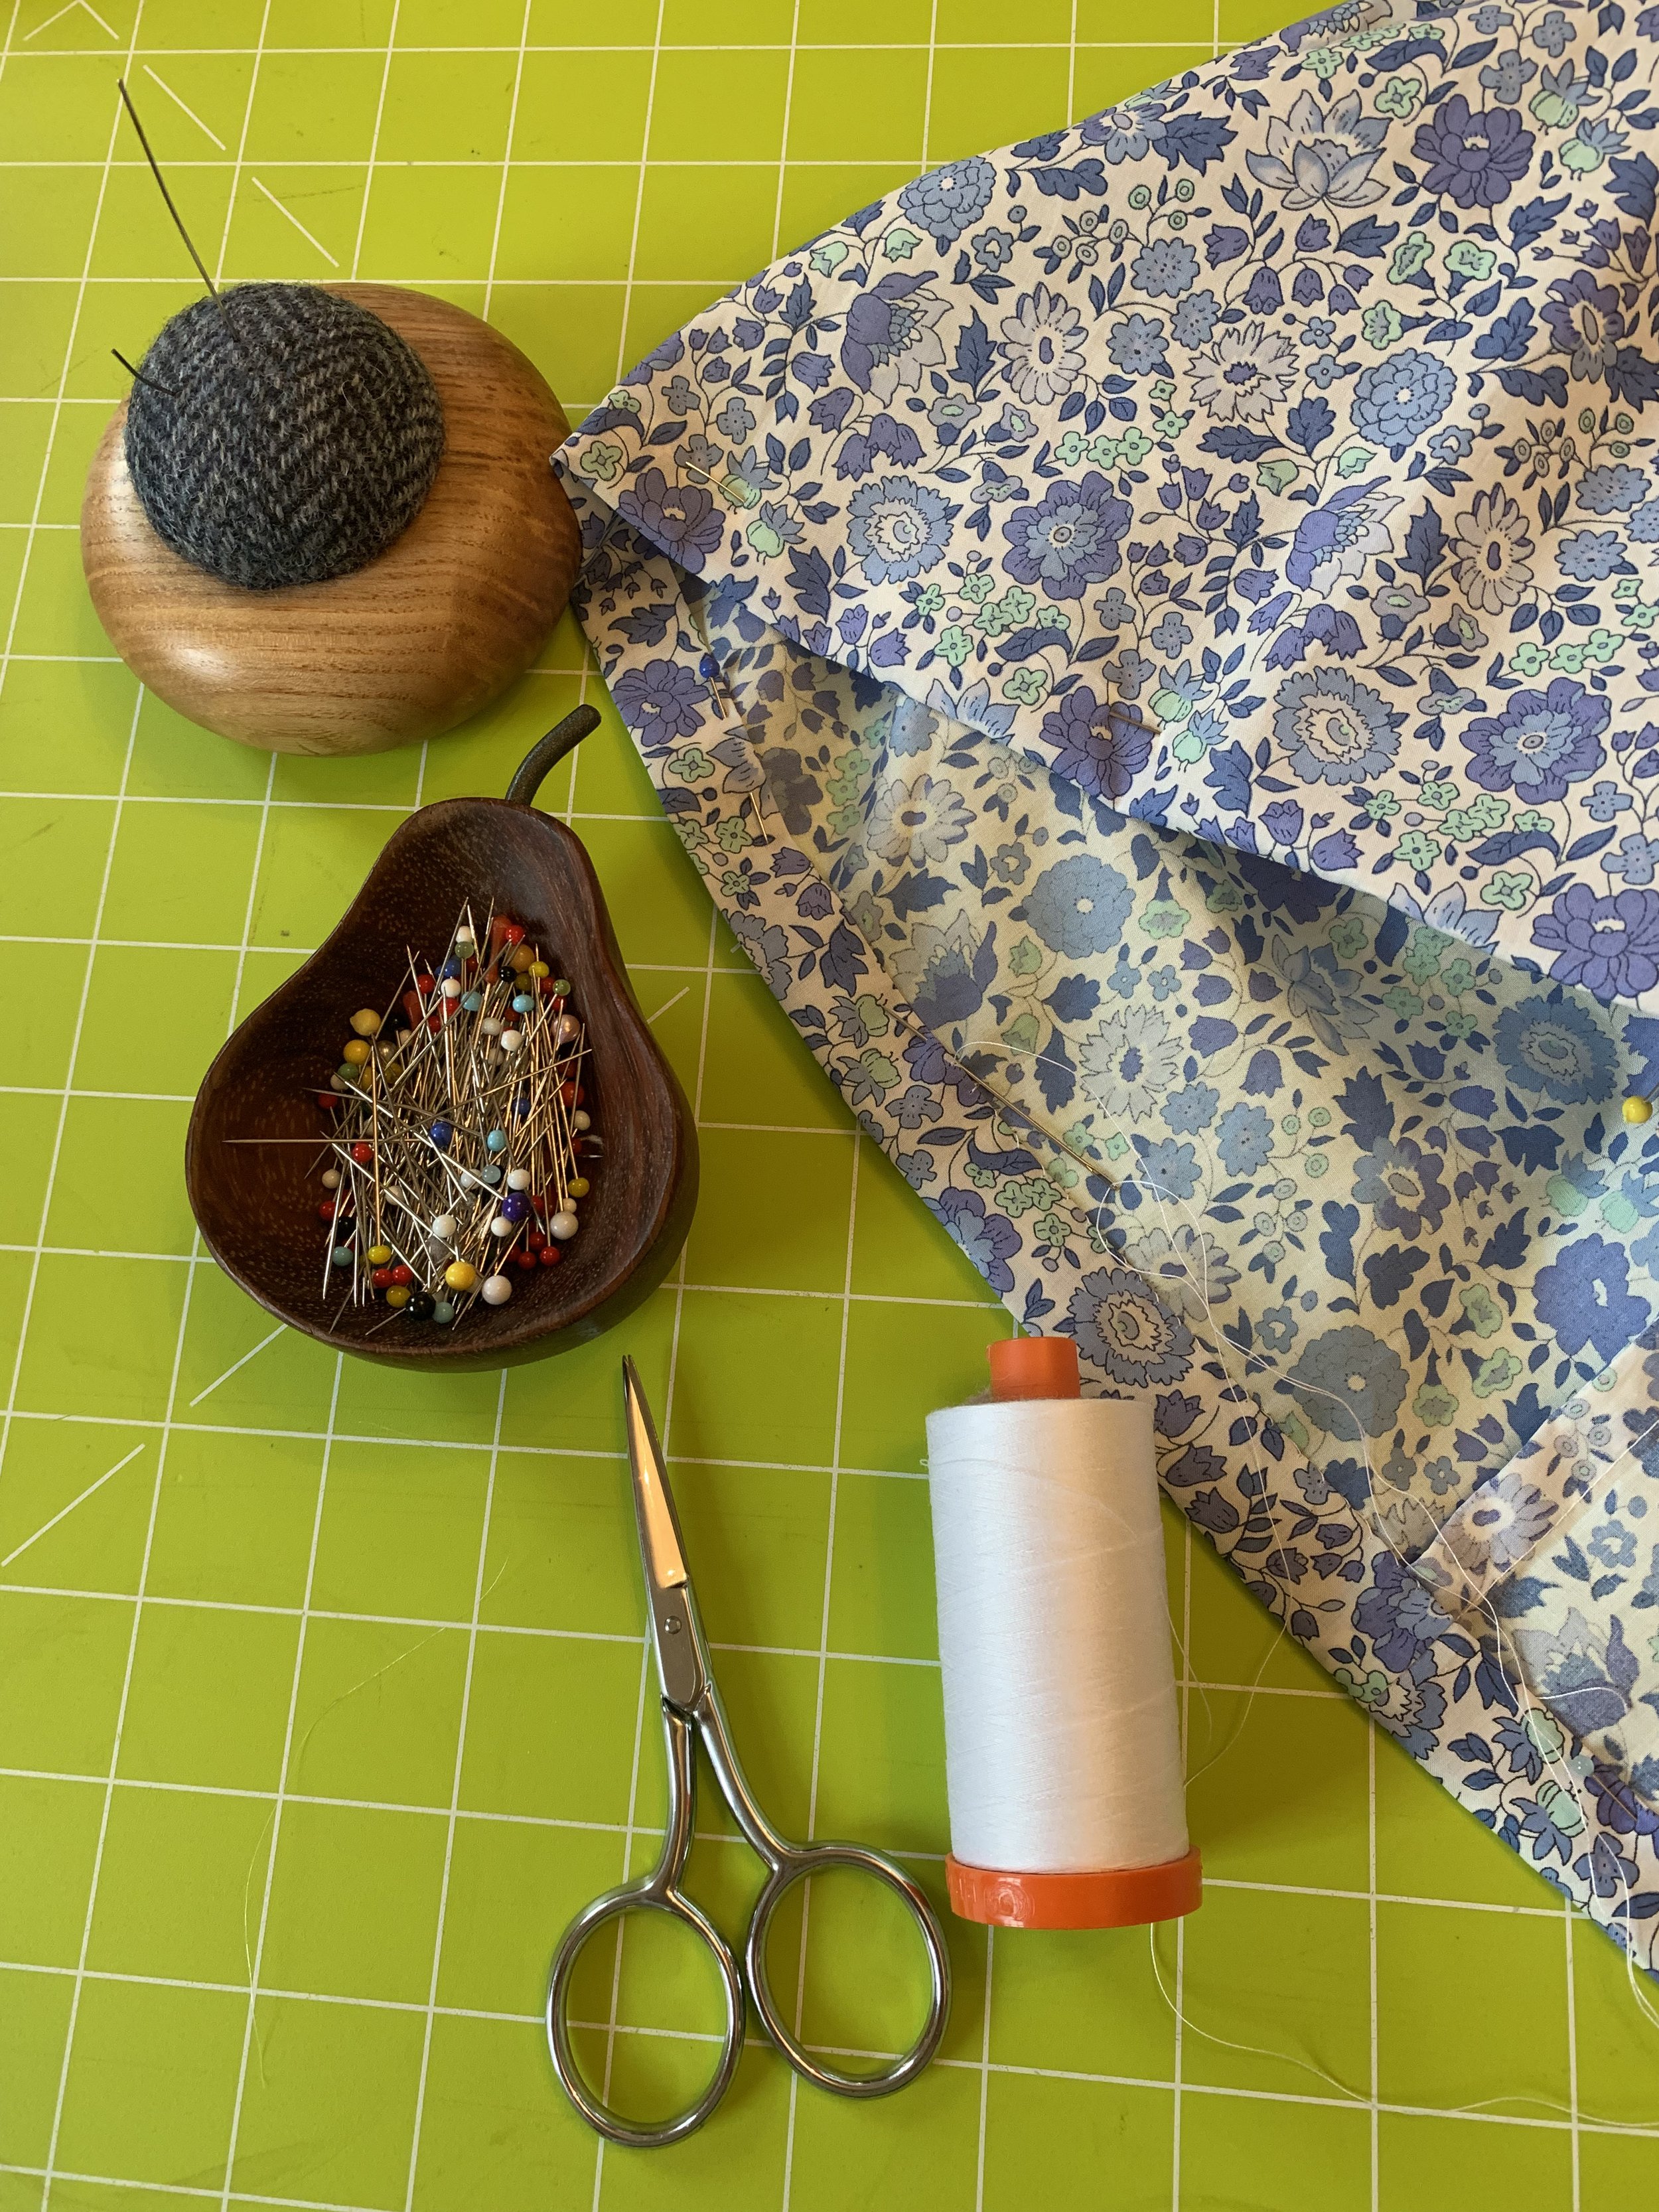
When it came to the bias cut strip for the back, I sewed it around the neckline with a quarter inch seam, folded it to the inside and stitched two lines for a channel around the neck with a half inch allowance at the top for a frill effect. I turned the bottom edge under and neatened it and it all looked just hunky dory.

I hand stitched the hem, because I like a neat finish and Liberty fabric is so fine, it sort of deserves that hand finished little extra touch.
Finishing the gathered sleeves was the final stage and they just looked so pretty once they were done.

I am just over the moon with this finish. It proves that patience pays off and perhaps making a toile isn’t such a bad idea after all. The amazing thing about this top is that I feel anyone from the age of a few months to 100 could wear it. It is a timeless, comfortable style that looks ultra feminine and in Liberty fabric it is light and airy and the perfect thing to pack in your suitcase for summer holidays. I have never been a fan of t-shirts and this is the way to go for me. It looks great teamed with jeans and a cardigan for chillier days and is crisp and fresh and well….simply just really pretty.

I’ve realised that taking time and thinking about every step is crucial in dressmaking. Prep and patience are the key words. I also see that having followed dressmakers on social media, I have gained an understanding of what I want to make and that styles from around the world are not just interesting, but easily interpreted using traditional english fabrics. I’ve learnt a lot from this experience and will definitely be making more of these and of course there are always possibilities for an embroidered version…..
See you soon for some more hand made adventures, Love Ruby xx
