

The Oak Leaves Embroidery
/
This lovely project came together over many months and from many sources and it is one of my most favourite pieces EVER! Botanical embroidery is quite a craze and instagram pages are loaded with inspiration. I confess I am a sucker for it all. If you follow me, you will know that I love embroidering clothes and home decor items and making my own patterns and designs. However, recently I have felt that I needed to take it somehow to the next level and several visits and one read, conspired to set me on the path with this fine idea even if it was a slow burner.
The first visit was to the Natural History Museum in London. This was a complete revelation to me. When I do get time in the city, you can usually find me holed up in the V&A, but I had some time to kill and thought I would wander in. It is really very many years since I was last there…so long ago, I can’t really ever remember when. The building itself is worth a visit - staggering in its design aesthetic. I am working on a freestyle needlepoint seat cover based on this imagery alone.
There was a smallish exhibition in the cases on the one of the landings about the early explorers and the specimens and exquisite drawings that they brought home and it was fascinating. I picked up some books in the shop at the museum and headed home loaded with ideas.
This year we visited Whitby on the north yorkshire coast and there is Captain Cook’s house and museum. What a story! and what treasures came from it. There is one whole room that houses a copy of the original ‘Florilegium’, a vast collection of botanical drawings from the voyage across the world. Looking at the detail involved in these beautiful sketches, each one a work of art, I felt that I definitely had scope to look at the idea of more detailed and accurate embroidered renditions of more scientific style.
Whilst visiting family, I wandered into a bookshop on the local high street and saw this book ‘Thinking the Plant’ by Rebecca John. As soon as I flicked through it, I knew it was coming home with me and what’s more, I knew this was the starting point for the next level in my stitching journey. It is simply a beautiful publication. The water colours are detailed and ethereal and anyone of them would, in theory, be a candidate for embroidery. I devoured the book and it’s story, the artist being the grand daughter of the infamous artist Augustus John. If I had any talent at all at drawing and painting with watercolours, this is is how I should like it to look. What particularly drew my attention was the detail of the mosses and lichens on the tree branches and I started to look around on the internet for more information. This whole idea seems very Japanese and I adore their style. It was all flowing around in my mind and then I came across an audio book by Robin Wall Kimmerer ‘Gathering Moss’. This was just pure joy to listen to. The soothing and yet passionate voice of the author detailing how mosses grow and live and what they mean in a modern world.
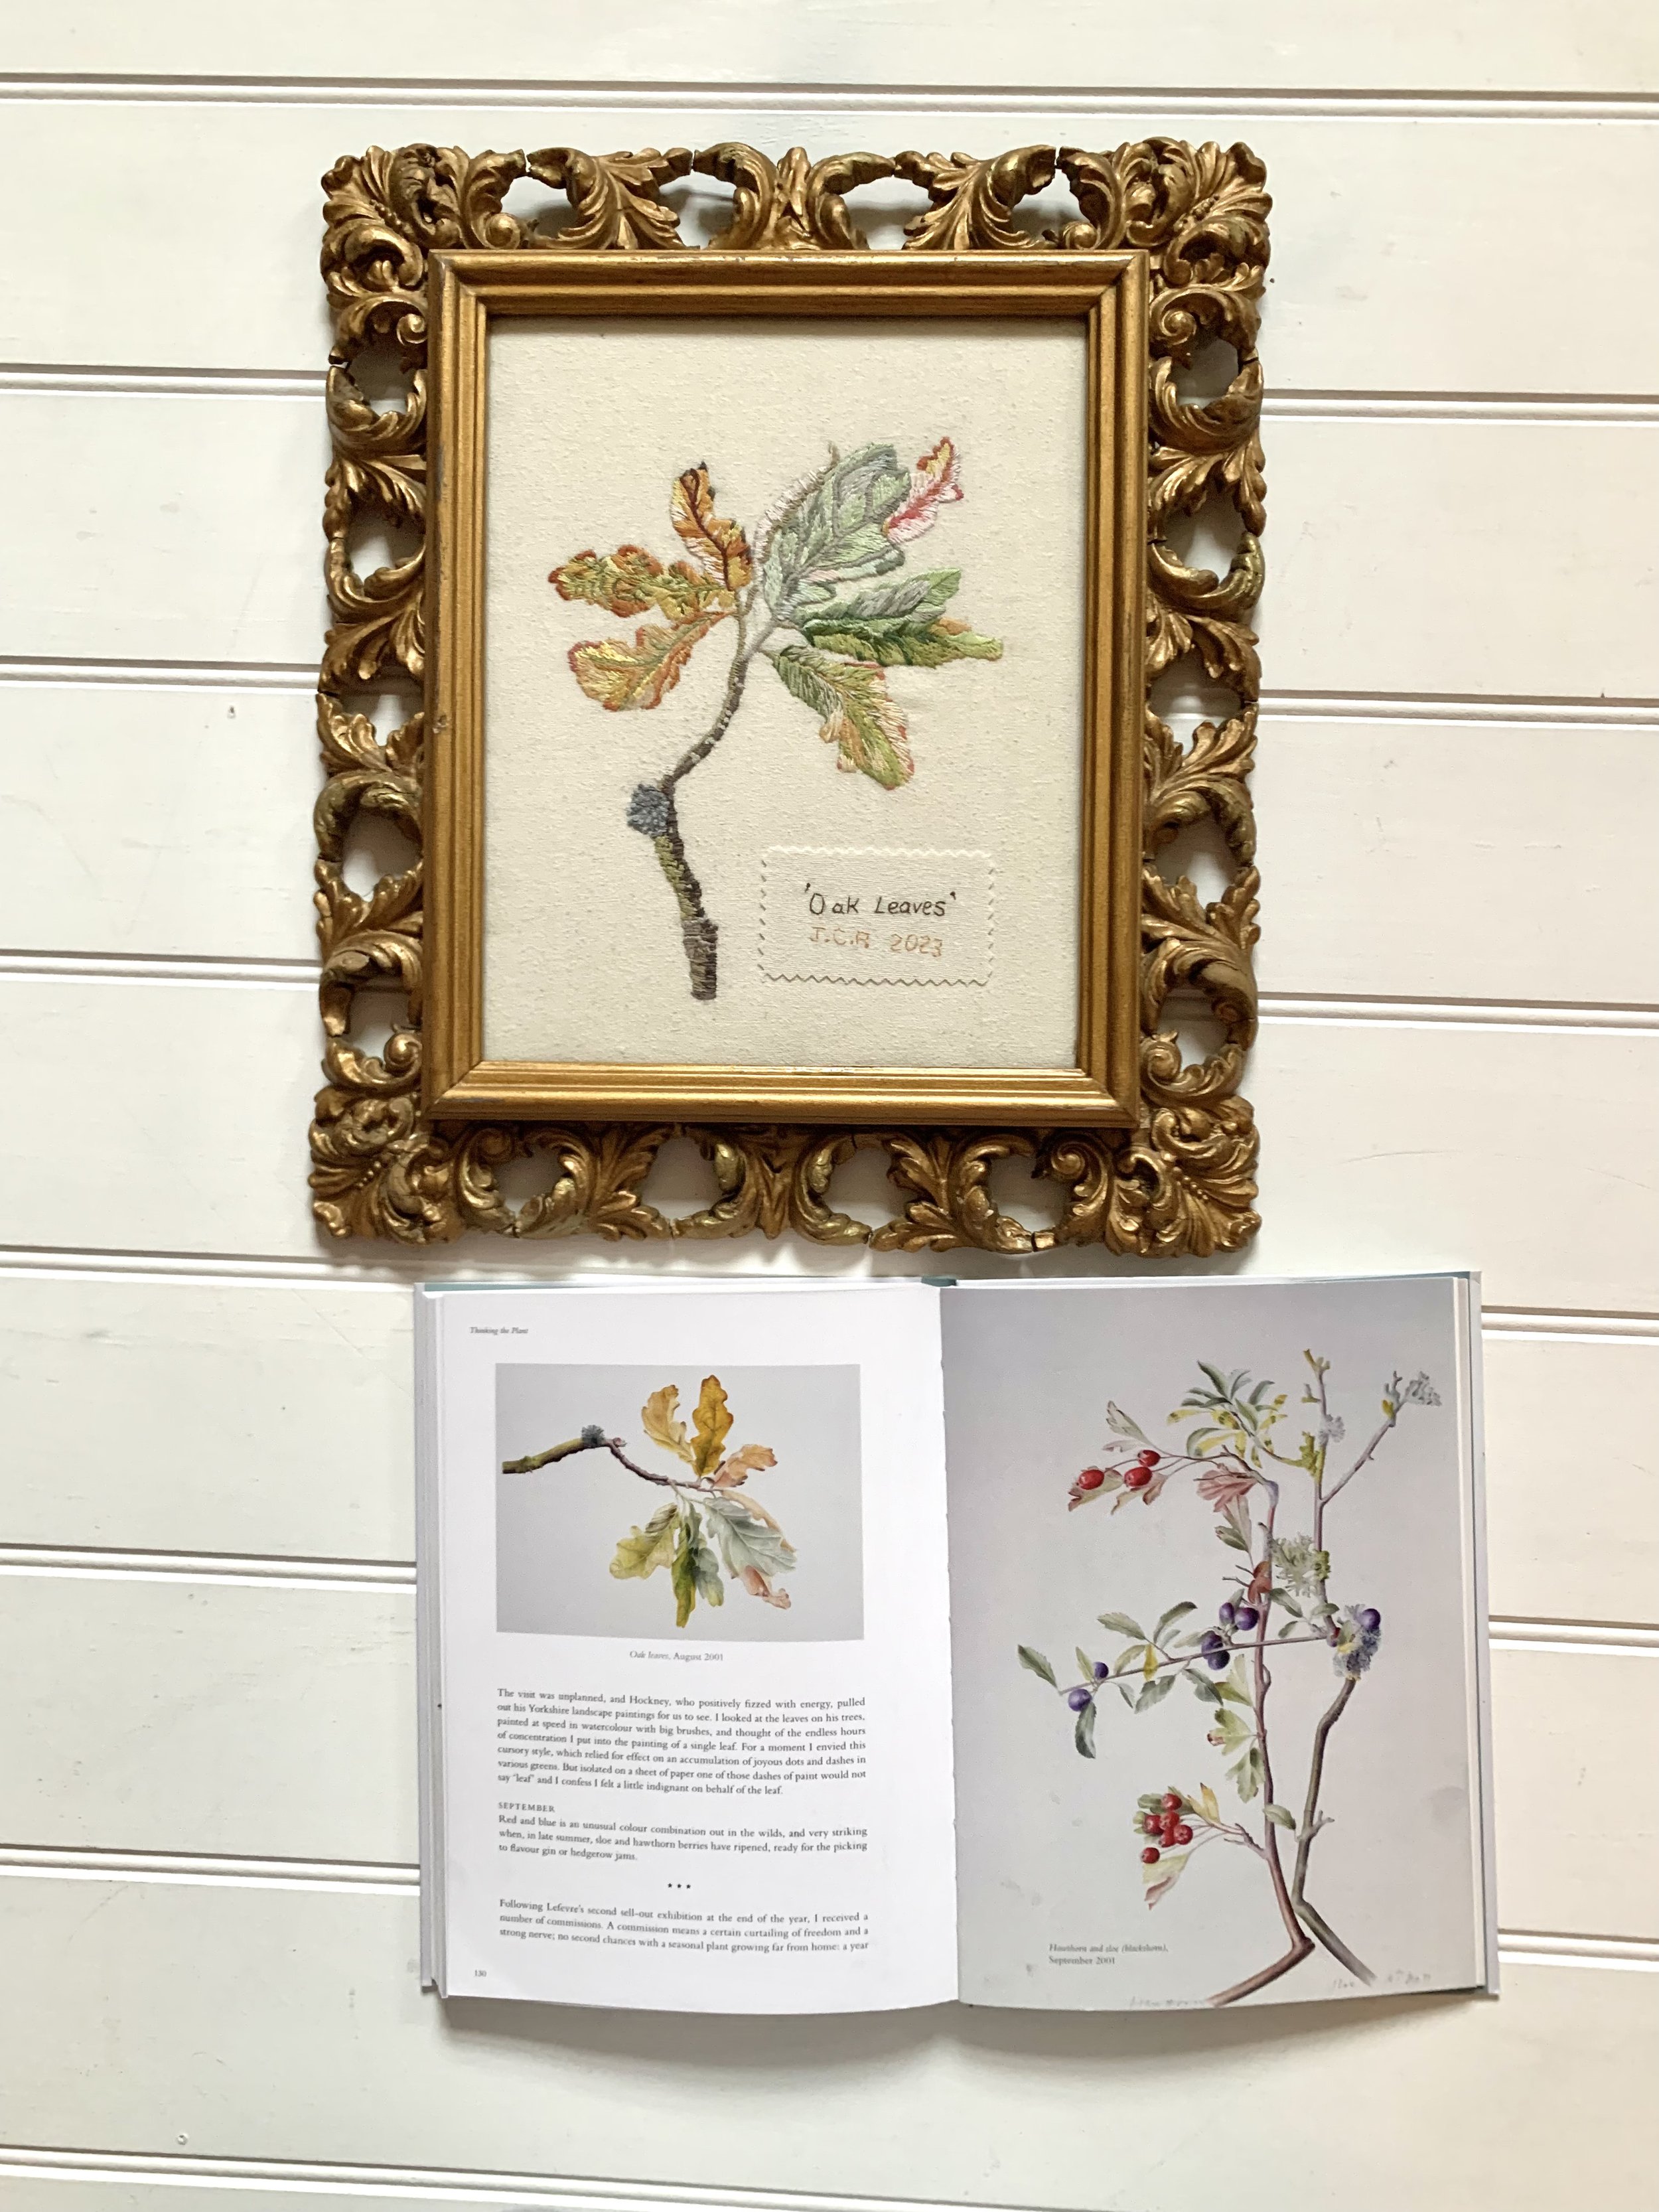
With all these things coming together, I settled on a picture from the book as a first attempt at taking my stitching to a higher level. It was of Oak Leaves.
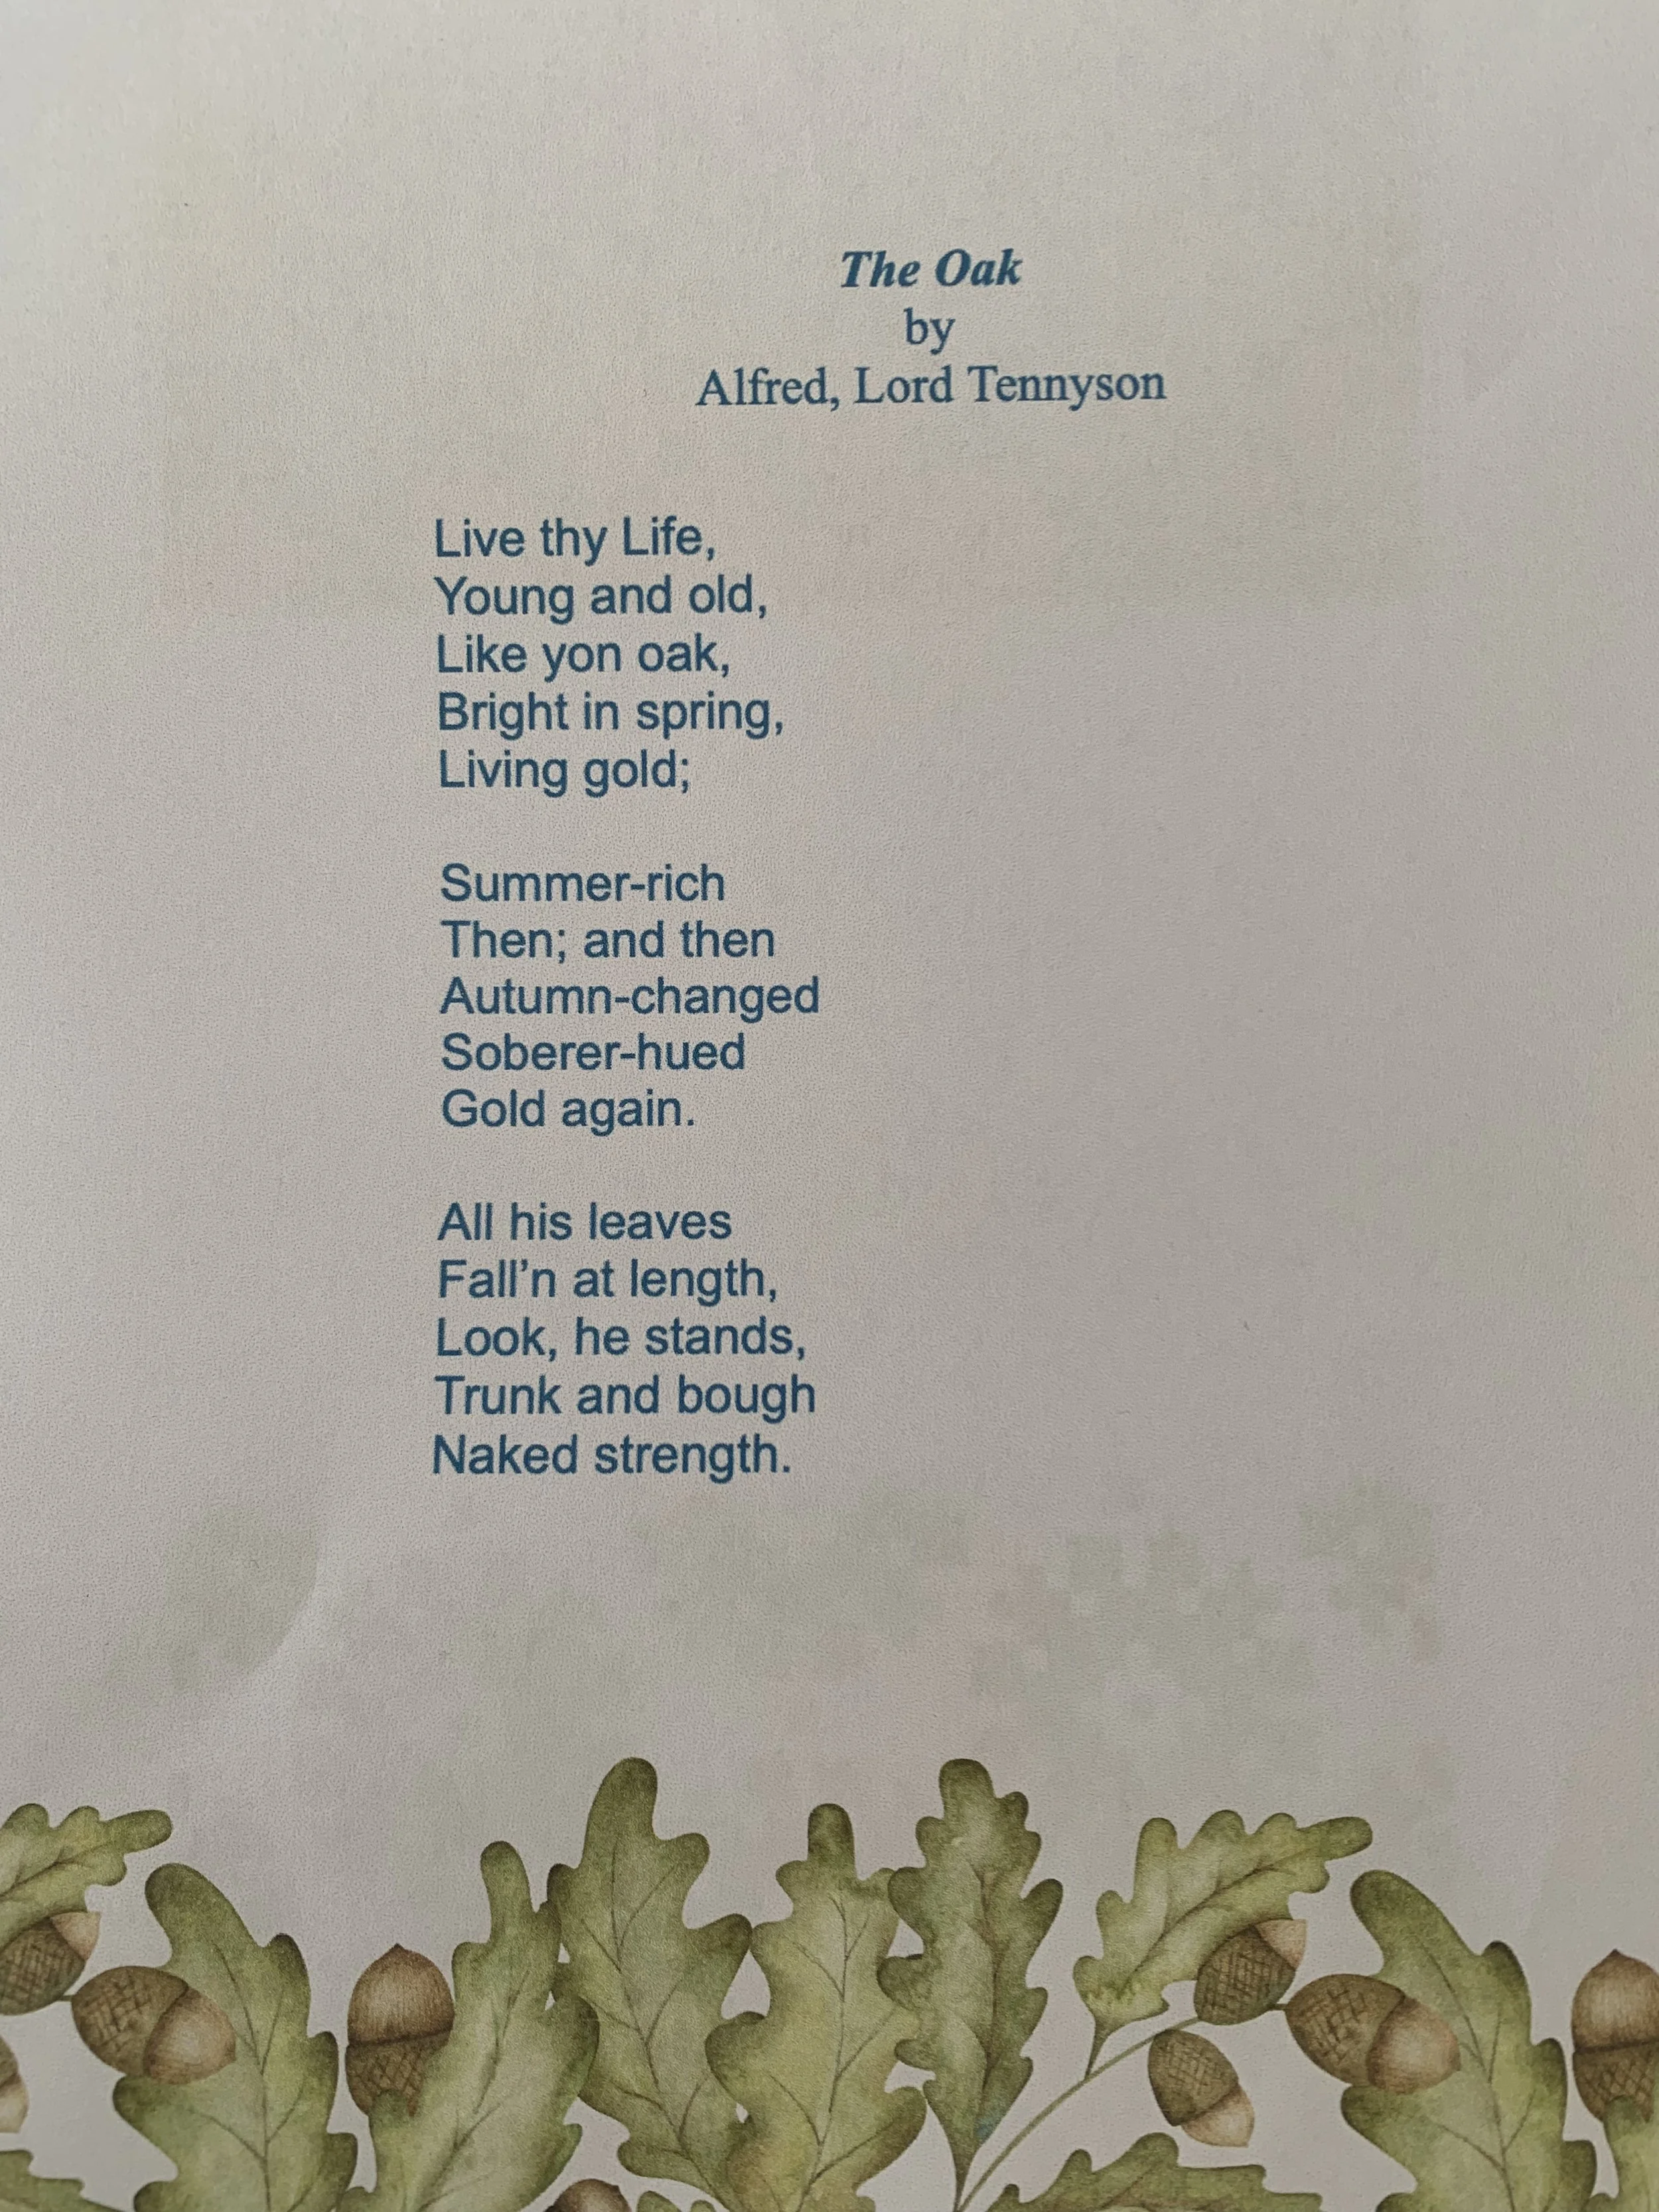
I do love oak trees and perhaps that is because I am British. The Oak is native to our climes and found everywhere in woodlands and rambling countryside. These trees are somehow embedded in the psyche from an early age. I remember running around and hiding in Robin Hood’s ‘Major Oak’ as a small child (you can no longer do this of course). I won a competition when I was about 10 years old to design a monster for Doctor Who, using oak leaves in a collage. Jon Pertwee (my childhood Doctor Who) presented me with a paintbox. The oak is often found in paintings, poetry and literature as a symbol of strength as well as beauty. It can be seen on crests and carvings in the stately homes of england and it feels so familiar and welcoming in it’s design. The gently curvy leaves that transform into a multitude of autumn colours and the enticing acorns that fall from it’s branches on to the woodland carpet of a Sunday walk. I love Tennyson’s poem:
I have a beautiful little gold oak leaf on a chain with a tiny amethyst acorn that I love dearly and that always makes me think of home if I am abroad. It is an intrinsically english emblem….a great place for me to start.
I began by photographing the image in the book and enlarging it to fit a sheet of A4. I printed it off and traced it using my light box and an ordinary pencil lightly onto a piece of Silk Noil ivory fabric. I actually love this fabric, which is inexpensive and widely available. The raw silk content gives it a luxurious but natural feel and it is strong and doesn’t stretch. It has a light texture to it that feels appropriate to a botanical image - nothing too perfect or smooth or shiny, just a natural faint glow. Once this image was on my fabric, I backed it with some woven iron on interfacing to give it added strength and support for the threads.
I like to work in a large hoop with the entire image in front of me, so I added some scrappy fabric borders to go enable me to secure it in my frame. I was ready to go.
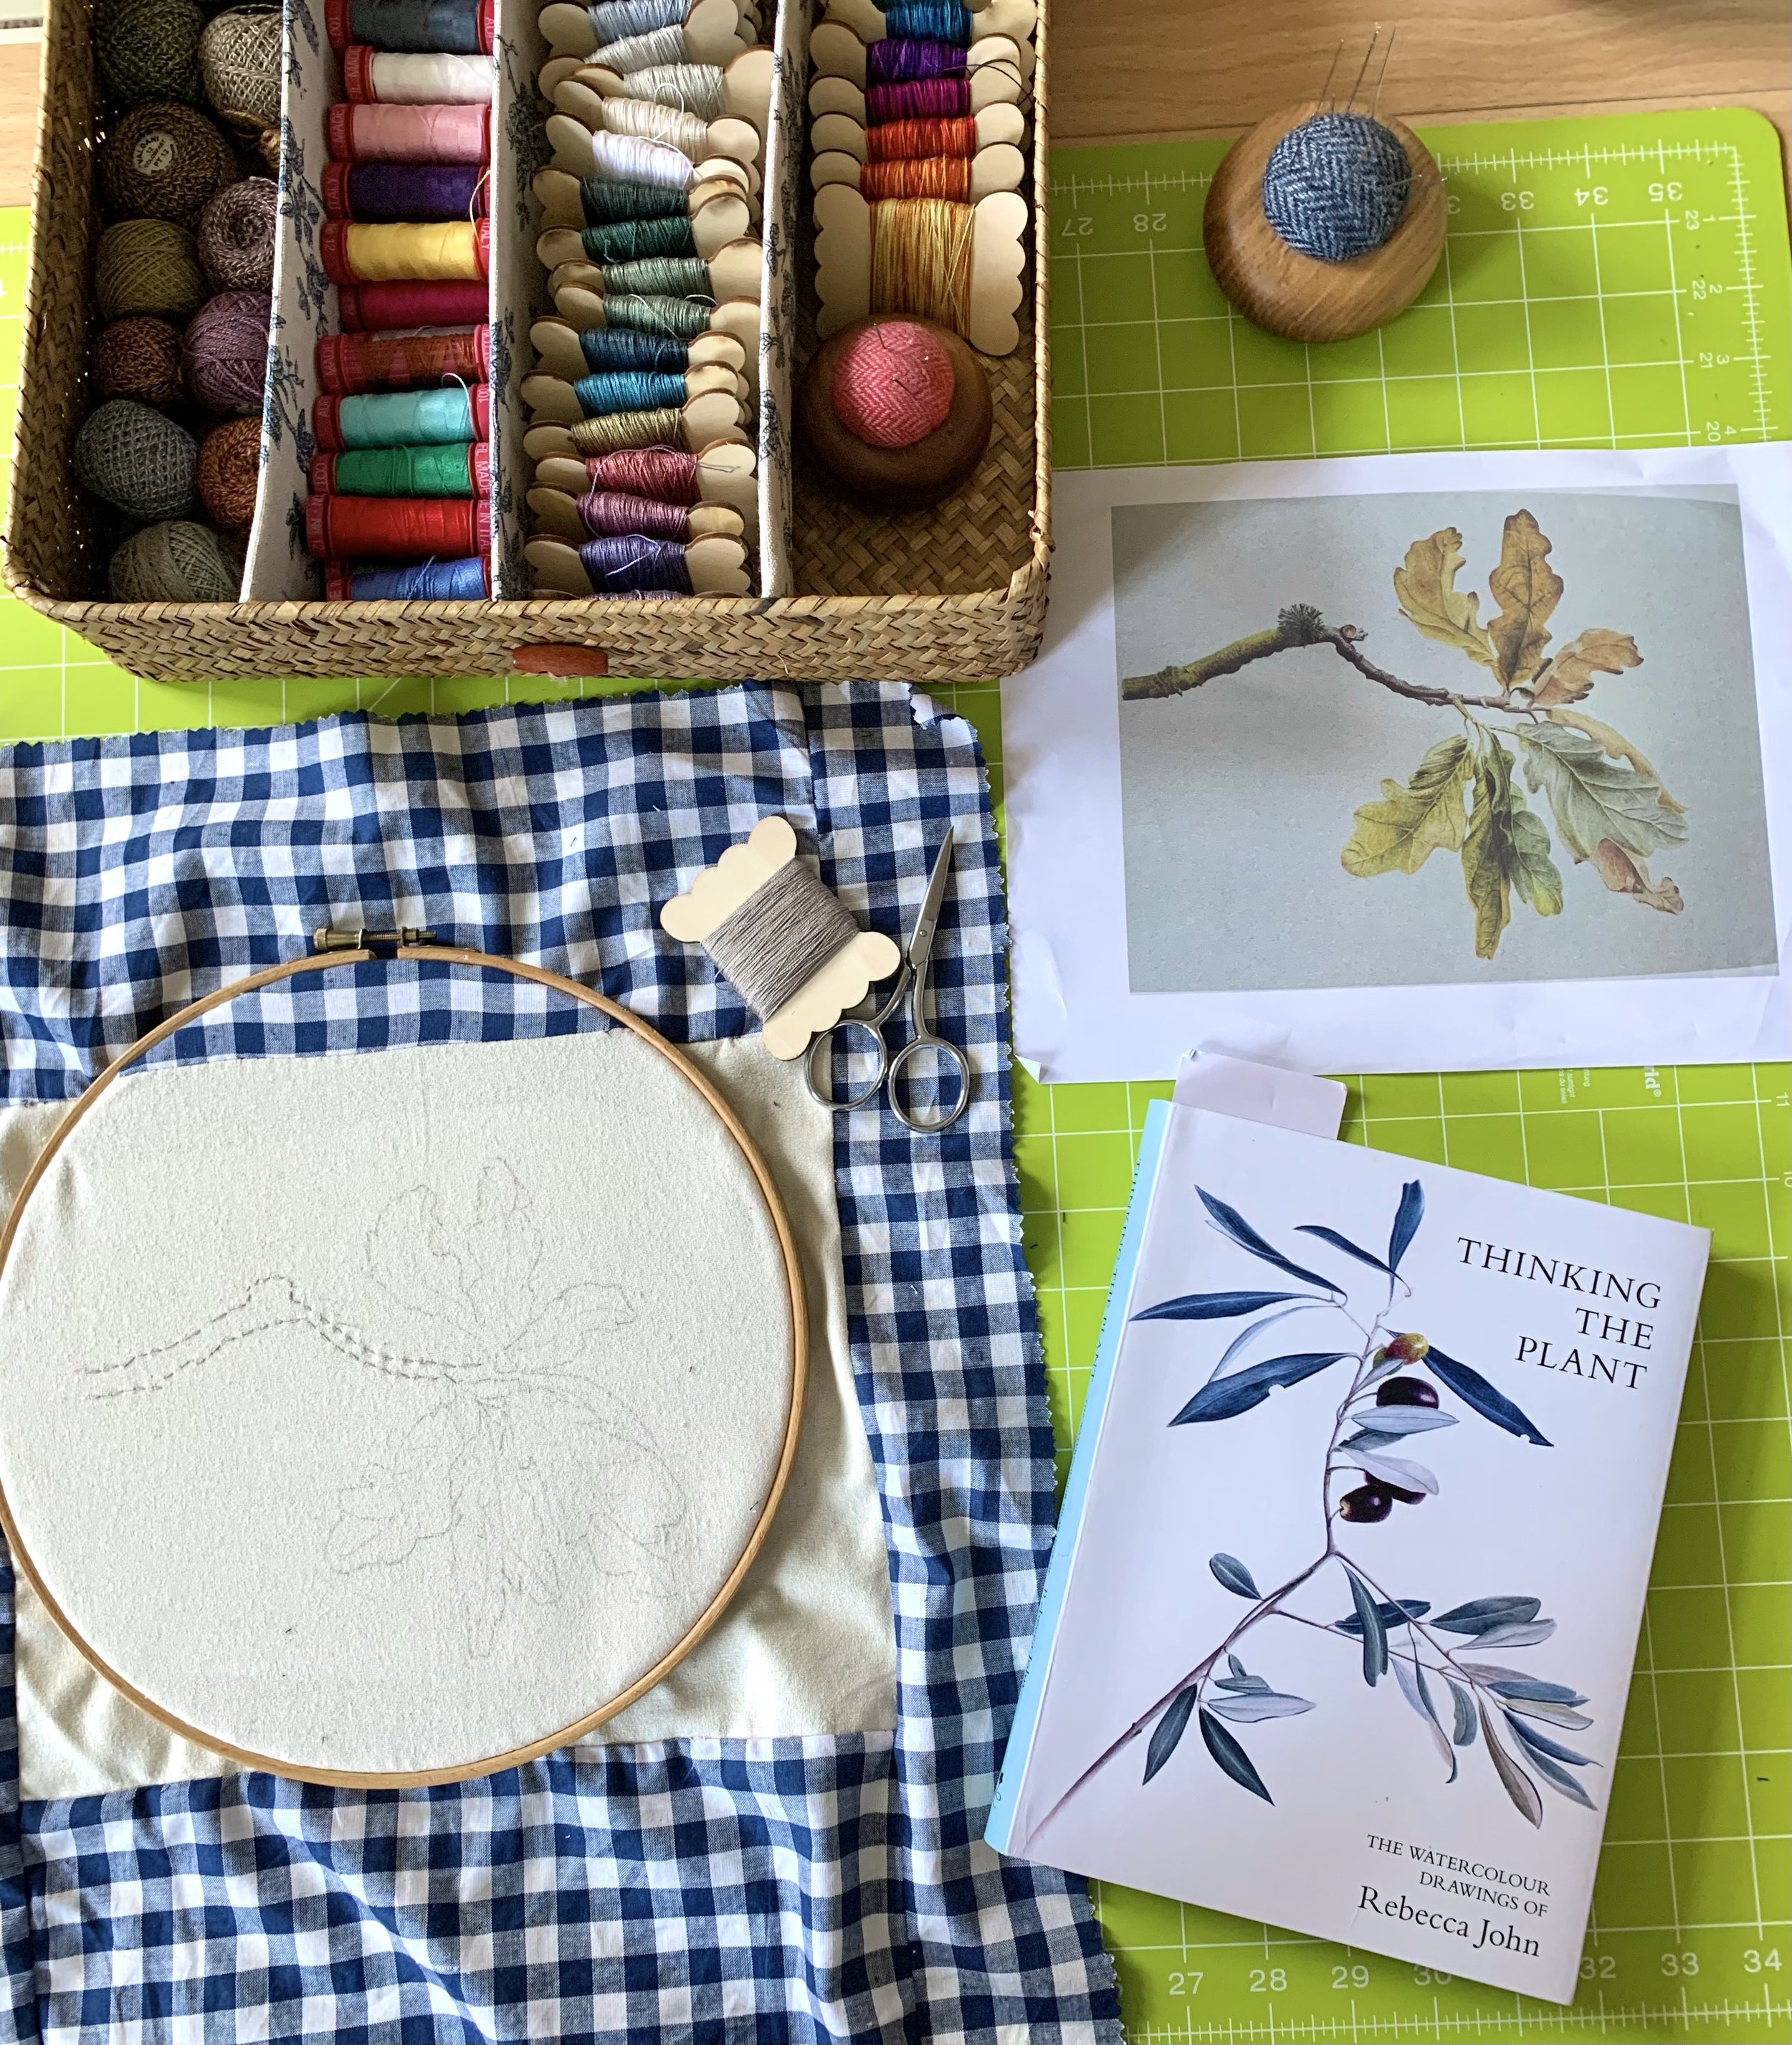
I decided to use a whole variety of threads from different sources but all were #12 or finer. I used silk, cotton and regular fine cotton sewing thread for the minute details of the piece.


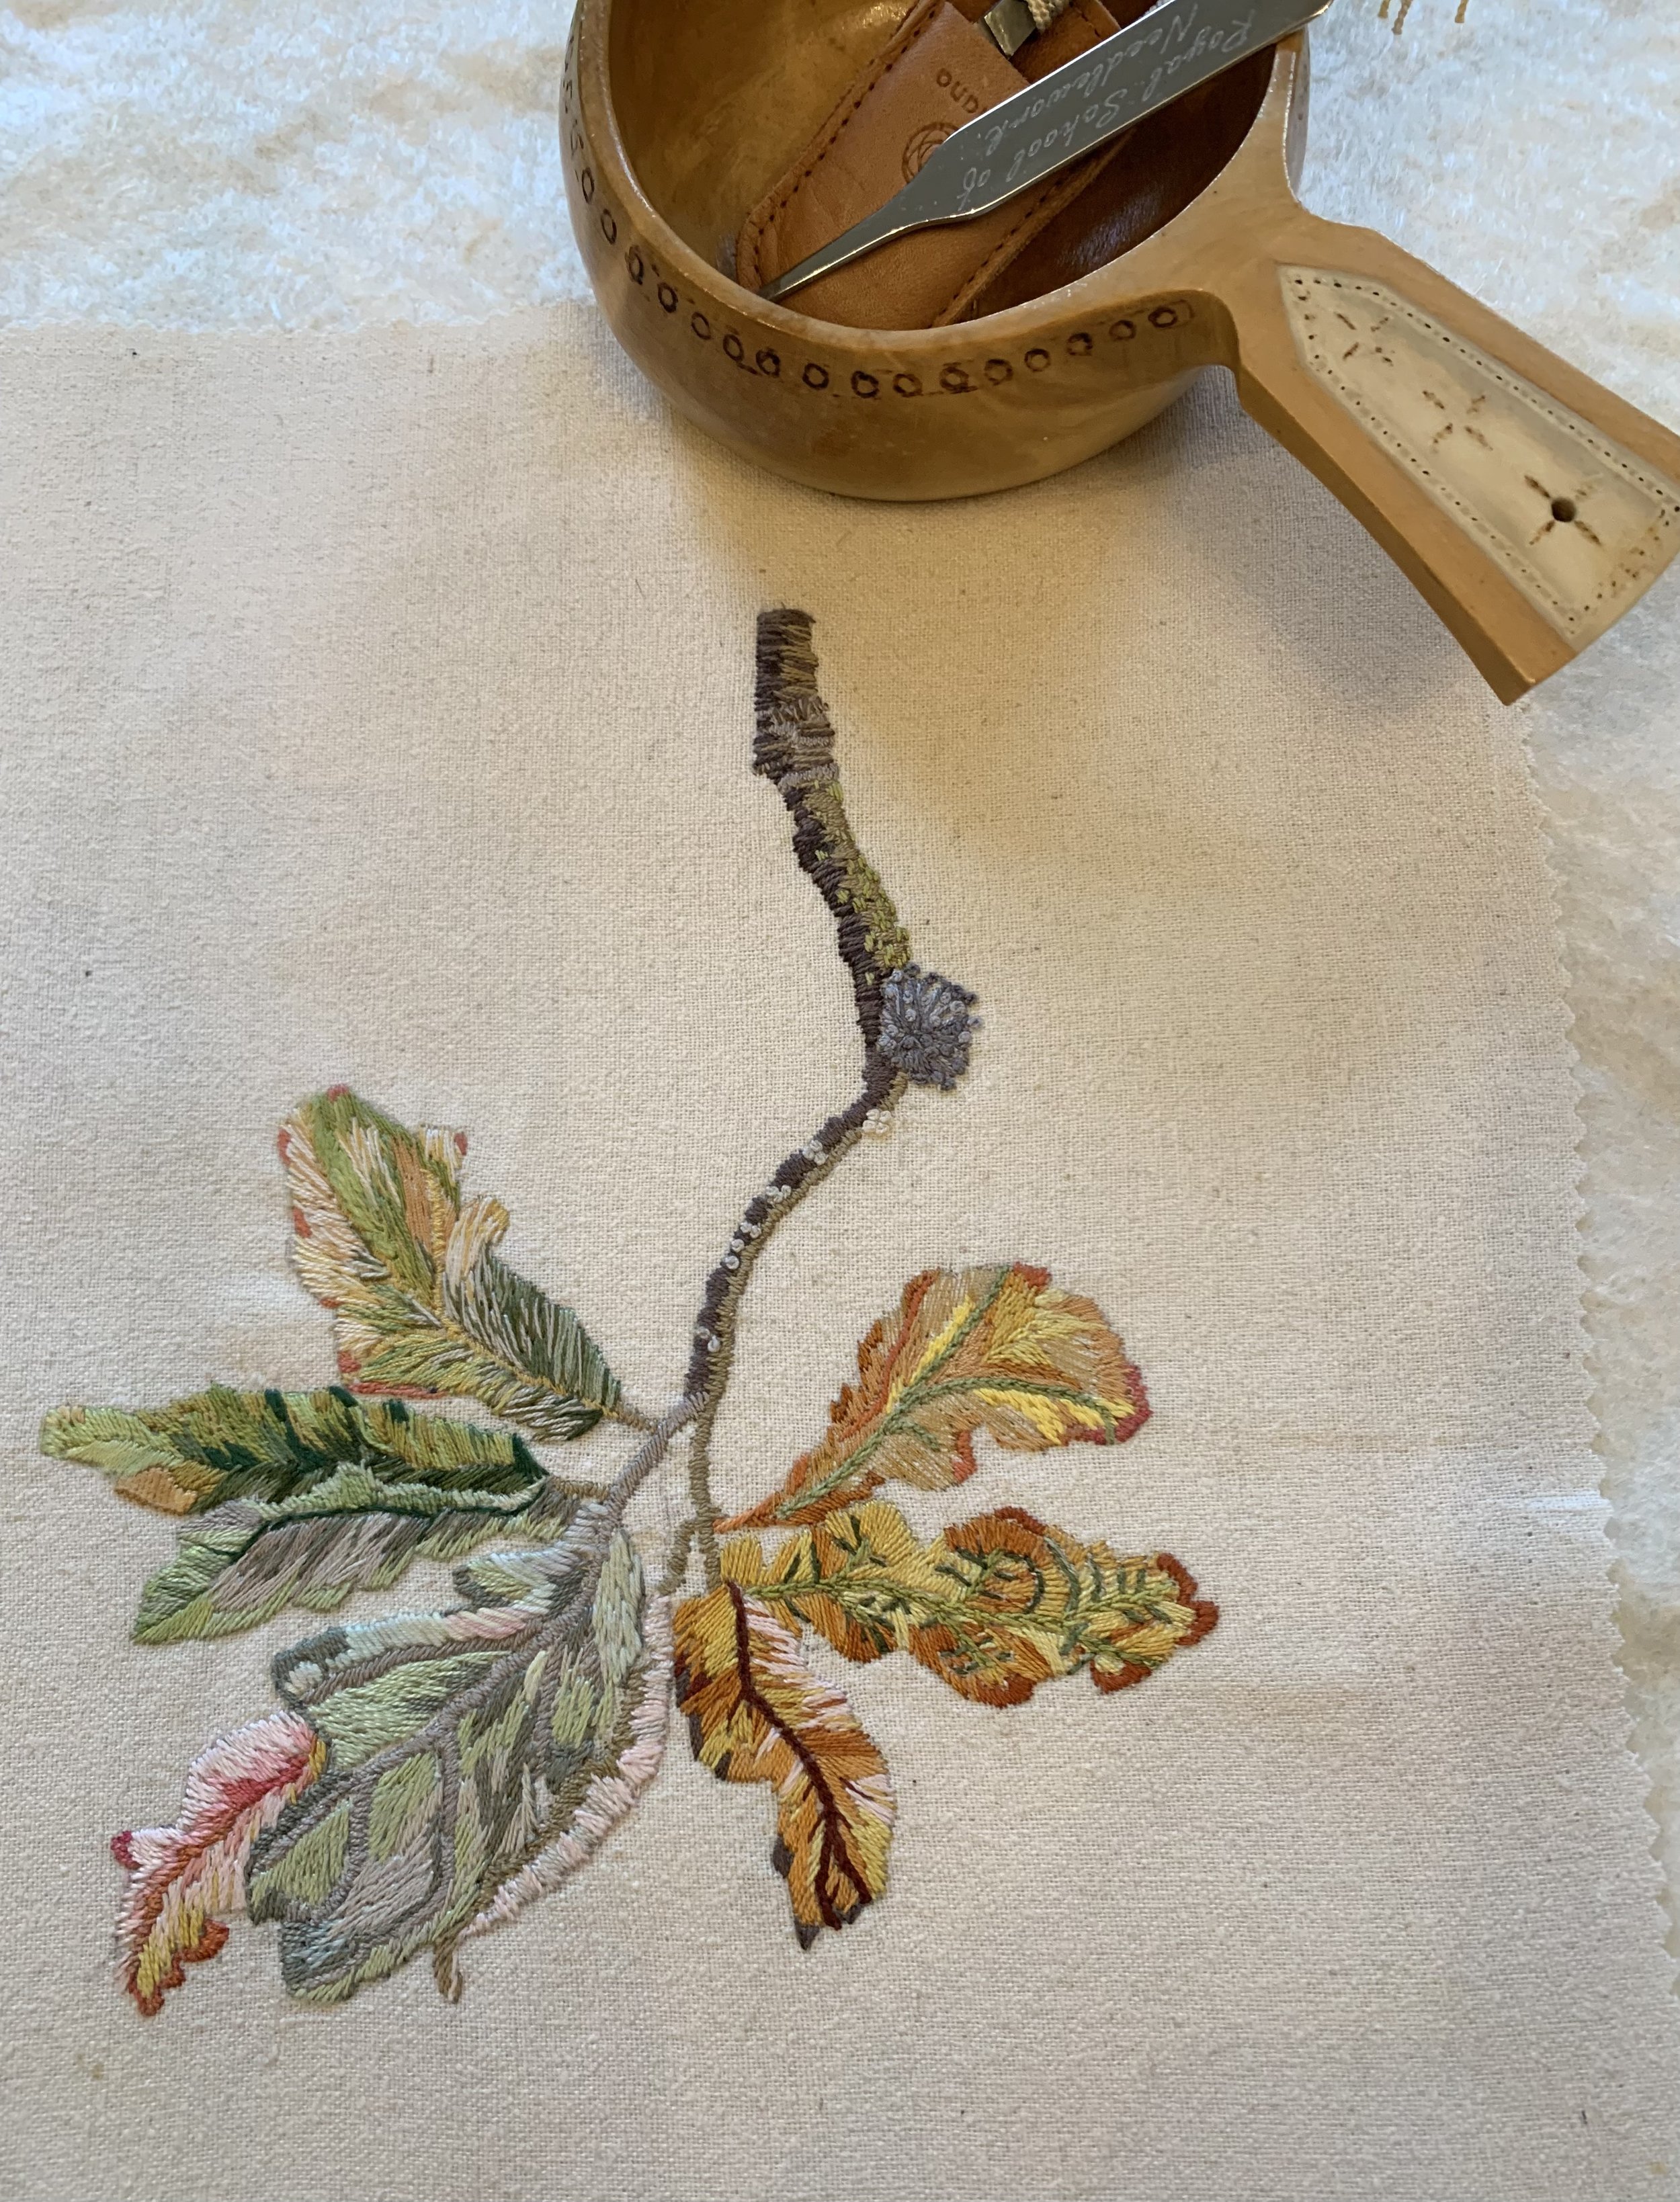
I worked carefully around the colour ways of the leaves as portrayed in the painting and it gradually came to life on my silk canvas. I found that adding subtle highlights with very fine silk thread lifted the leaves giving them some depth and texture.
Once it was done, I was just thrilled with how pretty it looked and I wondered what to do with it exactly. I decided it should probably be framed, but as it was on a rather small piece of silk (too small!) I wasn’t sure how it could be secured. It also needed a name plate and signature of some kind, and I pondered over this for a week or so. In the end, I cut a tiny piece of silk noil with my pinking shears and embroidered lightly a plate with the name, date and my initials. I laid this on the embroidery and didn’t secure it at this stage and it was a good job I didn’t as the whole framing thing turned out to be a bit of a thing. I had no idea if it should have a mount or what kind of frame would work with it. Was it a modern thing or a more antique style piece of work and would it look too old fashioned in a vintage style frame? I looked around in a few places at frames but was completely uninspired. Somehow this piece needed something extra to elevate such a simple design. I know this next part is going to sound nuts, but it is exactly what happened. I cast around the house at the pictures we have on our walls. In a shady corner of the dining room hung an ornate gilt frame with a picture of a little girl sewing in it. I believe this came originally from a great aunt who died when I was eleven and my Mum brought it home and hung it up. I had kept it, I supposed because of the sewing connection, but really the picture was flat and dull and I had long suspected it was just a page out of a magazine. As I looked at it, I thought it looked the right sort of size for my embroidery and took it off the wall. Some of the openwork gilt moulding felt lose in my fingers. Once on the table, I saw that the frame was just beautiful and was actually the perfect thing, so I prized open the back which had rusty nails and cracked paper taping around it. This all instantly crumbled to dust and as I lifted the picture out…it was indeed a magazine cut out! It went straight in the bin.

The wooden frame itself seemed sturdy enough but all this fancy gilt work was a bit tatty and tired. I took it over to the sink and ran it under a warm tap. Almost immediately a dark treacle like residue started streaming off it and everything felt softened. I stopped immediately and put it on an old towel. I could see that some of the gilt had washed away leaving small white patches of like old chewing gum on the fancy fretwork. I left it by the radiator to dry out completely and turned to the internet for help. It was at hand. There were some great videos on youtube about the restoration of such old frames and new products available to make it easy enough.
In the first place, I began to realise that this frame was probably more then 150 years old…oh if only it could talk. It is incredibly ornate and the plaster work was delicate. It firmed up as it dried but was going to need some attention.
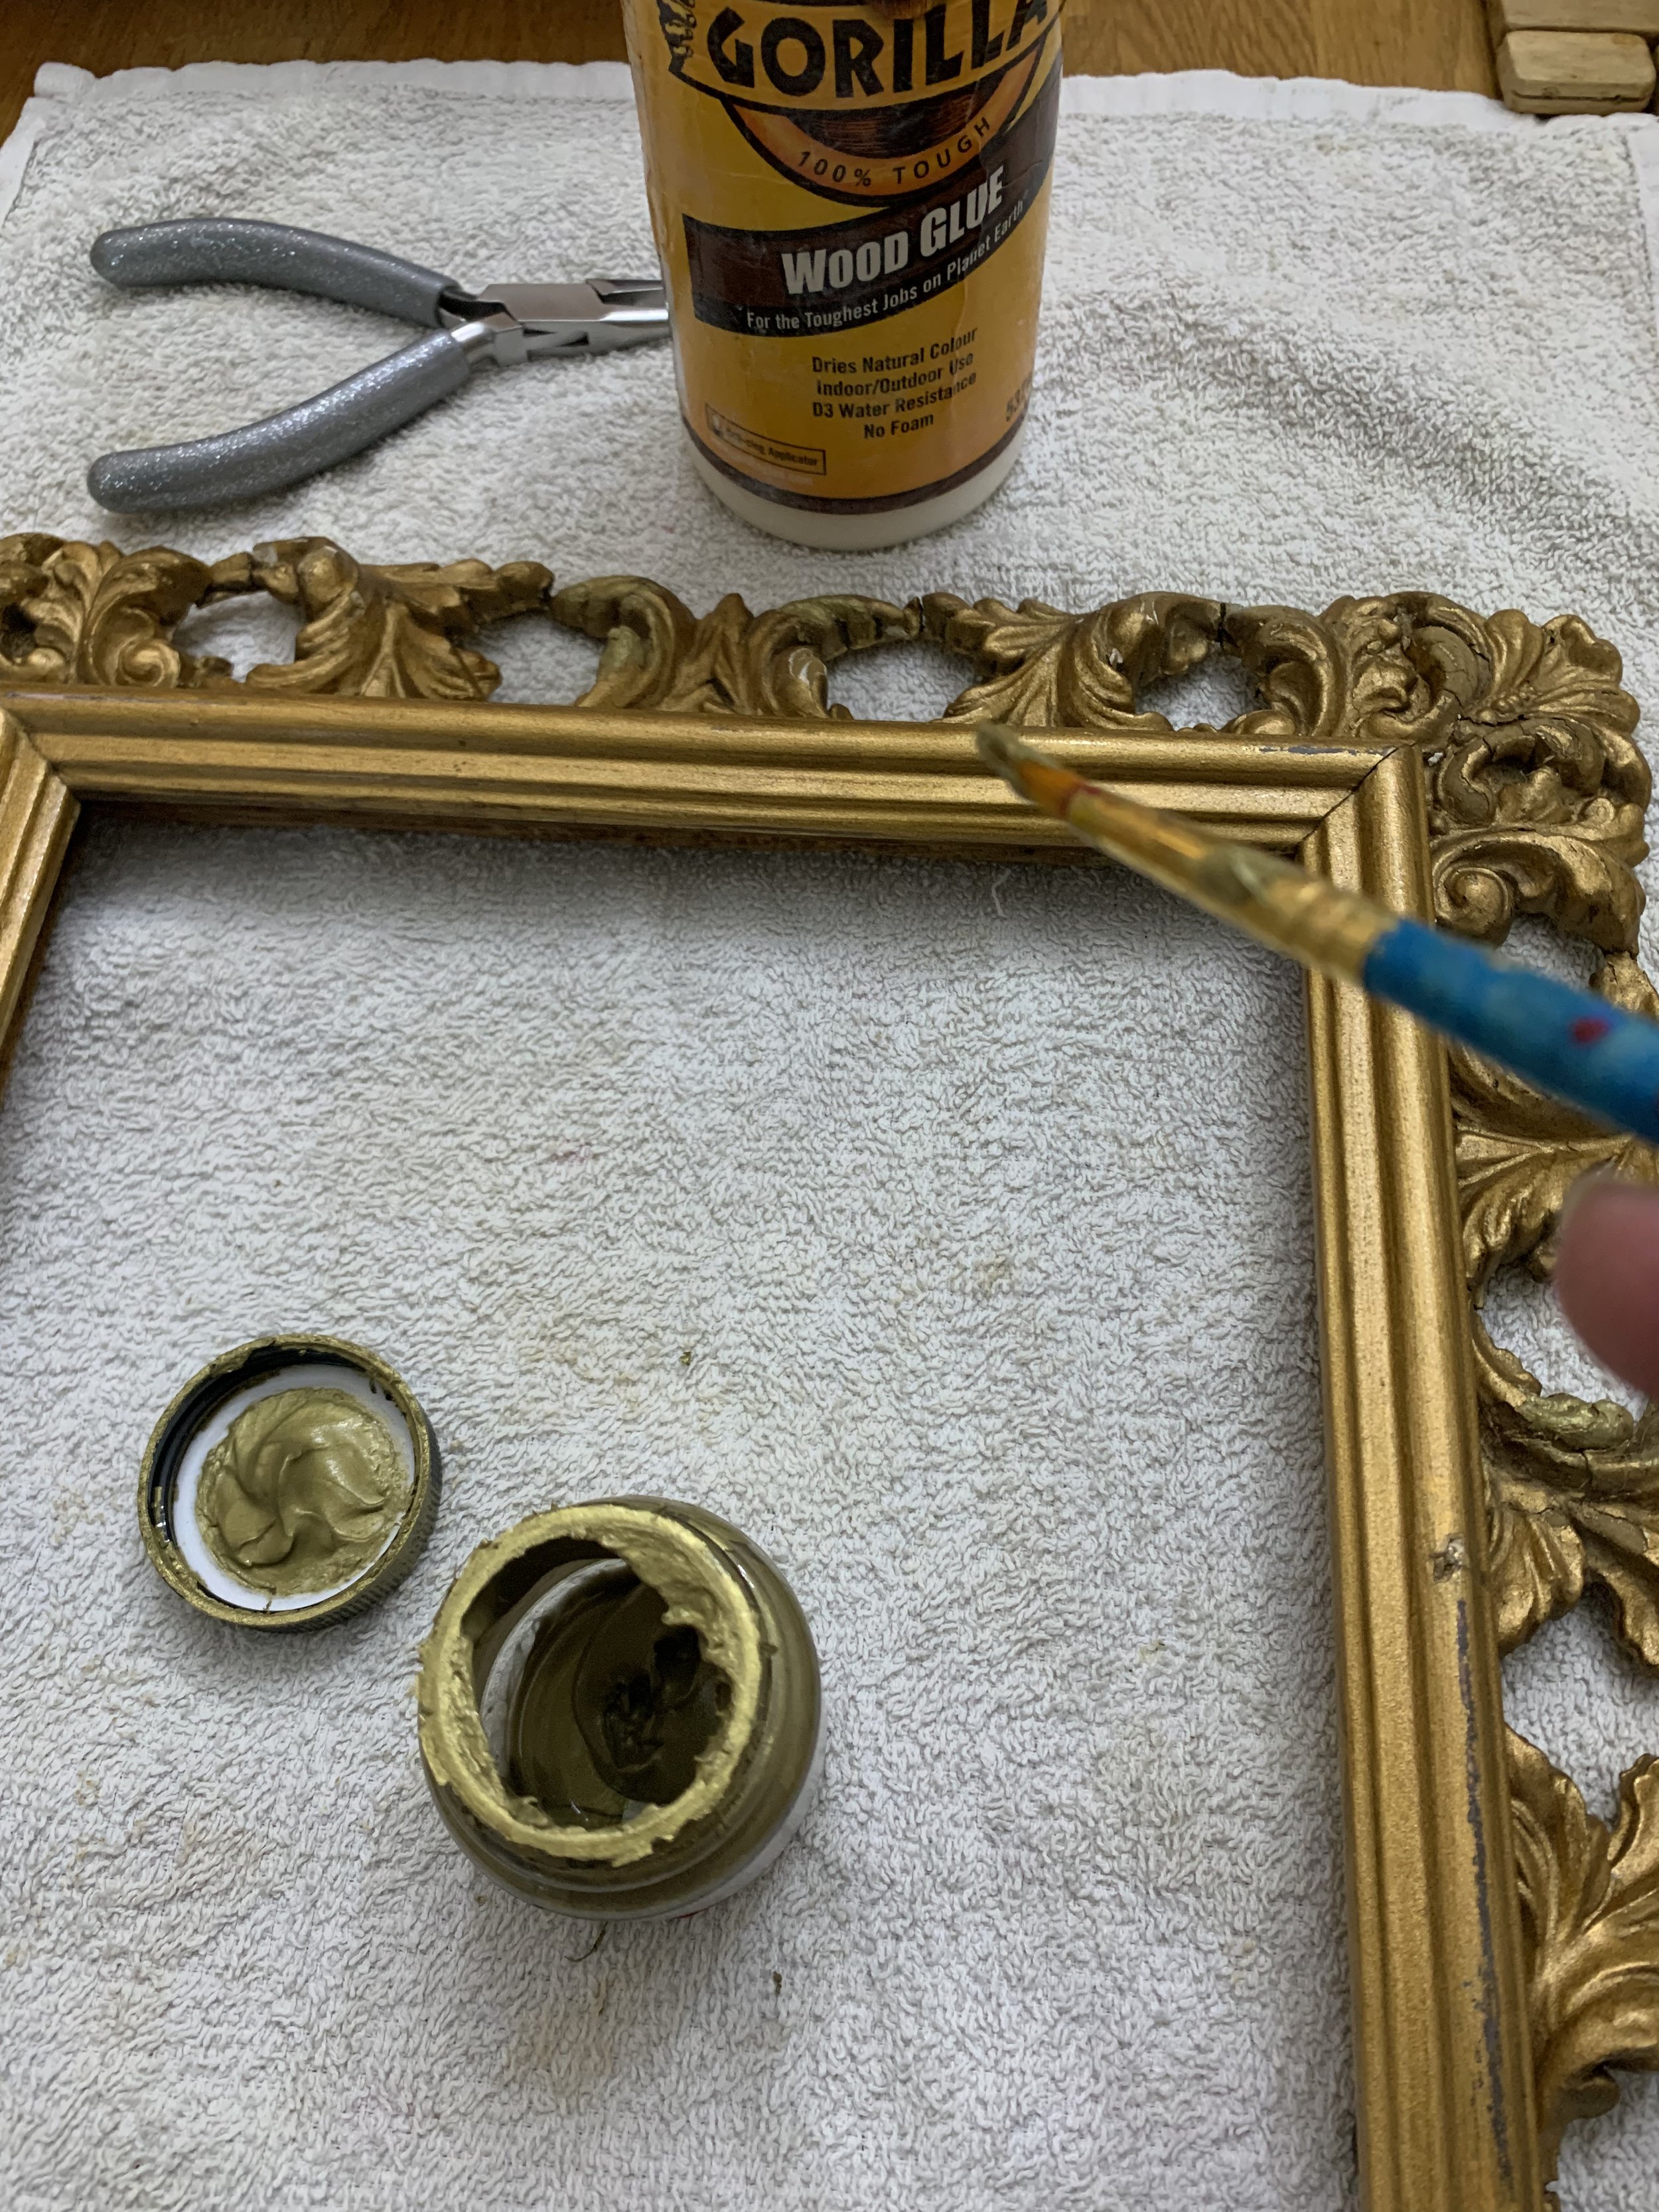

Having dusted it carefully and removed all fine particles of tape and backing paper and dirt, I repaired the loose moulding with gorilla glue and a fine paintbrush and left it for 24 hours. I then touched up the gold paint with some antique gold acrylic paint and left it again. Finally I coated the back in a shellac sealer product recommended on restoration sites which worked fabulously well adding stability to the whole thing and protecting my needlework against bleeding of any sort.
I then turned to my embroidery and how to mount it. In the first instance it was obvious that I would have to frame my oak leaves facing upwards because there were pretty iron work rings attached to the frame which were pretty solid and I really didn’t want to try and put new ones in just so it could hand the other way. At this point I was glad that I hadn’t affixed the little embroidered name plate and as it looked just find turned this way around, I now secured it with a couple of teeny tiny stitches in ivory silk thread.

In terms of mounting it, I began by looking at some videos on how to frame embroideries and cross stitch and it was incredibly helpful in fact. Having got hold of some acid free foam mounting board and cutting it to size, I began by placing a piece of quilt batting over the board and then arranged my embroidery in place. I began sinking pins into it at various intervals to secure it.

The pins give you the flexibility to rearrange and retighten as you go around the edge, but I do think you need a pin at least every half inch or so if not more. Once this was all secured it looked pretty good actually and was tightly fixed in position.
My frame was completely dry now and felt sturdy again and once the glass was cleaned and the embroidery in - it was as if a little magic had been sprinkled. It is just thrilling to me to see a finished piece completed and thoroughly at home, bringing new life to this gorgeous frame.

The story of this picture will always be special to me…it was a huge challenge that has given me an enormous amount of pleasure and it has opened the door to a new level of stitching for me. I am already planning another picture from the same book. Embroidery constantly amazes me, the possibilities are endless and it’s all about finding that creative endeavour that is just right for you. I shall, for sure, be on the look out for some more antique frames now too…
