

Making a botanical fabric bucket
/
Hellooo….it’s been while since I last had something to blog about, but we are preparing to sell our house for a move and it has been difficult to fit in sewing. This gap has made me realise how good ‘being creative’ is for me and how it makes me feel calm and relaxed. I know there are endless resources out there about mindfulness but using your hands to make lovely things is a valuable way to spend time and at the end of it…well….you have a result, hopefully something lovely and useful for your home. This project is this weeks result of longing to spend a bit of time in the sewing room and also, in thinking about moving house, opening boxes of stashed fabric and with some alarm, deciding ….I need to do something with this. Because I sew..a lot….people give me fabric and honestly I have a room full of bits and pieces that I would need a hundred lifetimes to use up. Because we plan to downsize, I have been sorting and donating and reorganising and I came across of box of offcuts that a lady who worked at an upholstery shop had given me, many years ago. Some of the pieces were really beautiful embroidered fabrics that I am sure were rather expensive to buy.

I picked out this botanical themed piece along with a bit of green seat covering fabric that matched well. I decided, having seen a few different fabric buckets pop up on instagram, that maybe this would be a good time to give one a try.
I have to say that I had no pattern and completely made it up as I went along, but I realised how with some of the bag making projects I had made, I had acquired so much knowledge of how to construct things, what interfacings to use and how to add some finishing touches that make it look more professional.
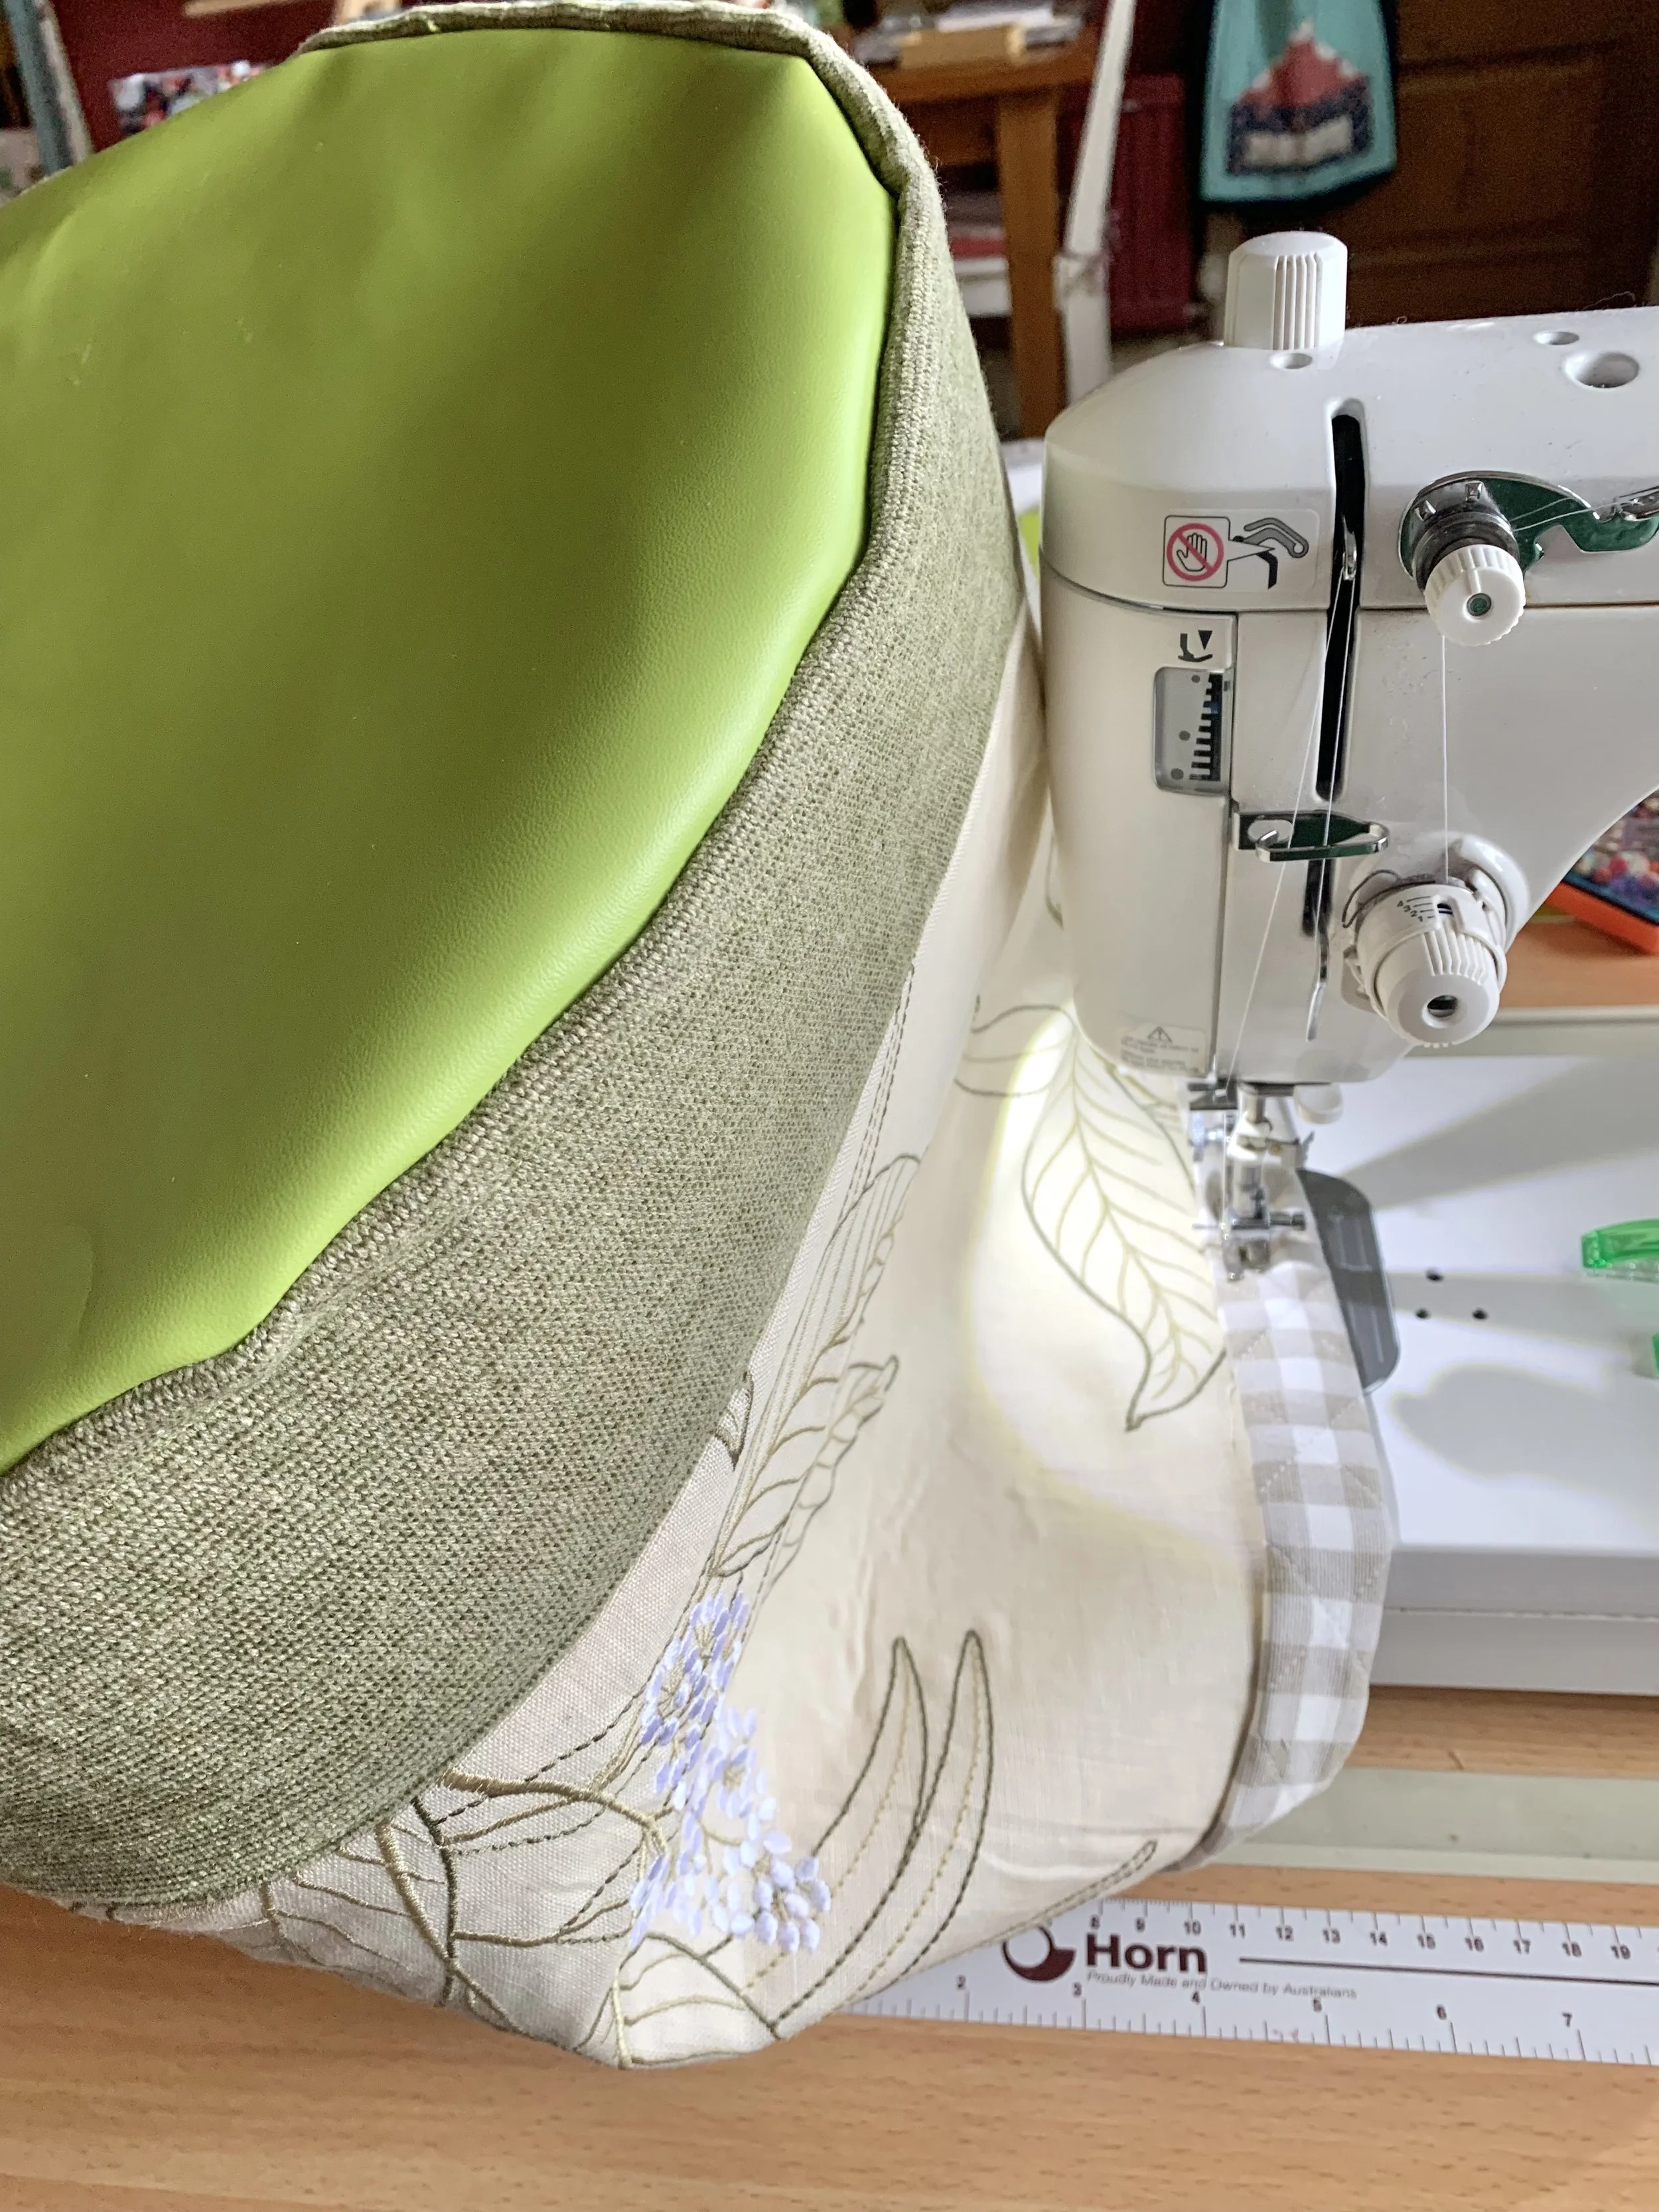
To begin with, I used a straw basket that I store quilts in to create a circular template for my base. I had some faux leather pieces in my stash and wanted to use this for the base so cut it out and then with some elementary maths, calculated the circumference. Having cut the embroidered linen to the required length plus seam allowance, I stitched it to some heavy weight interfacing (keeping the seam allowances free) and then attached it to the vinyl.
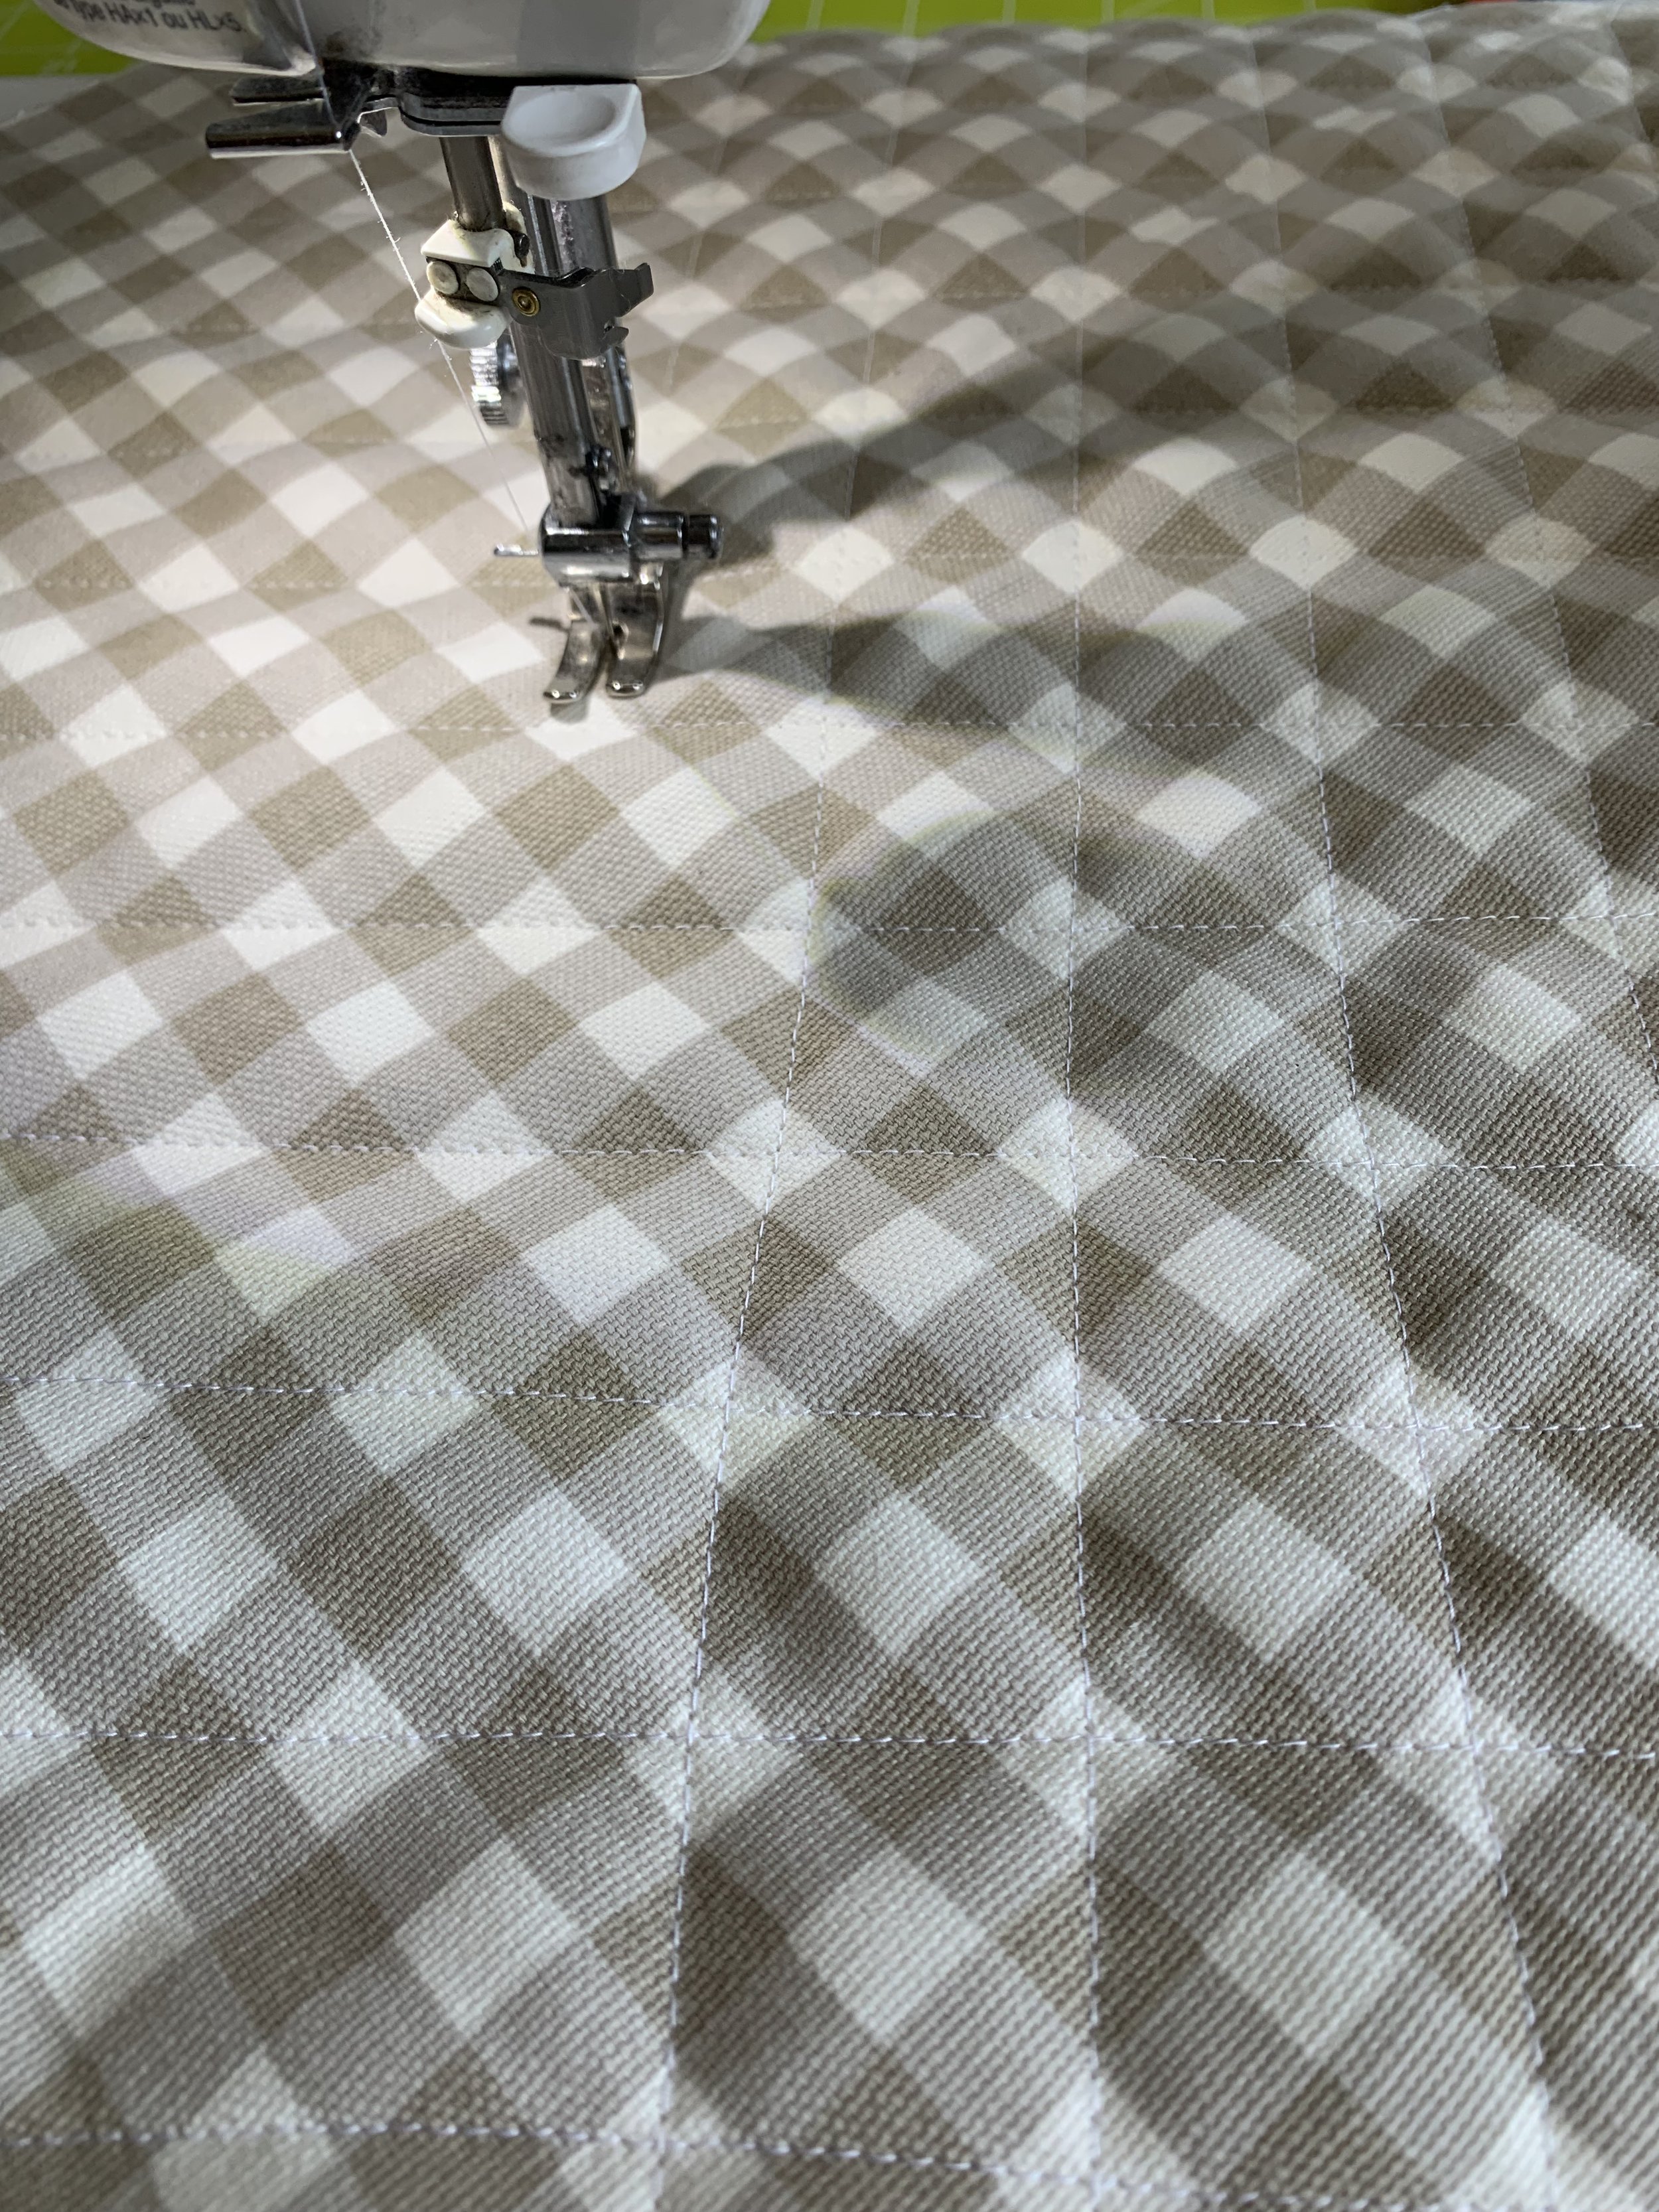
For the lining bucket, I used another piece from the stash box - some upholstery weight gingham and I layered this with some cotton backing and wadding and quilted it in diagonal criss-cross lines. This gives the lining real structure and I am always amazed at how adding the second lot of diagonal lines makes the fabrics strong and stiff. It is especially easy to do this neatly with gingham fabric because you have the checks to keep you in line. I cut this about 1.5 inches wider than the embroidered bucket so that it would sit taller once inside the outer layer.
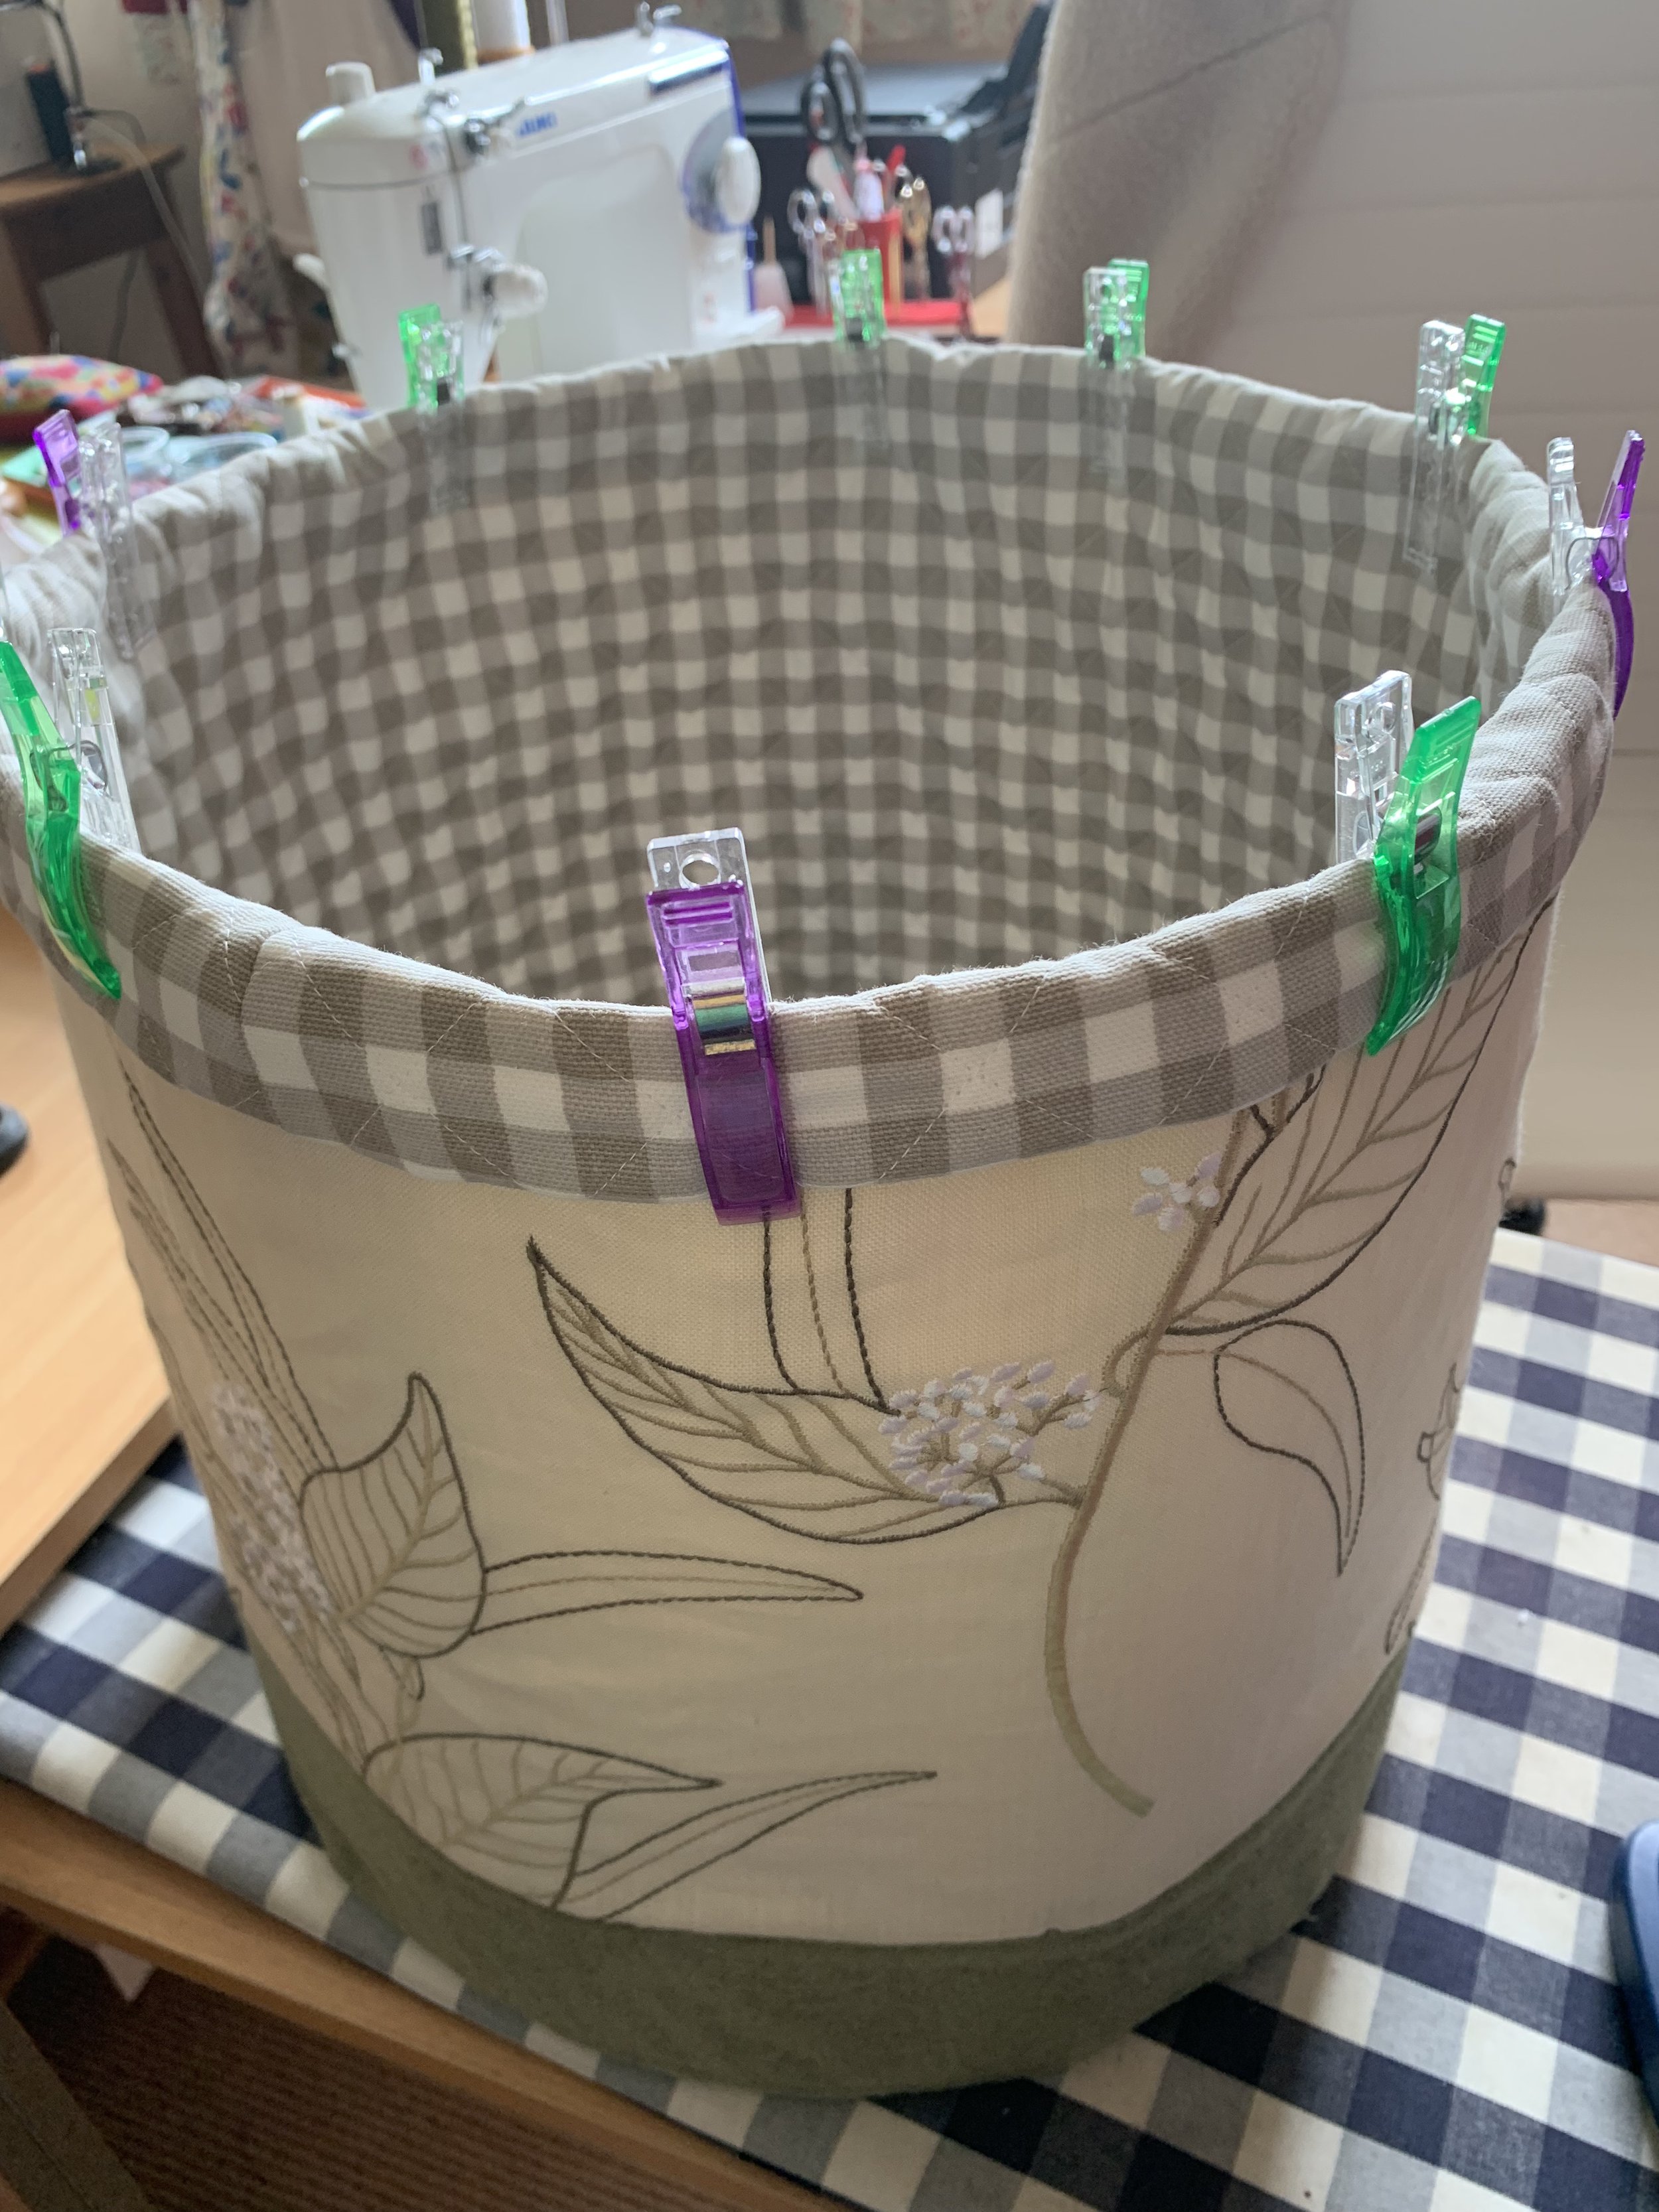
For the base, I used some of the green fabric and then attached the lining walls to the base in the same way as the outer layer. Wonder clips are fab here.

Once the two buckets are made, you can just pop one inside the other and in this case, as I had left the lining a little taller it simply folded over for the binding. I wasn’t sure this would work, but it seemed to fit snuggly and the padded lining just popped over the edge to make a neat and rather smart finish.
At this point, I decided to add a leather handle on with rivets before I stitched the two layers together. Here, having the right tools is helpful. A hole punch and tool for fitting rivets makes this quick and easy.
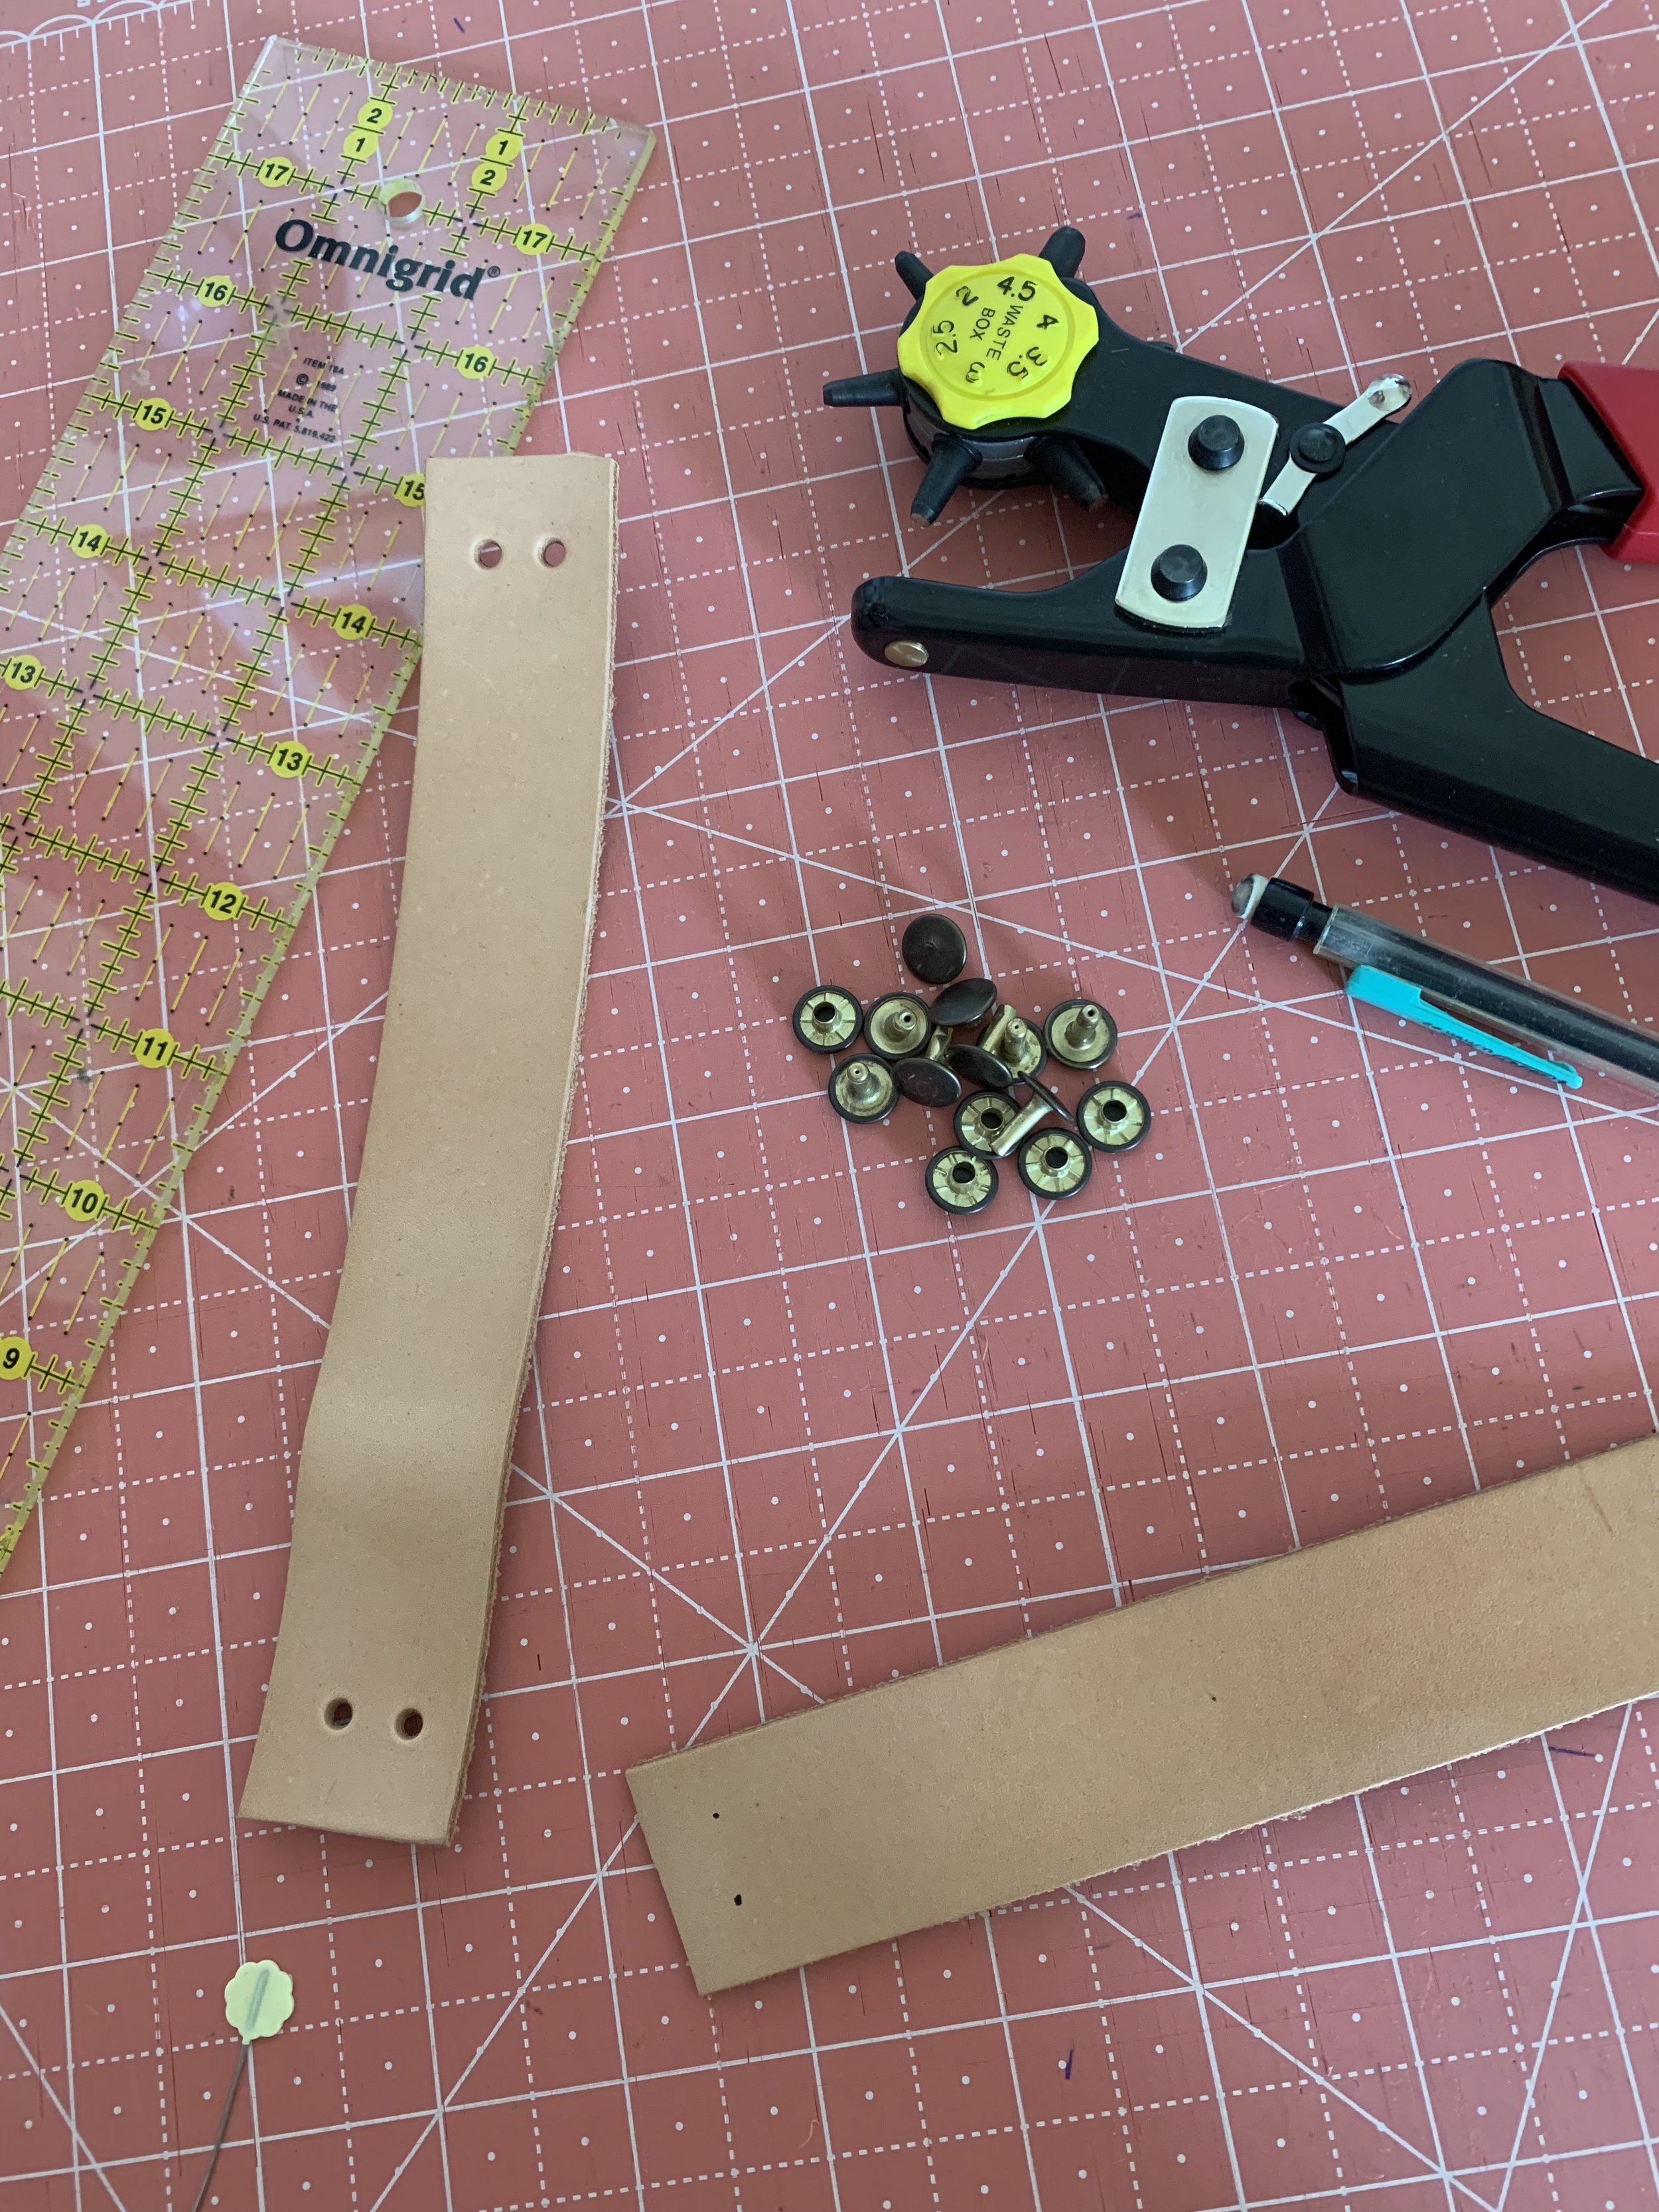
This added a professional touch and I do really enjoy working with leather. I hope it is something I might explore more of in the future.
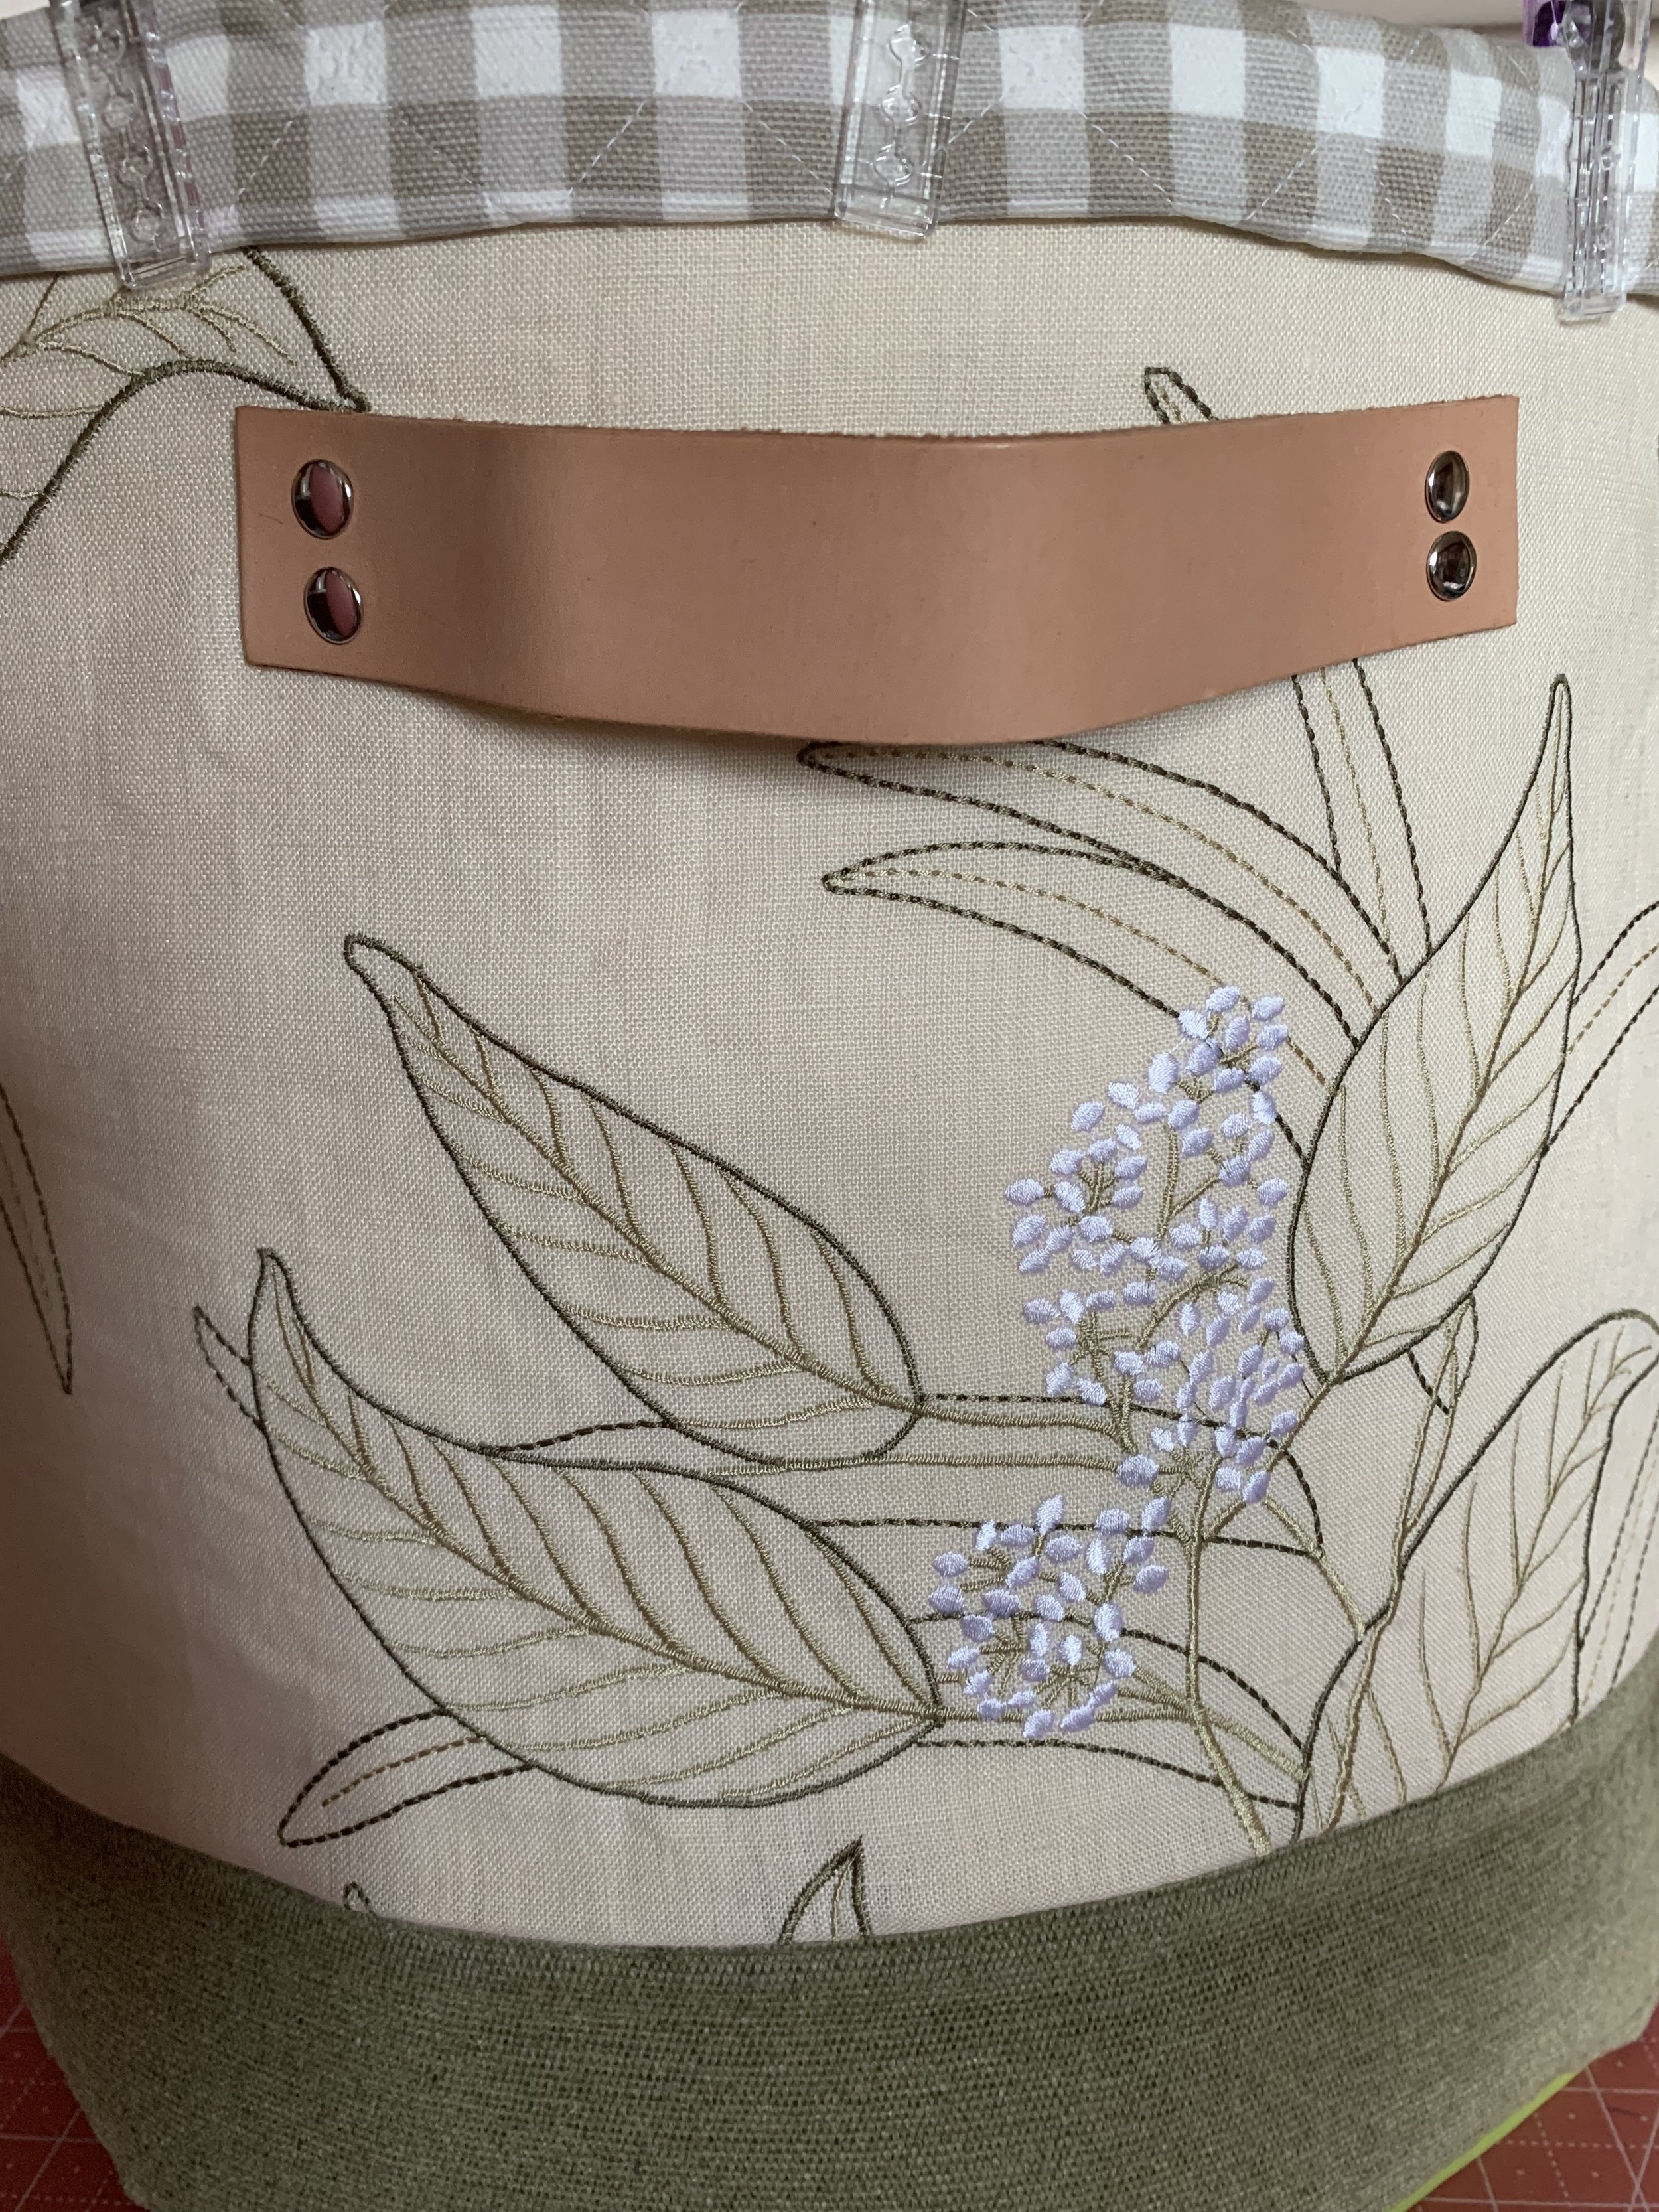
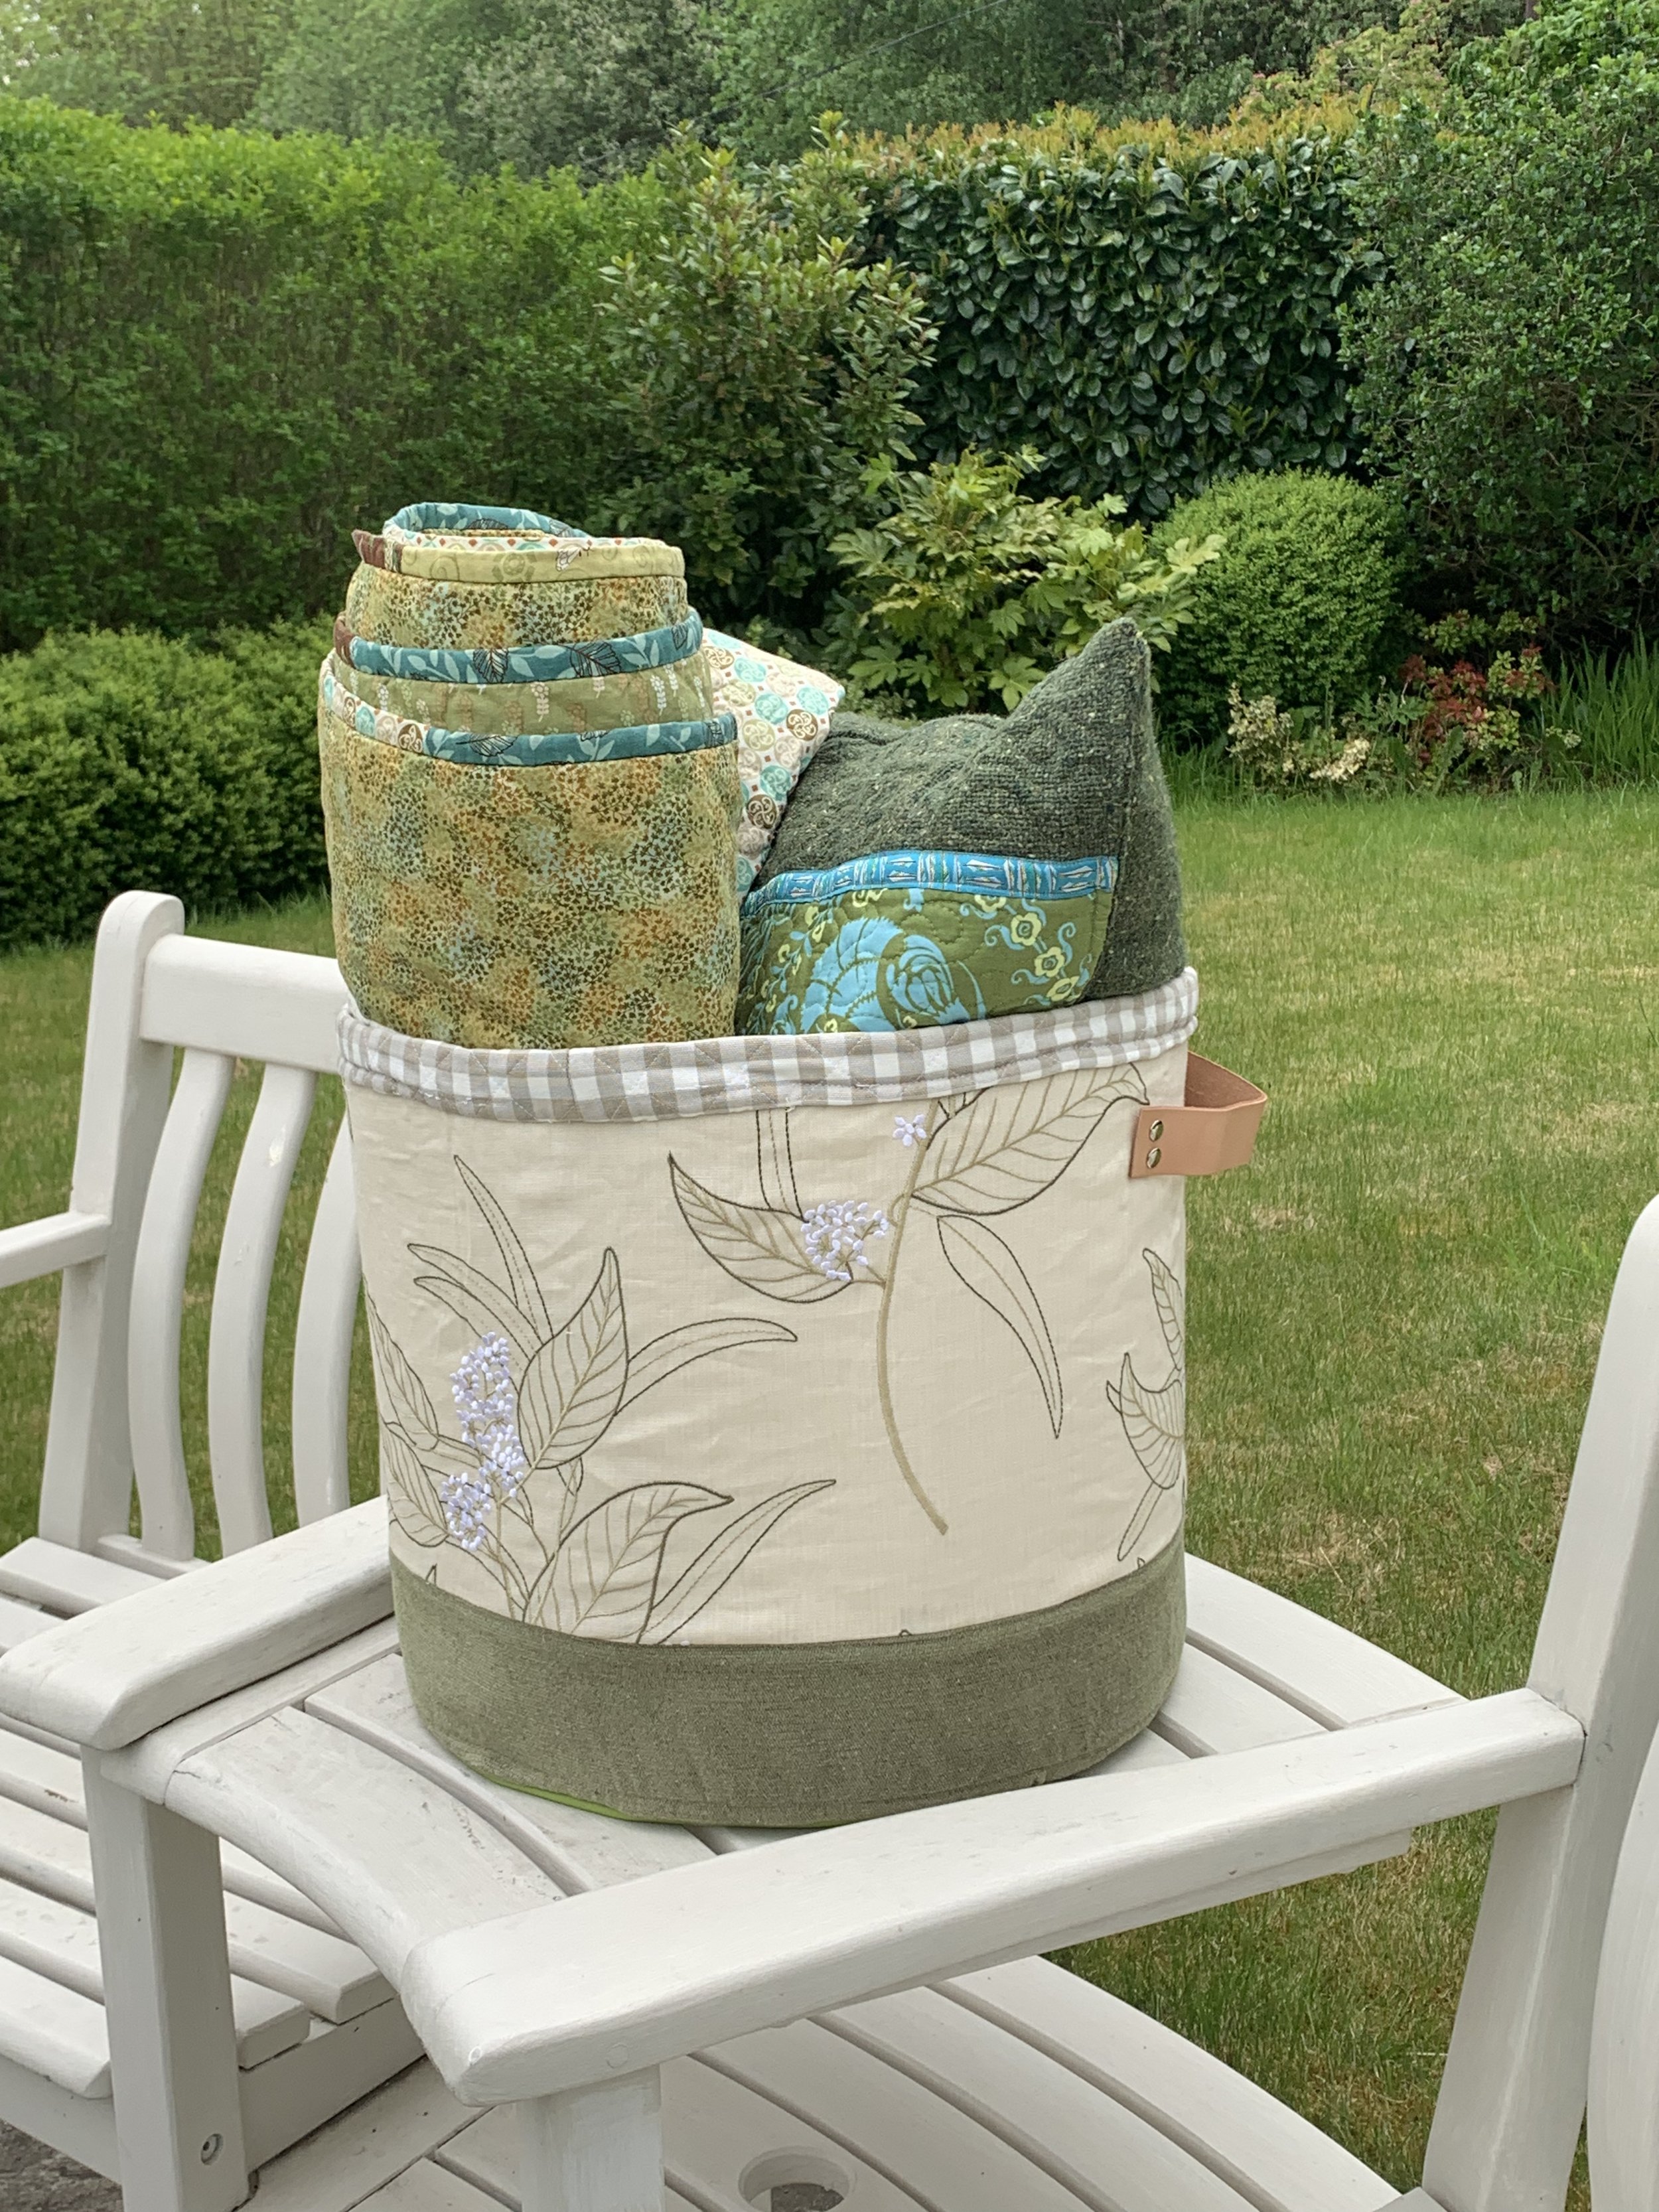
Then all that remained to do was to stitch around the edge of the binding to secure it and I did have a small problem here over the bulky seam and ended up having to hand sew that little part down by hand. I also added a green tab with my label on just for fun and voila!
It makes a cracking garden storage bucket for this time of year. I can keep it by the back door and just take it outside to the patio when needed. I feel like I have made good use of fabric that was just languishing in a box, it has cost me very little to make and is both useful and pretty.
