Making an embroidered bobbin candlestick
/Christmas is coming! I am so ready for something to disrupt what has been a difficult and long year. Nothing has gone to plan and if you had told me this time last year that we would still be in Yorkshire for the holidays, I would never have believed you. However, I do looooove Christmas and every year I try to make something new for our home. Last year, I made a pretty felt floral centre piece and you can read about that here and other christmas projects are listed on the journal under ‘Christmas Sewing’.
This year I decided to do something with one of old mill bobbins that has been languishing in my sewing room for quite a while. It is an upcycling project made in heaven. I am so excited with this and can’t wait to share it with you.
Living in West Yorkshire, the landscape is peppered with old mill buildings that tell the story of our industrial past. Some of these mills are vast affairs and reflect the huge scale of the cloth industry in this region. Sadly it is all long gone and while many of the old mills have been restored and repurposed, many also stand deserted and decaying. Not long after we came to this area, I came across these old mill bobbins and I loved how tactile they are, steeped in the history of wool production and heralding a day when we produced high quality cloth here in the north. These days you often find them used as lamp bases and I have a lovely version of one of these in my sewing room. The mill bobbins are easy to find on eBay or vintage sites and can be useful for storing haberdashery, which is what mine has been doing since I bought a pair of them. The whole in the top looks as if it should lend itself to holding a candle and this started me thinking. I decided that it would be a lovely idea to make an embroidered cover for it so that it could be used as a candlestick.
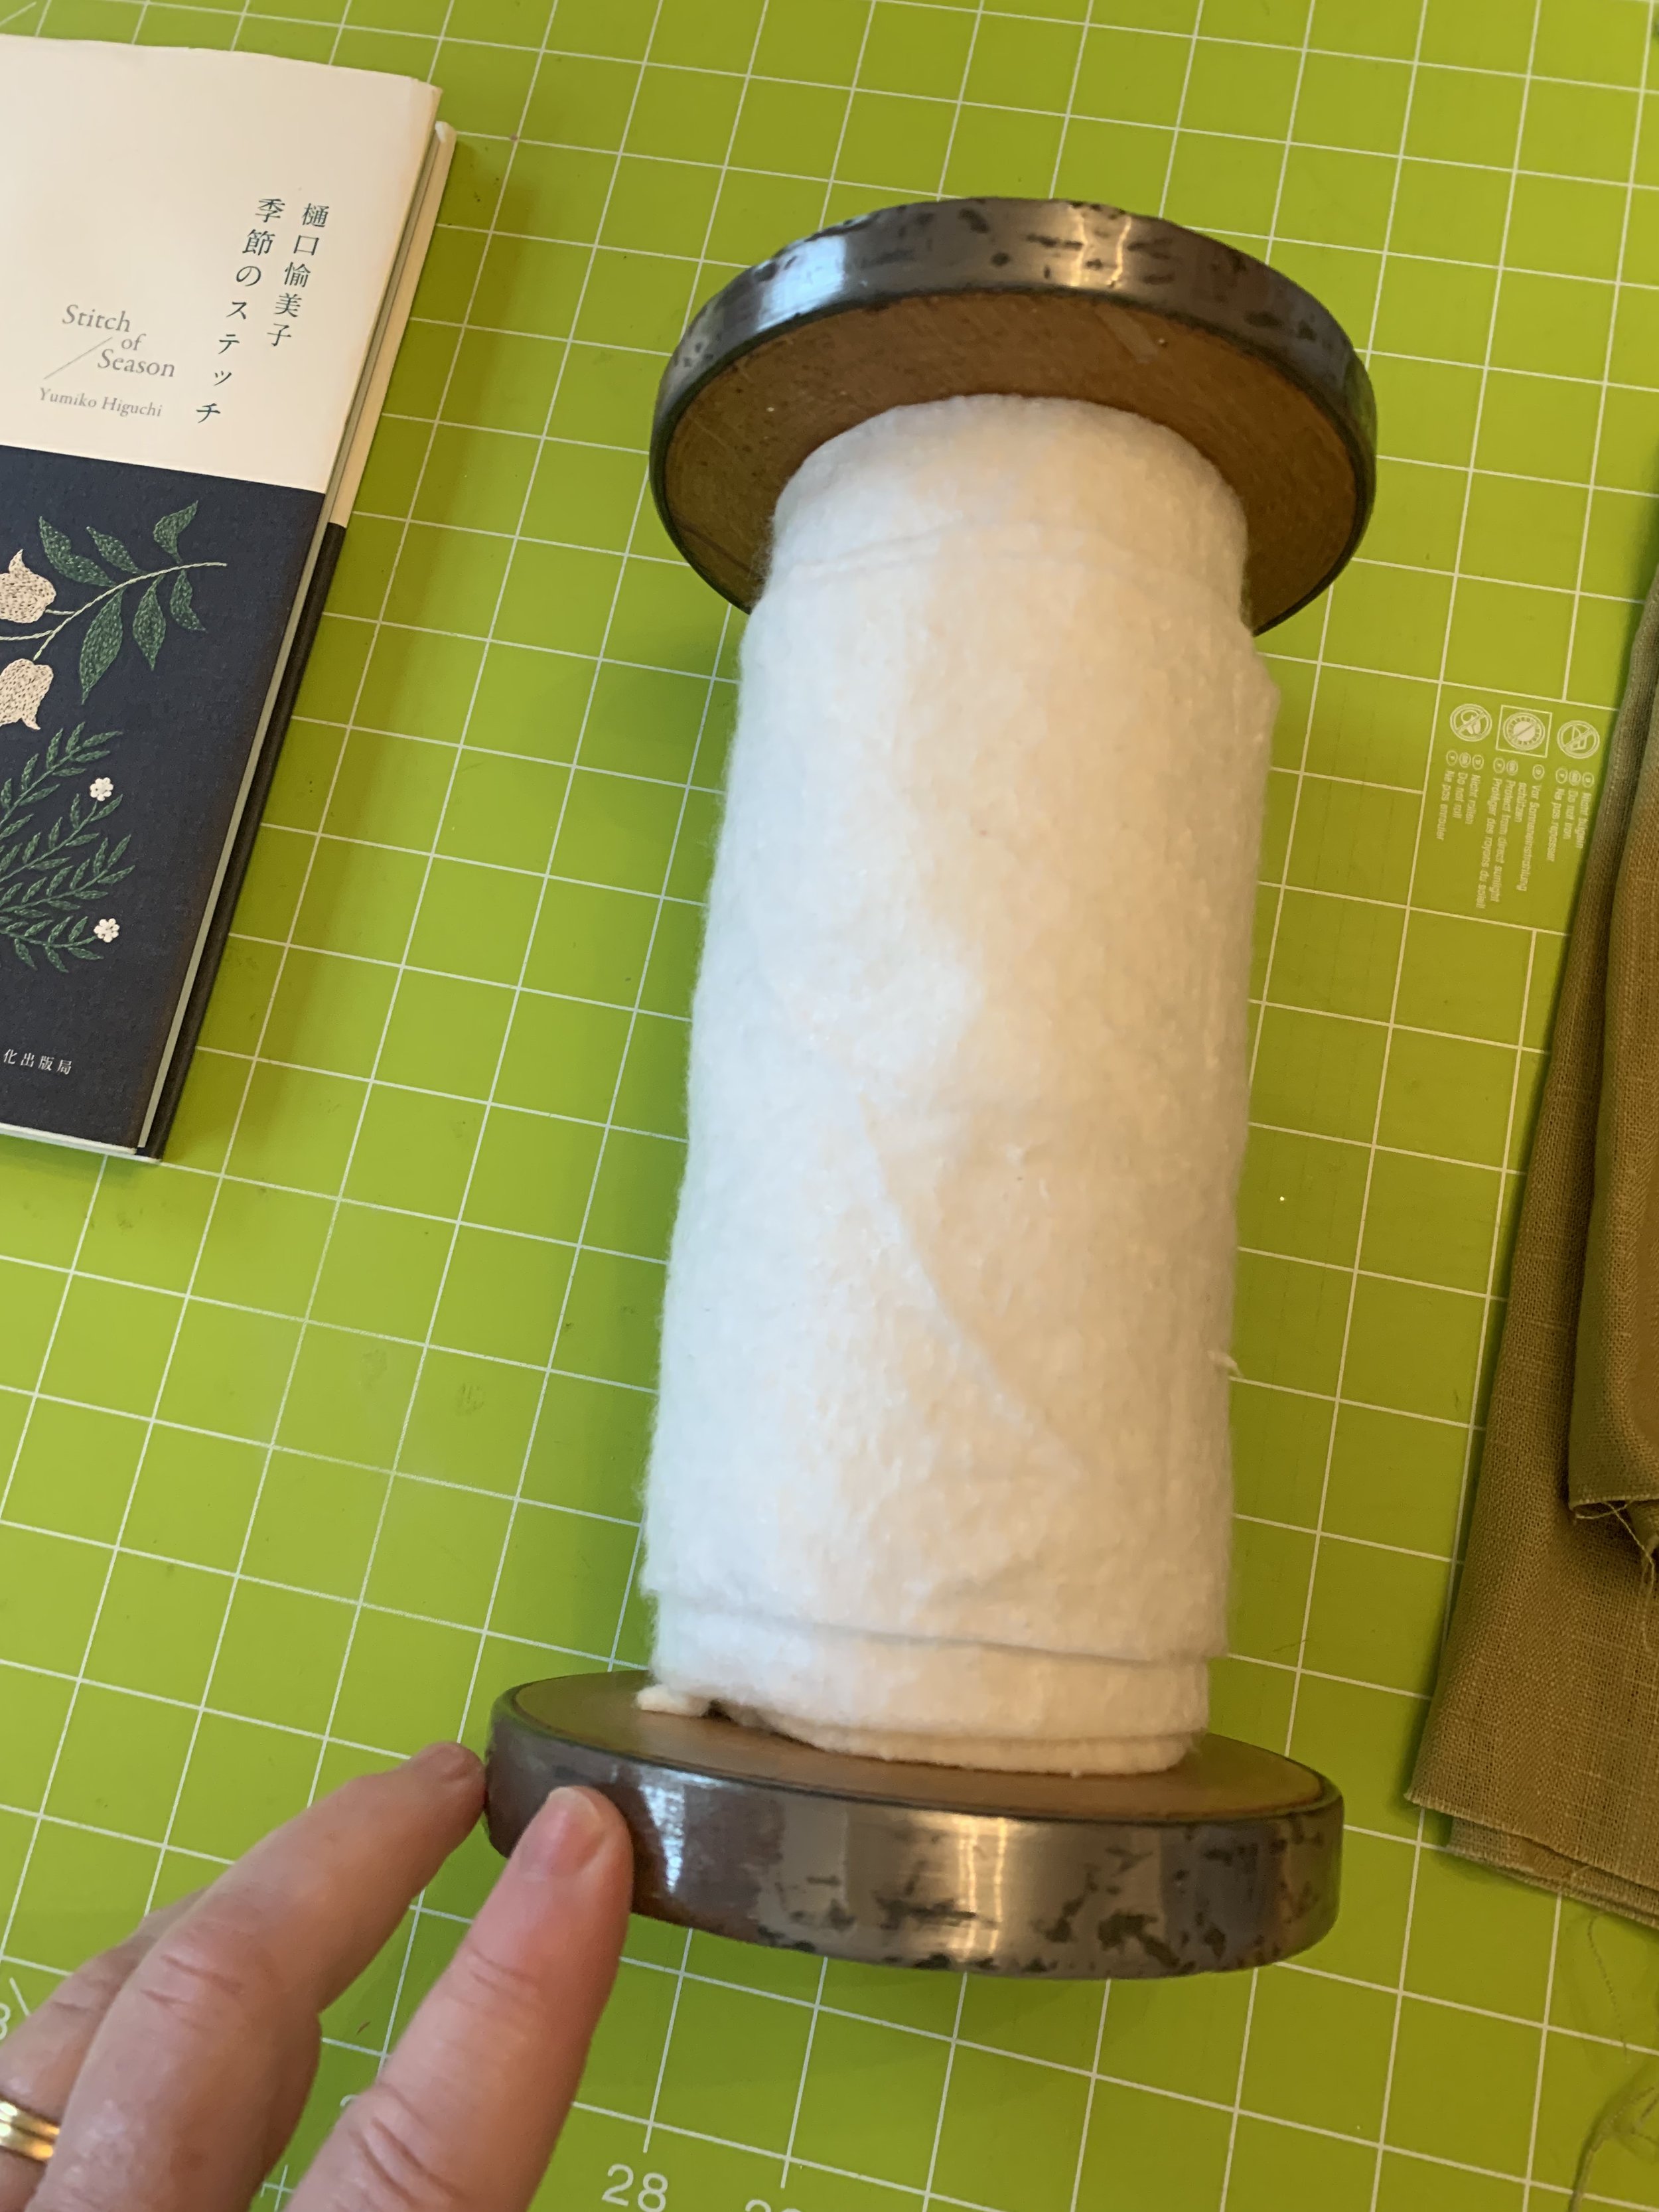
First of all I wound several layers of batting around the bobbin to fill it out a bit. I secured this padding with some fabric glue.
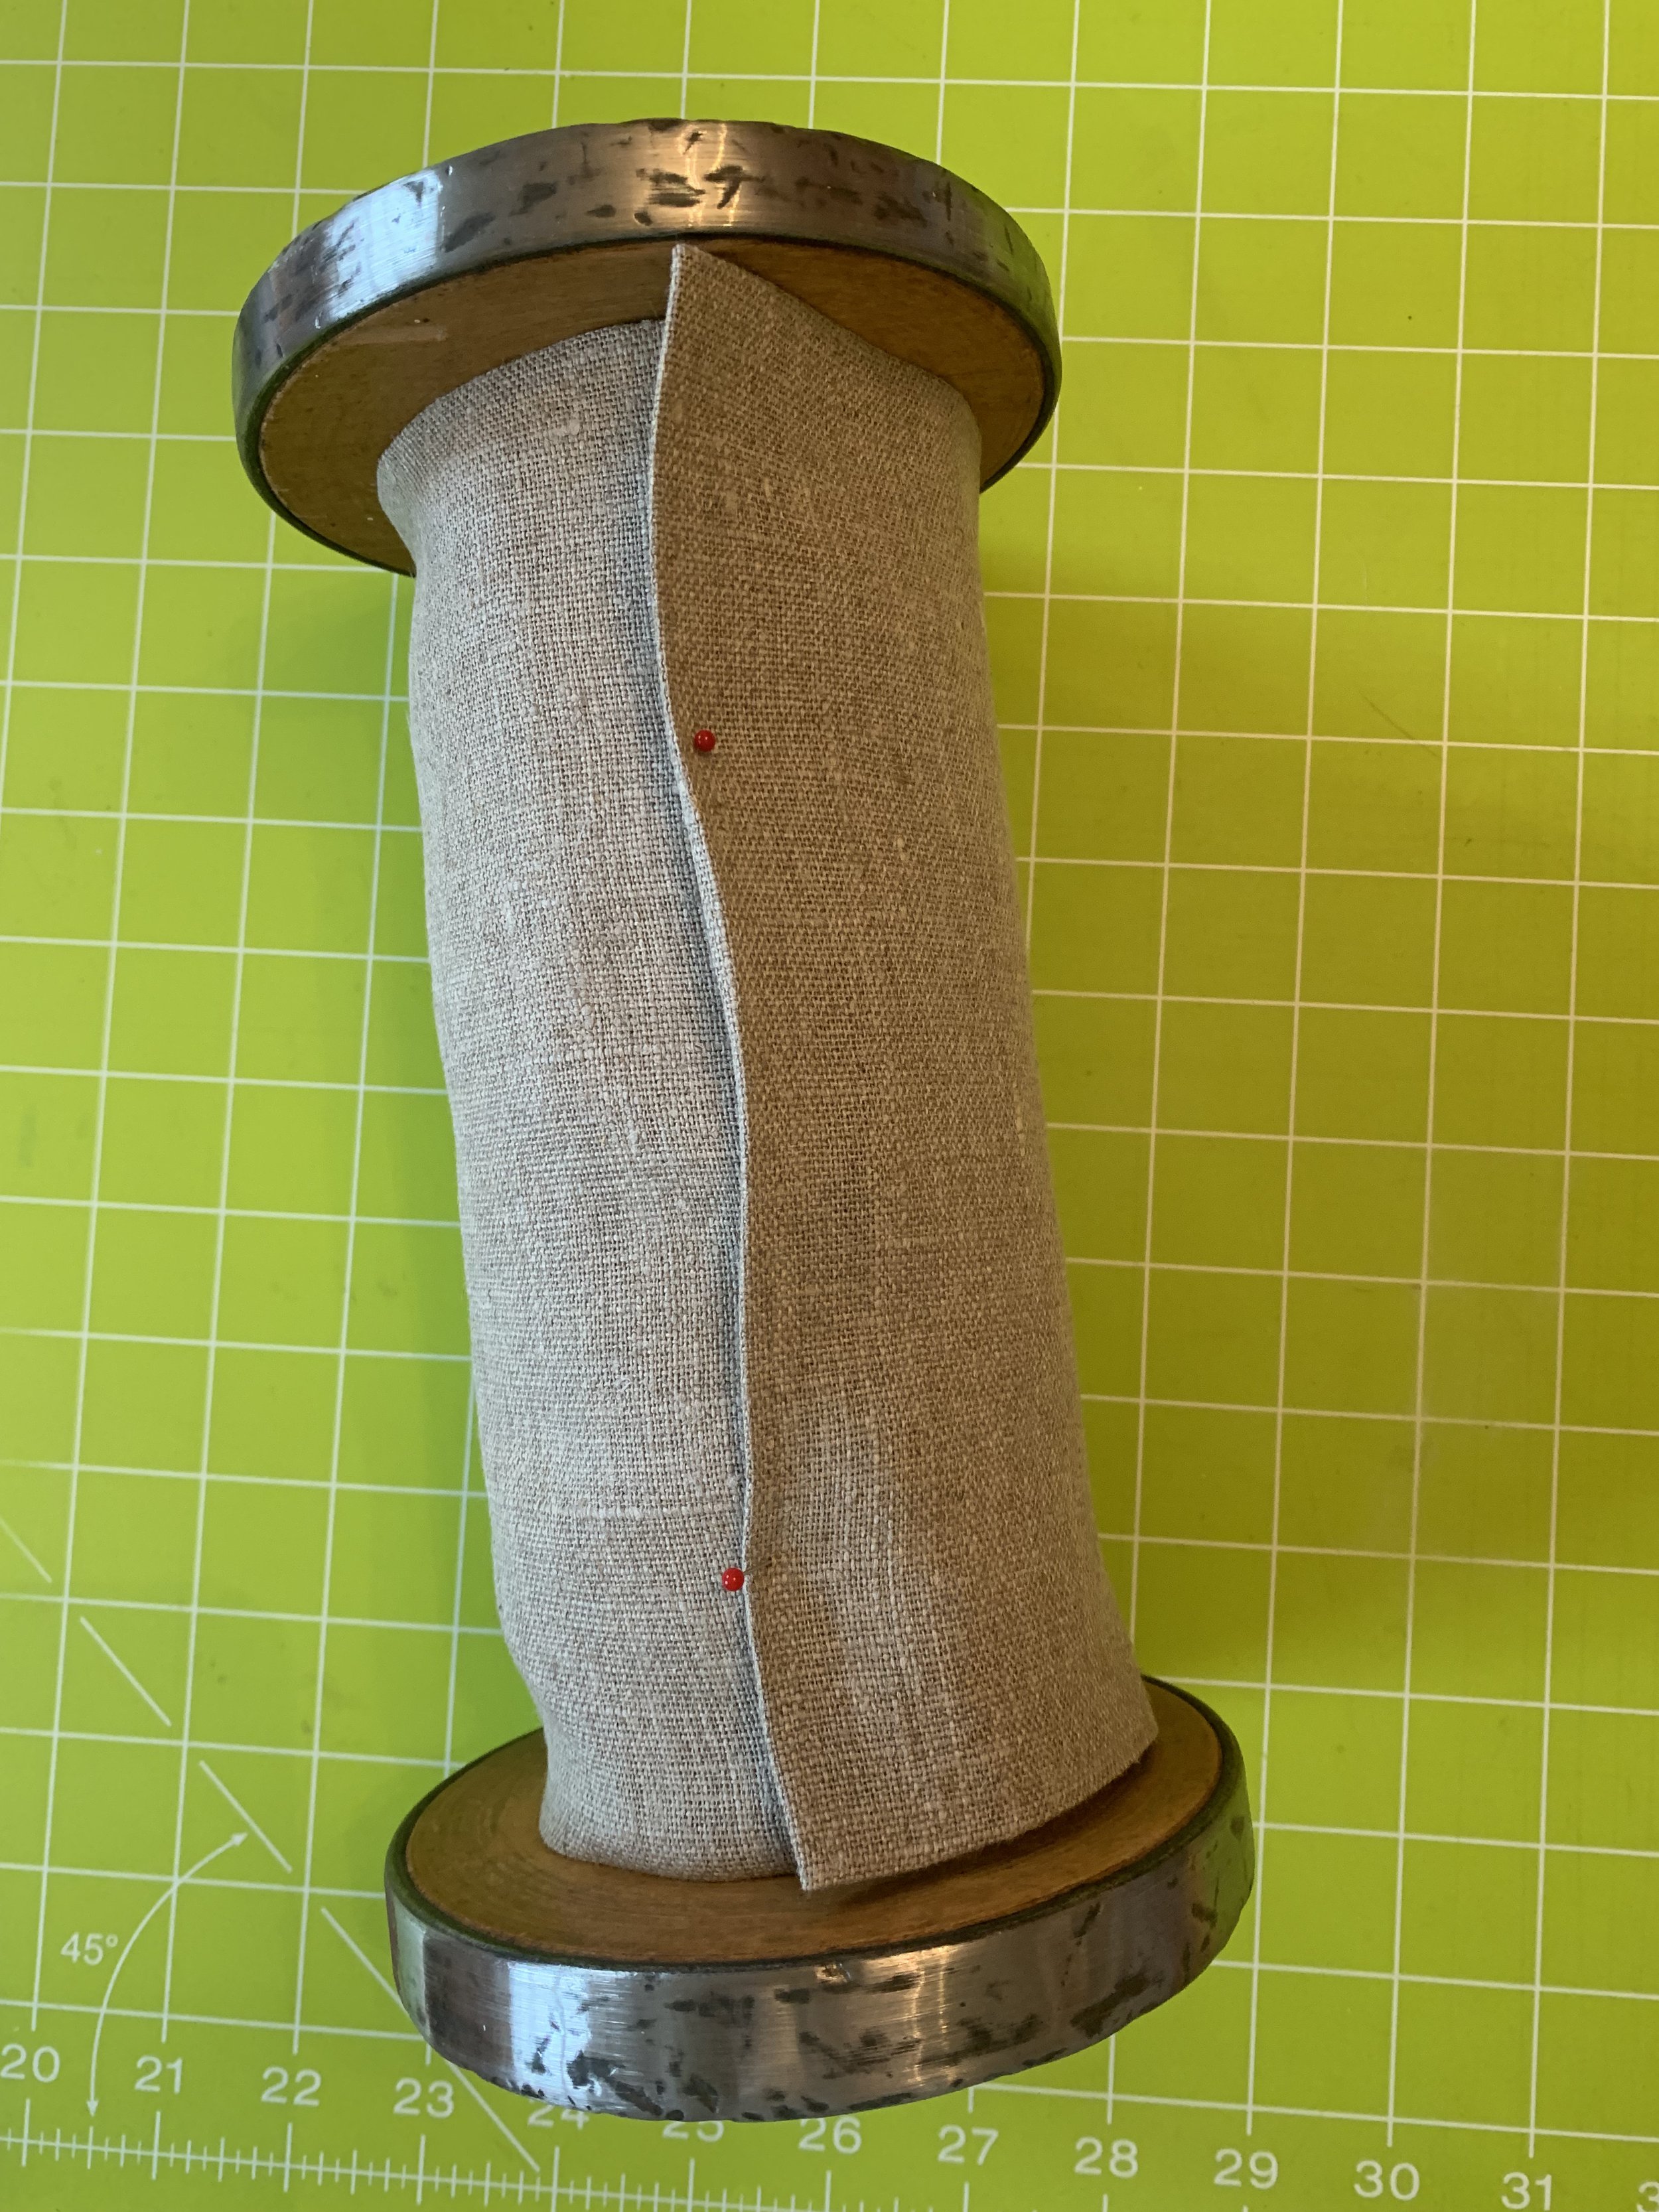
Then I cut a piece of linen to size - allowing a small overlap allowance and a hem all the way around. I machined this hem as linen is prone to fraying and then I backed it with a fusible woven interfacing to give it some stiffness and to hold the stitches of the embroidered motifs. It is important to get this right because if you make the overlap too big, it will give a be difficult to judge where to embroider.
Choosing my colours was easy - ivory, pine green, cranberry red, oatmeal and soft pink, and cinnamon and chocolate browns. A touch of metallic silver thread too, to pickup on the steel rims of the bobbin ends. I also gathered some seed beads and matt metallic sequins for a touch of frosty sparkle.
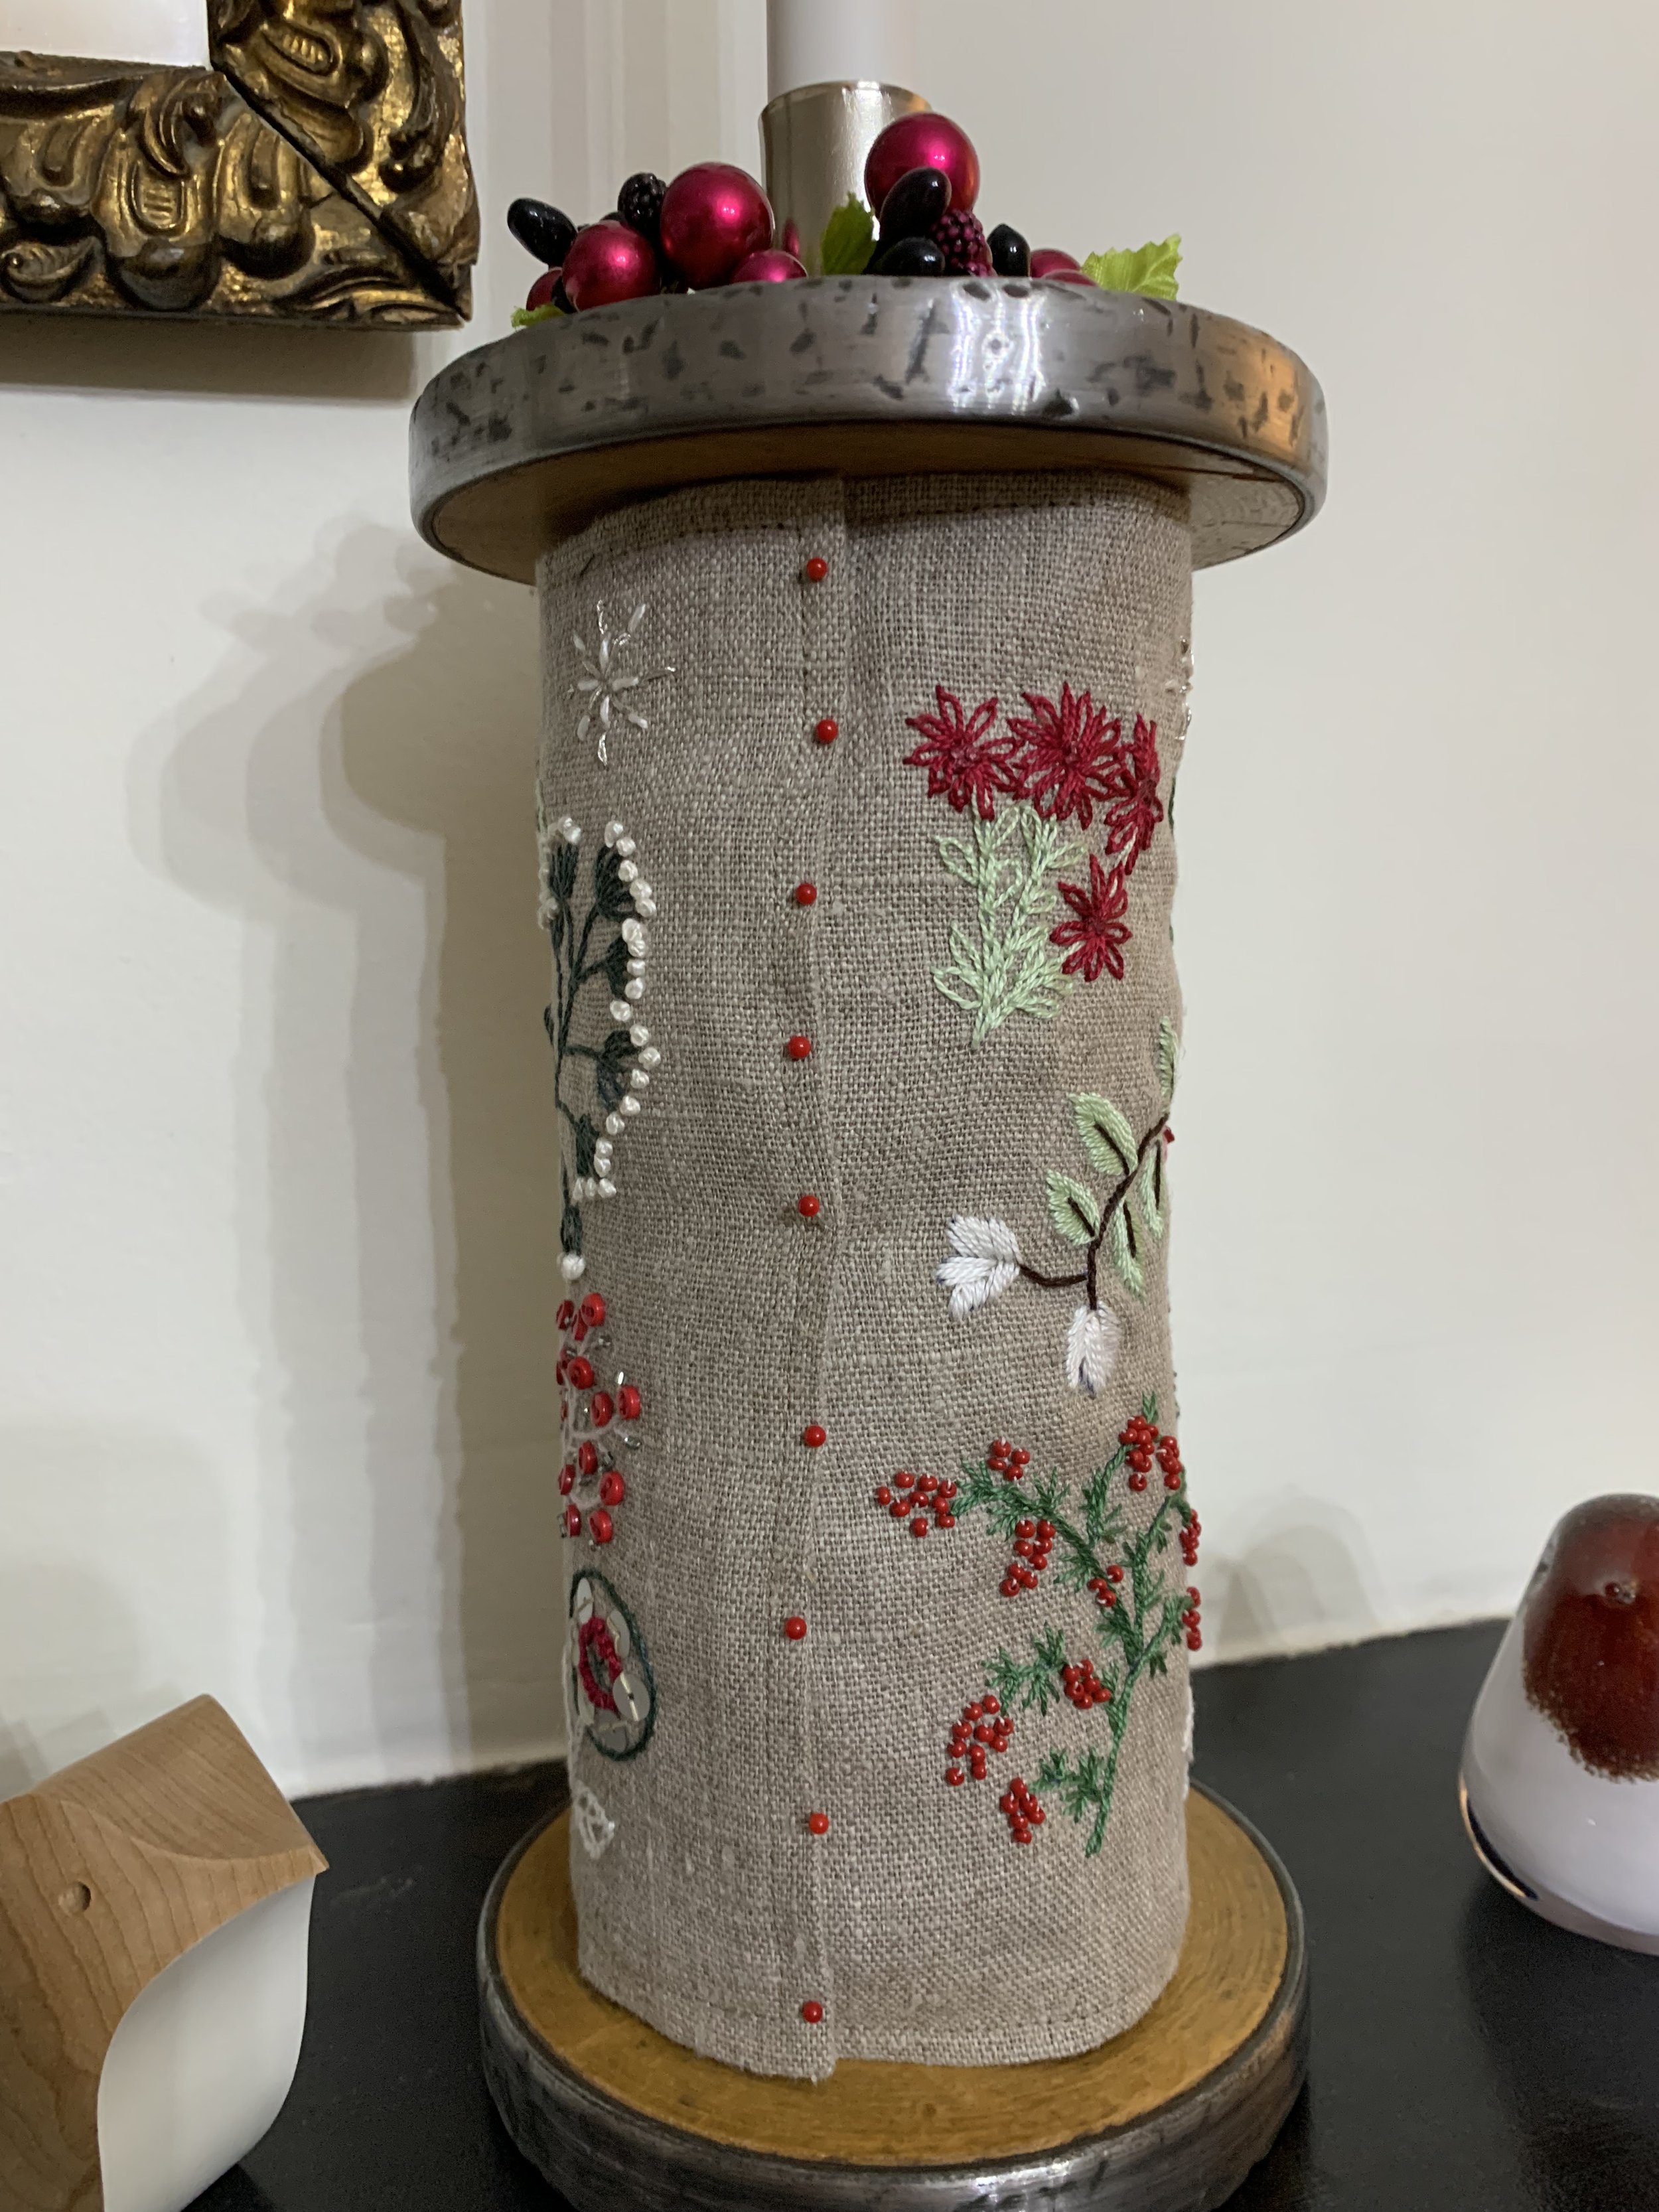
Basically I just began at one corner and worked some botanical motifs with a winter theme. It is not a large piece of cloth so I thought it was not so much work, but in fact once I got going, I did add quite a lot of embroidery. As usual, I turned to my Japanese embroidery books for inspiration and found it easy to work the motifs, adding beads for berries and sequins for flower heads.
As I was stitching, I had plenty of time to dwell on the project and realised that although my candlestick was going to be a Christmas themed one, you could also change the linen wrap for a spring, summer or autumn one. Being as I love candles all year round, this is a totally versatile project. Seasonal living is a very lovely thing to do and this provides endless possibilities on this theme. I also thought some shot silk would be beautiful for the background and I will definitely be experimenting with all these ideas after Christmas. This too, is why the fastening of it is important - you need to be able to take it off to change it and the perfect solution presented itself by accident. As I was trying it out half way through stitching, I pinned it and in fact the little coloured glass headed pins looked really pretty - so if you change the fabric, you could change the colours of the pins too.
This was just the most lovely project to work on. I loved experimenting with the motifs and the denser the embroidery got, the prettier it looked. I used some star motifs to fill in any small gaps and in the end, my linen wrap was just packed with colour and christmas vibes.
Fixing the candle in, provided a little more troublesome than I had thought as a standard taper candle didn’t fit snuggly into the hole on the top. Of course candles need to be secure and the solution came from a pack of ‘wreath’ candle holders which are cheap to buy and came in a pack of 4. The spike slotted into the hole to give the whole thing stability and I added a felt ring with a dab of glue to stop it moving around. Once you pop a pretty decorative candle ring around it, it all looks rather smart.
Every time I look at this candlestick, I am filled with new ideas for what you could do with this project. Linen wraps like this can be stored easily and changed to reflect the time of year. There are some gorgeous ribbons out there which would look lovely around the top and bottom and you could also use a piece of ready made embroidered upholstery fabric to match your decor. I am already planning a spring one on silk! Meanwhile, I shall enjoy using this over the festive holidays. A homemade christmas is always best…..
I’ll be posting on instagram some photographs of other handmade Christmas decorations as I start to decorate our home, so see you there…


