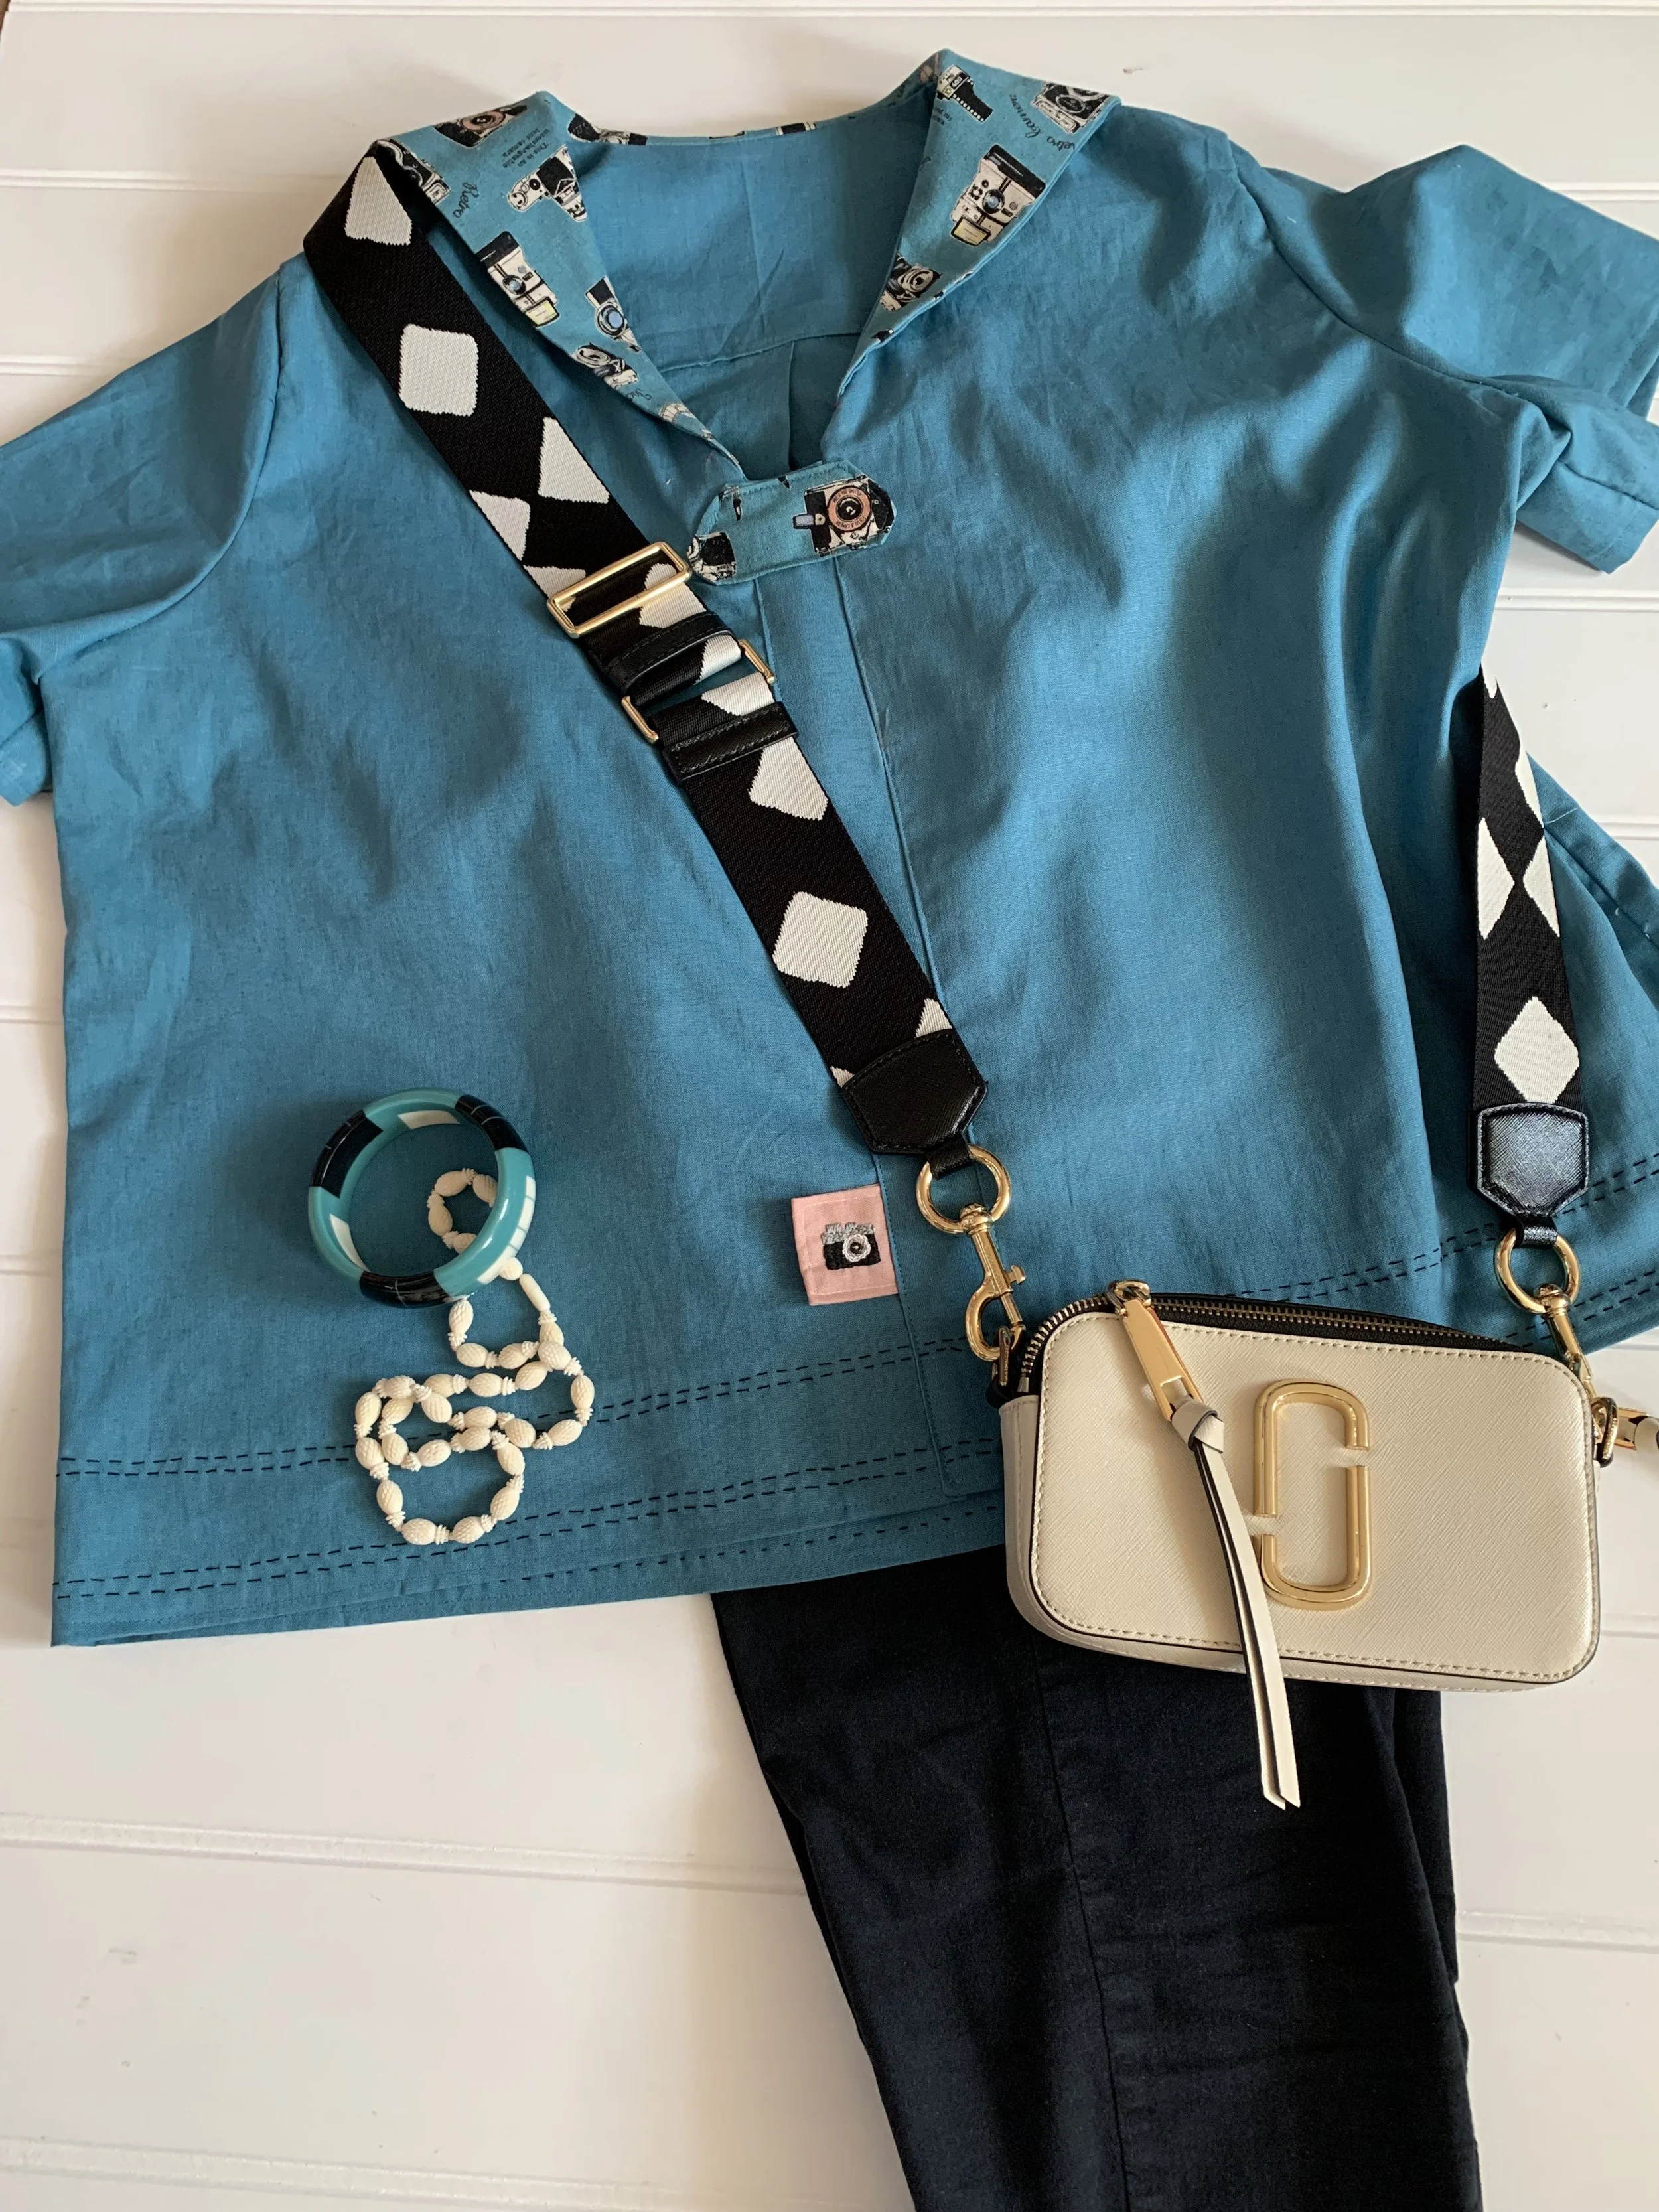
Making an embroidered sailor collar jacket
/Hello and I am so excited for this post I don’t know if my fingers can type quickly enough to calm my enthusiasm. I am rather a hesitant dressmaker and often things don’t work out, but this one… oh me oh my, it’s a triumph and I am so proud of it.
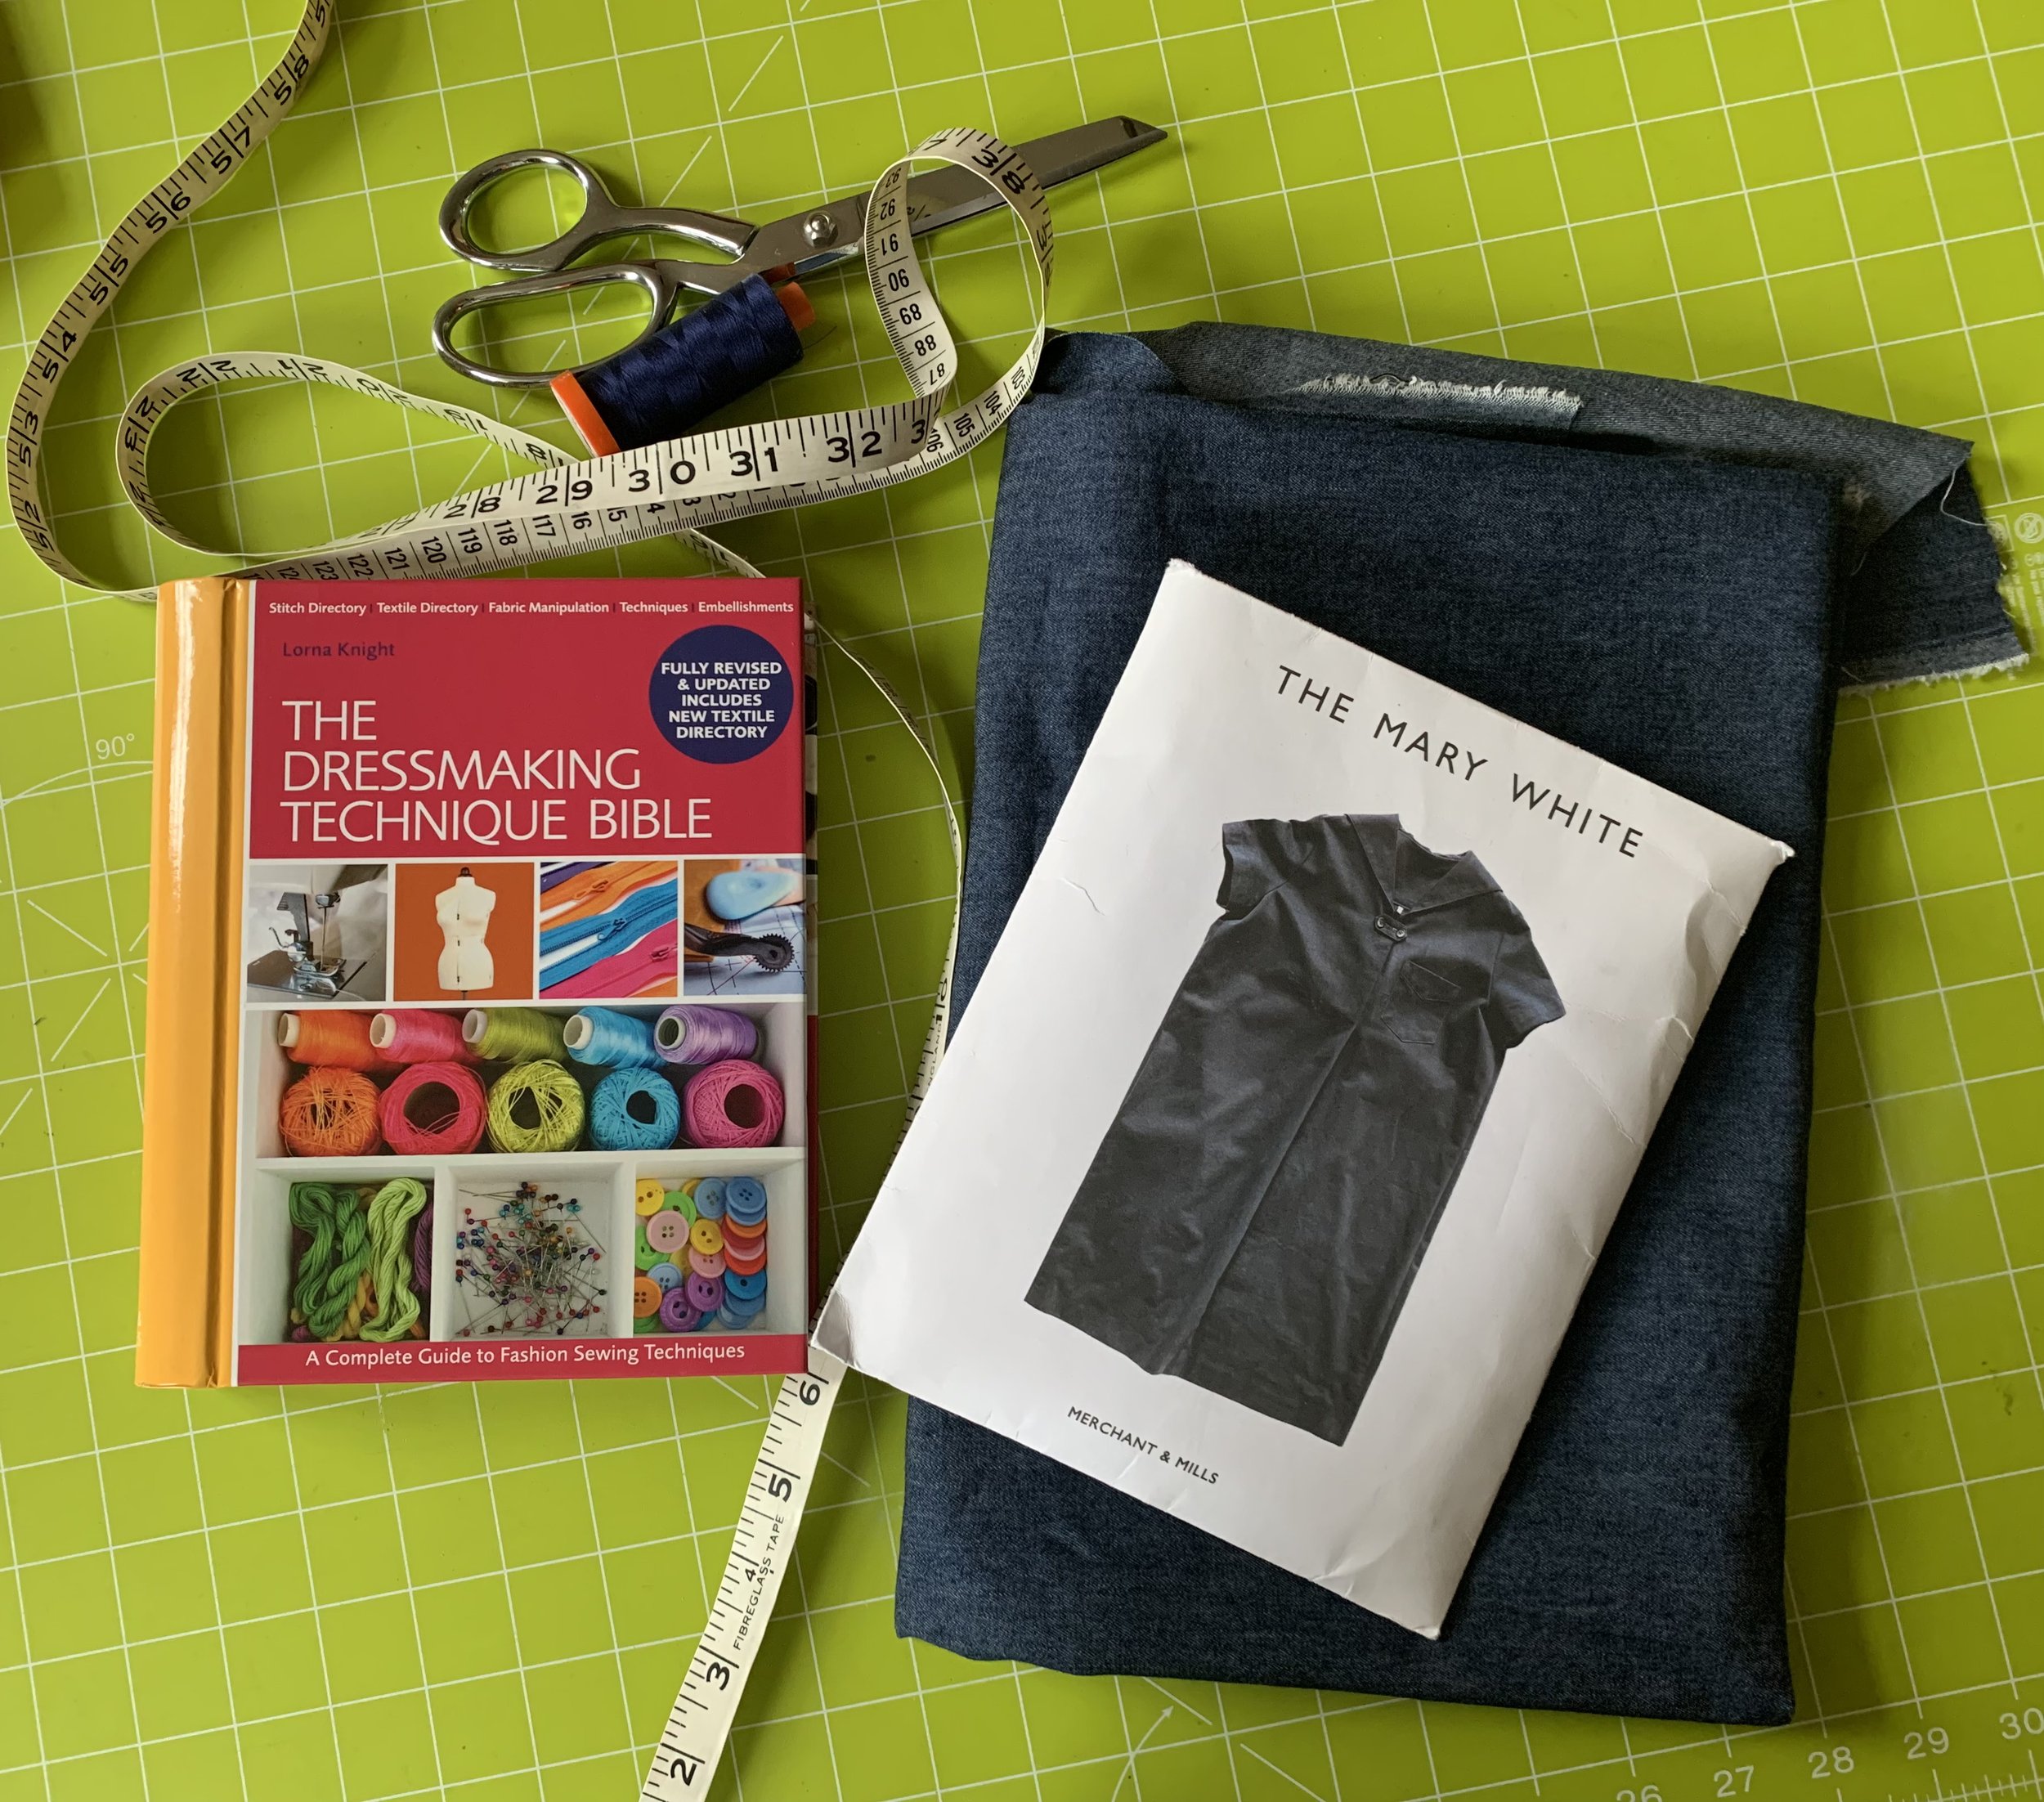
So let’s go back to the beginning. You may remember that I made a sailor collar top a while back using the Merchant and Mills pattern ‘The Mary White’ and you can read all about that here.
It was a tricky make, but worked out pretty well in the end and I have enjoyed wearing it. However, it was never quite in the vein of the good old Laura Ashley days because of the colour and also I wanted to somehow adapt it to be a jacket. My long term dream was to make a beautiful midnight wool autumn jacket with piping, but I decided to start with an easier and less expensive fabric for a summer styling of it. I used a very lightweight dark demin chambray and figured it would be a sort of over-shirt to wear over stripes. I pre-washed it - always wise with a dark colour.
Having used the pattern before, I was confident of the sizing, but wanted to make long sleeves, so drafted my own pattern piece for this using some swedish pattern paper and tracing the outline of the short sleeve on and then just extending it so that with allowances for seams and cuff, it would be bracelet length on me. I cut the other pieces out as normal for the top because I remembered that it had two sections at the front that would do for the plackets already built in.
The first stage was to embroider the collar. I backed the chambray with a woven interfacing to add body to the soft fabric and make it easier to stabilise the stitches. Using a pattern from one of my treasured Japanese embroidery books, I traced the floral design on to Vlieseline Solufleece. I am a huge fan of this and I will put a link at the end of this post for supplies. I stuck to one colour for the embroidery so it was all very traditional and absolutely loved how it turned out. The joy of working in this way is that when it is done, you simply…..
I used the same technique for the pocket which just adds some cohesion to the whole look of the garment. Small details make all the difference with home made garments. You have the opportunity to customise and enhance in anyway you like and it is the real magic ingredient.
I really took my time with the construction. Using contrasting colour cotton for the topstitching and some liberty ditsy floral print for the interfacings. As the fabric was awful for fraying, I did french seams wherever possible to encase all raw edges and as it was such a lightweight fabric it was not at all bulky. I am getting better at all the techniques used but still often have to youtube or refer to my books to be sure to get it right.
For the armholes, I took a leap of faith and a leaf of my dressmaking bible book to try a ‘sleeve wrap’ or bound edging. I worked like a dream and finished off the inside of the garment beautifully. It also gave it a little extra structure and I was delighted to have learnt something new too. I really want my home made things to look professional now and taking the time to finish it properly is essential and also makes it feel more durable.
I found a few vintage buttons from my Mum’s button box to add the finishing touches and suddenly it was actually done. It fits perfectly and it’s relaxed unstructured style is held in check by the gorgeous sailor collar. It is perfect with jeans, over a dress or …. I feel a new gypsy skirt coming on…..(you see the tartan fabric hanging on the line…..)
Totally over the moon with this. It seems a useful sort of garment to pop on over a t-shirt or dress up with a more formal blouse. It is all in the detail, but my love of hand embroidery is finally finding it’s real use. I’ll be wearing this at the seaside very soon!


